Overview
In this tutorial, we will take a quick look at an extension script to cache an external API OAuth based access token within Cloudentity Extensions.
Cloudentity extensions provide a powerful framework to reach out to external data providers to fetch data, aggregate, transform and enhance the context to make much richer authorization decisions before issuing an authorization grant in the form of various tokens and also to enhance token claims in the issued authorization grant.
Create Extension
-
Select a workspace and navigate to Extensions » Scripts.
-
Create a new script named
cache-oauth2-access-token. -
Add logic for token caching and refetch before expiry
In the below extension script we have composed a couple of functions to showcase how we can fetch and set a remote access token within the script for further usage. Within the script, you can see that we have:
- Configured an OAuth provider token endpoint to obtain OAuth2 access tokens via the
client_credentialsgrant type. - Set sensitive environment variables as secrets within the editor and reference those with
context.secrets.<secret-key> - Assign the fetched access token to a global cache variable. This variable is cached within the dedicated extension pods for each tenant.
- On any incoming request, check if the token is available in the global cache.
- If available in the global cache, then inspect if the token is within a configurable time limit for expiry(let’s say 10 seconds)
- We will eagerly refetch the token once more and cache it and it can be used as the Bearer token for API calls.
- If a token is available within the cached variable or has expired or is going to expire within the configured time, then refetch the OAuth2 access token from the provider.
var at = ""; module.exports = async function(context) { try { const request = require('request-promise-native'); async function fetchAccessToken() { var payloadBody = 'grant_type=client_credentials&client_id=' + context.secrets.API_CLIENT_ID + '&client_secret=' + context.secrets.API_CLIENT_SECRET ; var response = await request({ method: 'POST', uri: 'https://REPLACE_WITH_OAUTH2_TOKEN_PROVIDER_TOKEN_URL', headers: { 'Content-Type': 'application/x-www-form-urlencoded', 'Accept': '*/*' }, body: payloadBody }); at = JSON.parse(response).access_token; return at; } function isTokenNearingExpiry(token) { const expiry = (JSON.parse(atob(token.split('.')[1]))).exp; //adjust this time to do eager check, like 10 seconds before expiry const timeBeforeExpiry = 10; var eagerFetchThreshold = Math.floor((new Date).getTime() / 1000) + timeBeforeExpiry; var isTokenNearingExpiry = eagerFetchThreshold >= expiry; return isTokenNearingExpiry; } if(at == "" || isTokenNearingExpiry(at) ) { console.log("Fetching new access token from provider.."); await fetchAccessToken(); } //Please do not use this log line in production environments, added just for demonstration. console.log("access token from authorization provider" + at); //Use token obtained above for further API calls return { access_token: { sample_out: at } }; } catch(err) { console.error(err); return err; } } - Configured an OAuth provider token endpoint to obtain OAuth2 access tokens via the
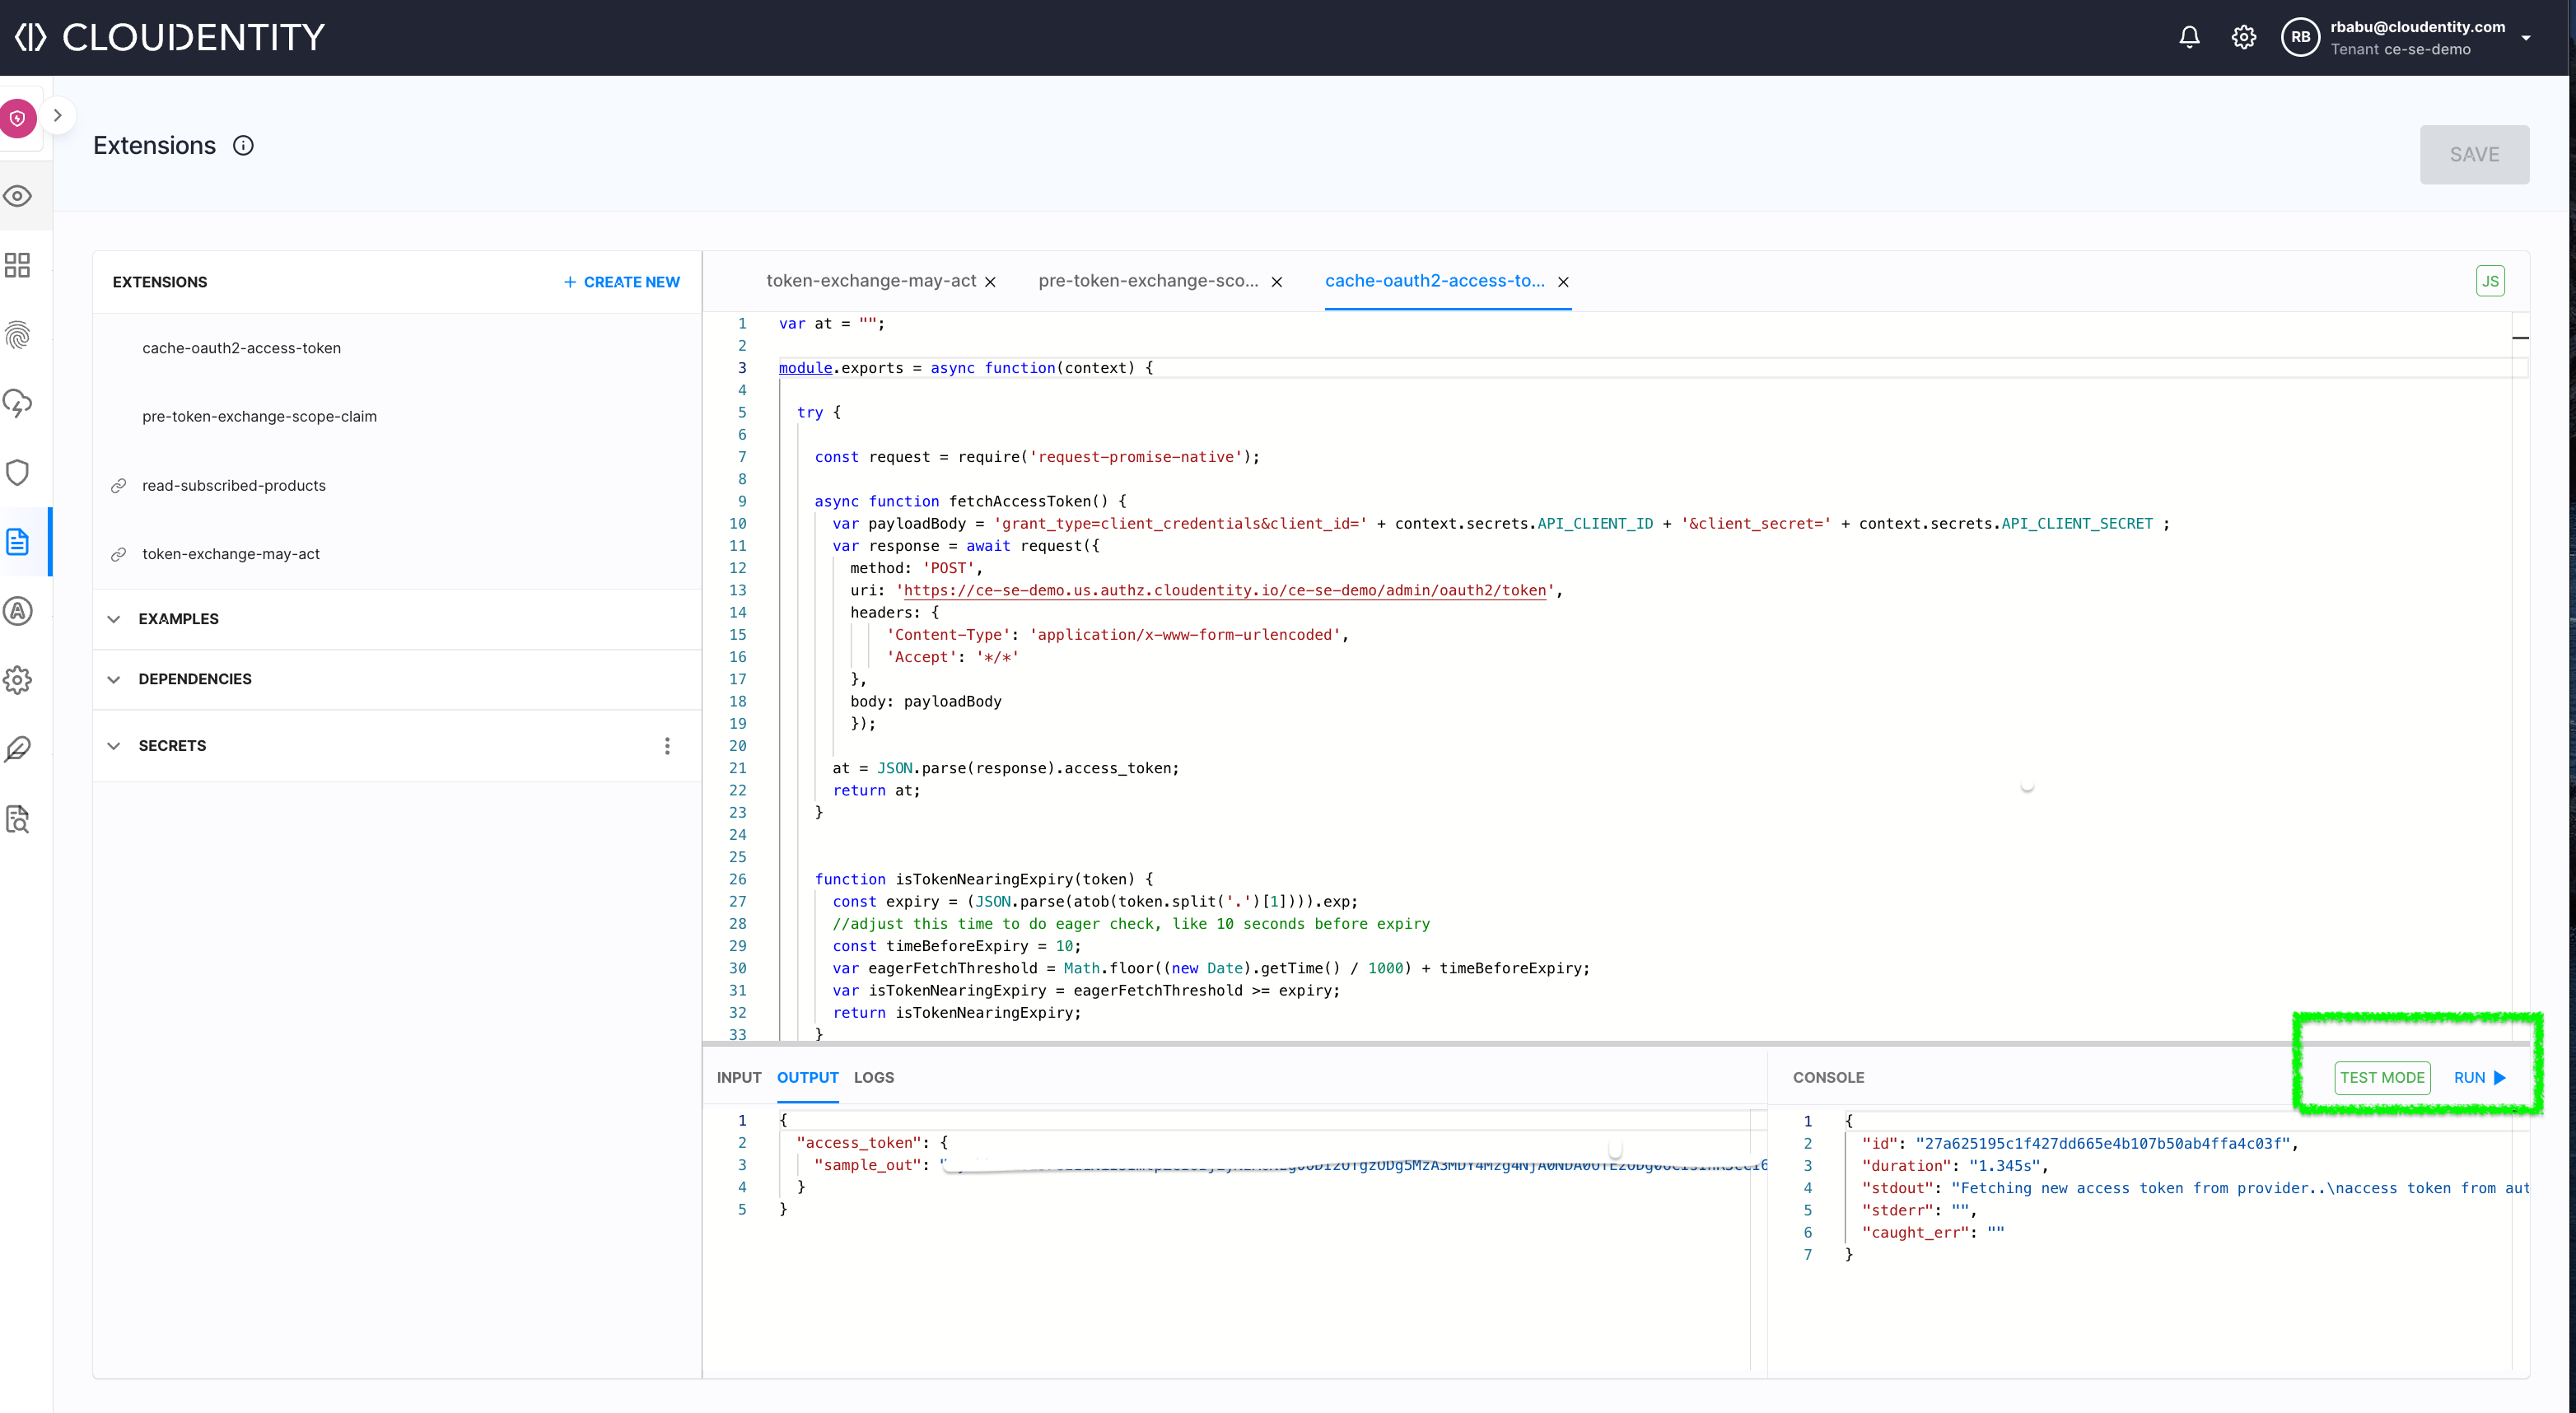
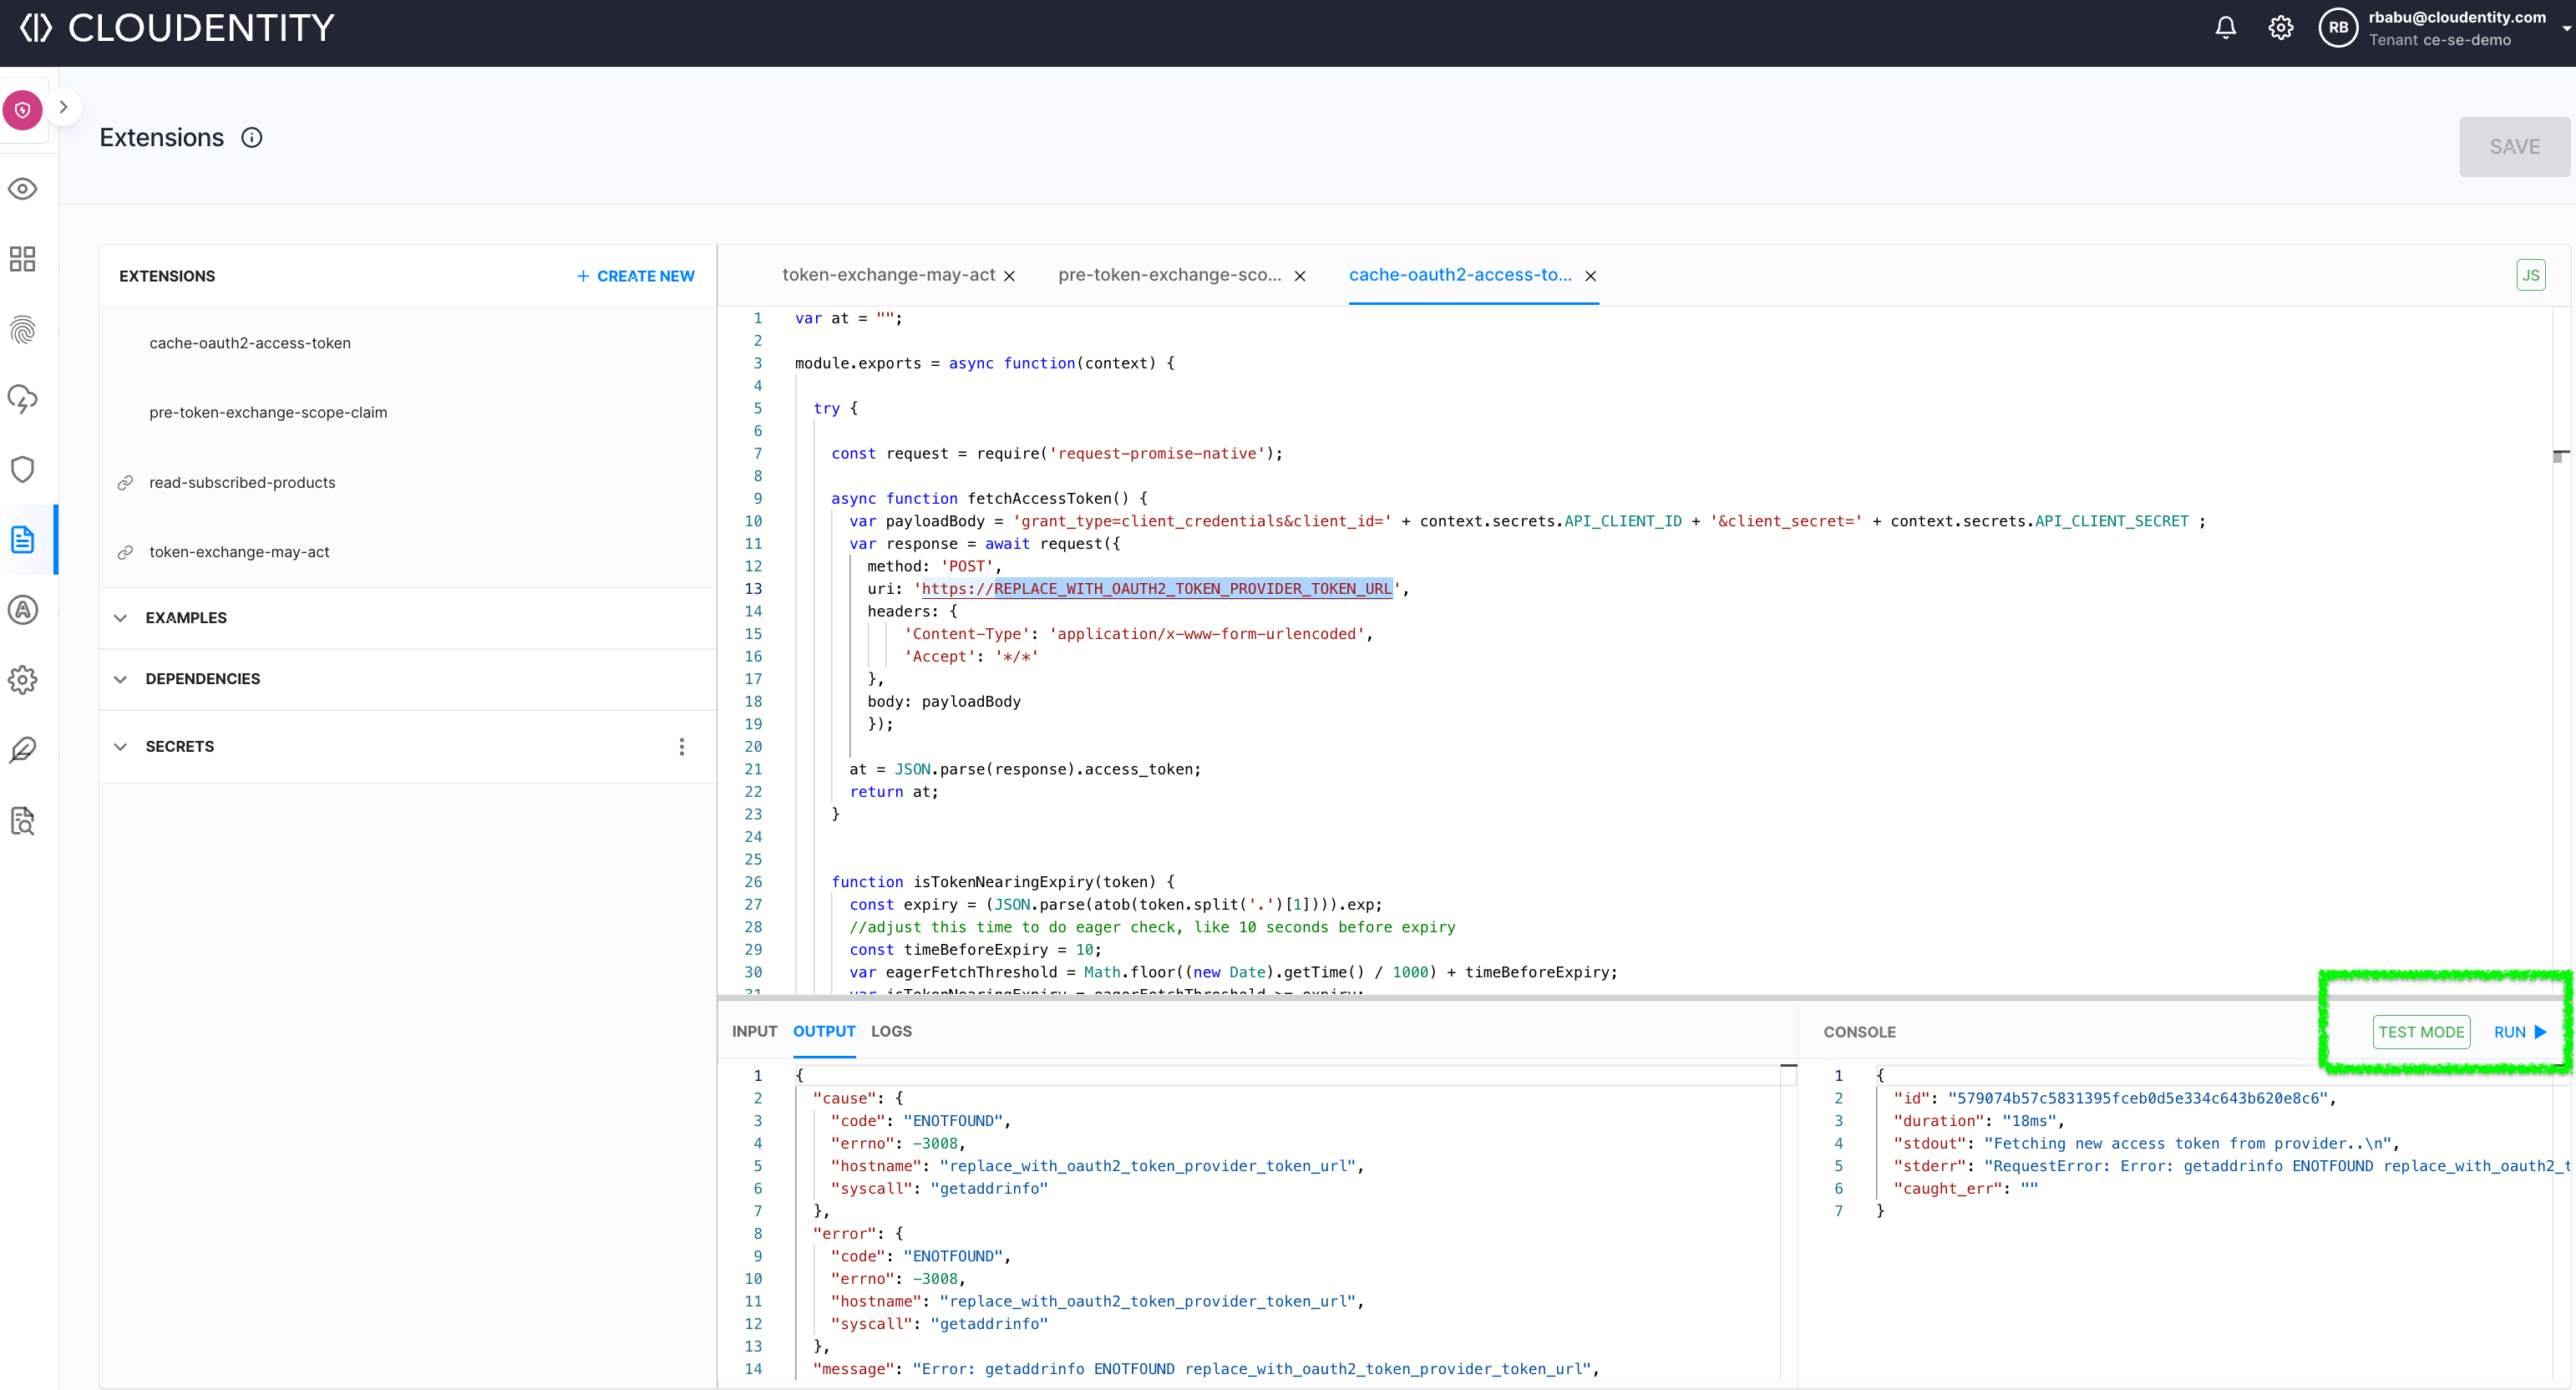
Test Extension
We can quickly run some tests using the inbuilt extension editor test capability to verify the script and possible outputs for different scenarios.
Next Steps
You can also add further fine tuning like reacting to a 401 or 403 from an API call to get a new authorization token and add some retry capabilities to eliminate random glitches from an external provider.