Overview
In this tutorial, we will explore a simple React Native application to authenticate user utilizing AppAuth library.
AppAuth is an OAuth client implementation that follows the best practices set out in RFC 8252 - OAuth 2.0 for Native Apps.
AppAuth also supports the PKCE extension to OAuth which was created to secure authorization codes in public clients when custom URI scheme redirects are used.
To learn more, read this short introduction to PKCE.
Reference repo

Check out the below GitHub repo for complete source code of the reference application in this tutorial
AppAuth Sample app
Prerequisites
-
Cloudentity tenant with an authorization server (workspace) created.

Try it now
Create Native Client
-
Create a client application of Mobile/Desktop (native) type.
-
Set the redirect URL to
io.ceauthenticate://authfor your newly created application.
Build Application
Here we can start with building our application. You can start from scratch, or simply checkout our the AppAuth Sample App and move to the Run Application section.
Follow the Setting Up the Development Environment guide from the React Native official page and setup environment for Android or iOS depending on your preferences.
In this tutorial, let’s create an app with Typescript template and run it on Android emulator.
-
Initialize a new project by executing in terminal:
npx react-native init CEAuthentica --template react-native-template-typescript -
Analyze the resulting
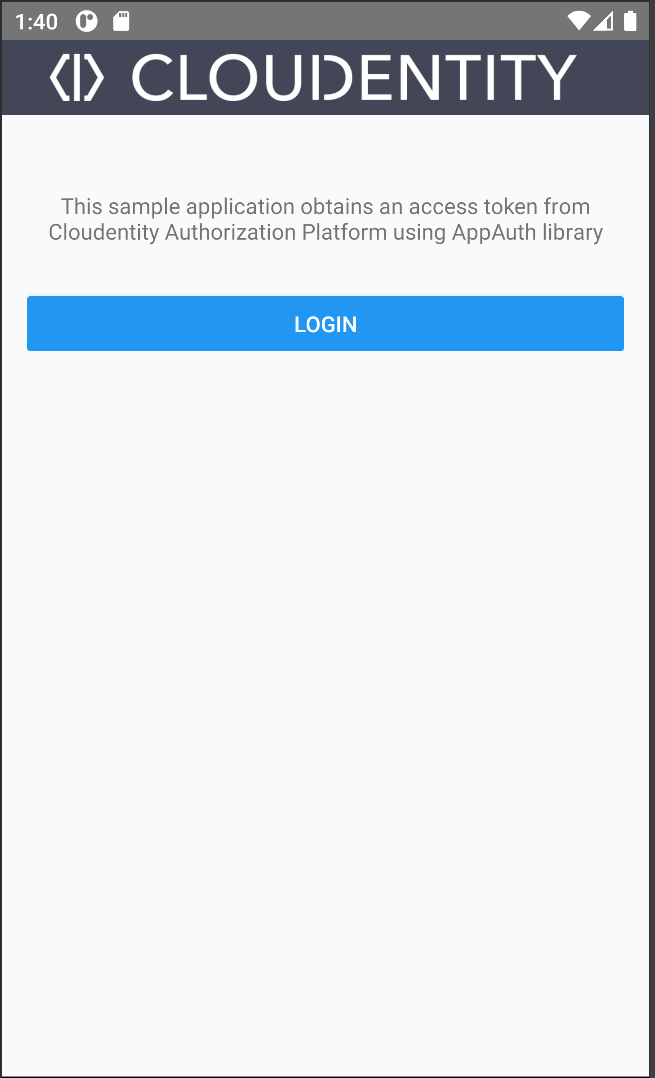
App.tsxfile component from our sample app:/** * Sample React Native App using AppAuth lib with Cloudentity */ import React, {useEffect, useState} from 'react'; import { Button, SafeAreaView, ScrollView, StatusBar, Text, View, } from 'react-native'; import {authorize} from 'react-native-app-auth'; import EncryptedStorage from 'react-native-encrypted-storage'; import {decode} from 'base-64'; import Section from './Section'; import Header from './Header'; const authConfig = require('./config.json'); const decodeJWTPayload = (token: string) => token ? JSON.parse(decode(token.split('.')[1])) : {}; const decodeJWTHeader = (token: string) => token ? JSON.parse(decode(token.split('.')[0])) : {}; export interface Session { accessToken: string; payload: string; header: string; } export default function App() { const [progress, setProgress] = useState(false); const [session, setSession] = useState<Session | undefined>(); const [userinfo, setUserinfo] = useState(undefined); const handleLoginPress = () => { setProgress(true); authorize(authConfig) .then(res => { const s: Session = { accessToken: res.accessToken, payload: decodeJWTPayload(res.accessToken), header: decodeJWTHeader(res.accessToken), }; setSession(s); setProgress(false); return EncryptedStorage.setItem('user_session', JSON.stringify(s)); }) .catch(err => { console.log(err); setProgress(false); }); }; useEffect(() => { EncryptedStorage.getItem('user_session') .then(s => { setSession(s ? JSON.parse(s) : null); }) .catch(err => console.log(err)); }, []); useEffect(() => { if (session) { setProgress(true); fetch(authConfig.issuer + '/userinfo', { method: 'GET', headers: { Authorization: 'Bearer ' + session.accessToken, }, }) .then(res => res.json()) .then(data => setUserinfo(data)) .then(() => setProgress(false)) .catch(err => { console.log(err); setProgress(false); }); } }, [session]); return ( <SafeAreaView style={{marginBottom: 42}}> <StatusBar /> <Header session={session} onLogout={() => { setSession(undefined); setUserinfo(undefined); }} /> <ScrollView style={{padding: 16}}> {progress && <Text>Loading...</Text>} {!progress && !session && ( <View> <Text style={{textAlign: 'center', marginBottom: 32, marginTop: 32}}> This sample application obtains an access token from Cloudentity Authorization Platform using AppAuth library </Text> <Button title={'Login'} onPress={() => handleLoginPress()} /> </View> )} {!progress && session && ( <> {userinfo && ( <Section title={'/userinfo'} content={JSON.stringify(userinfo, null, 2)} /> )} <Section title={'Access Token Header'} content={JSON.stringify(session.header, null, 2)} /> <Section title={'Access Token Payload'} content={JSON.stringify(session.payload, null, 2)} /> <Section title={'Raw Access Token'} content={session?.accessToken} /> </> )} </ScrollView> </SafeAreaView> ); }If there is no session yet, we are displaying a page with Login button.
After the Login button is selected, the
authorizemethod from AppAuthLib is called.This is the main function to use for authentication. Invoking this function triggers the whole login flow and returns the access token when successful, or it throws an error when not successful.
import { authorize } from 'react-native-app-auth'; const config = { issuer: '<YOUR_ISSUER_URL>', clientId: '<YOUR_CLIENT_ID>', redirectUrl: '<YOUR_REDIRECT_URL>', scopes: ['<YOUR_SCOPES_ARRAY>'], }; const result = await authorize(config); -
Update our Mobile client’s
config.jsonwith your Cloudentity client application’s configuration: redirect URL, client identifier, and issuer URL.Example
config.json:{ "issuer": "https://{tenant-id}.{region-id}.authz.cloudentity.io/{tenant-id}/{workspace-id}", "clientId": "my-client", "redirectUrl": "io.ceauthenticate://auth", "scopes": [ "email", "introspect_tokens", "openid", "profile", "revoke_tokens" ] }You can find the redirect URL and client identifier in your client applications settings. The issuer URL should point to your authorization server URL. You can find it in Settings » OAuth » General » Authorization Server URL.
-
When we are running an app on an Android device, it’s also required to set the
appAuthRedirectSchemevalue in theandroid/app/build.gradlefile with our redirect URL value. Read more about App Auth Android Setup.android { defaultConfig { manifestPlaceholders = [ appAuthRedirectScheme: 'io.ceauthenticate' ] } }
Run Application
To run application ( make sure you have Android emulator configured ) just run following commands:
yarn install
yarn start
yarn android
Test Login Flow
-
Connect an authentication provider to your workspace.
To make it hassle free, Create Cloudentity Identity Pool and connect it to your workspace, or use Cloudentity built-in Sandbox IDP.
-
In your app, select the Login button.
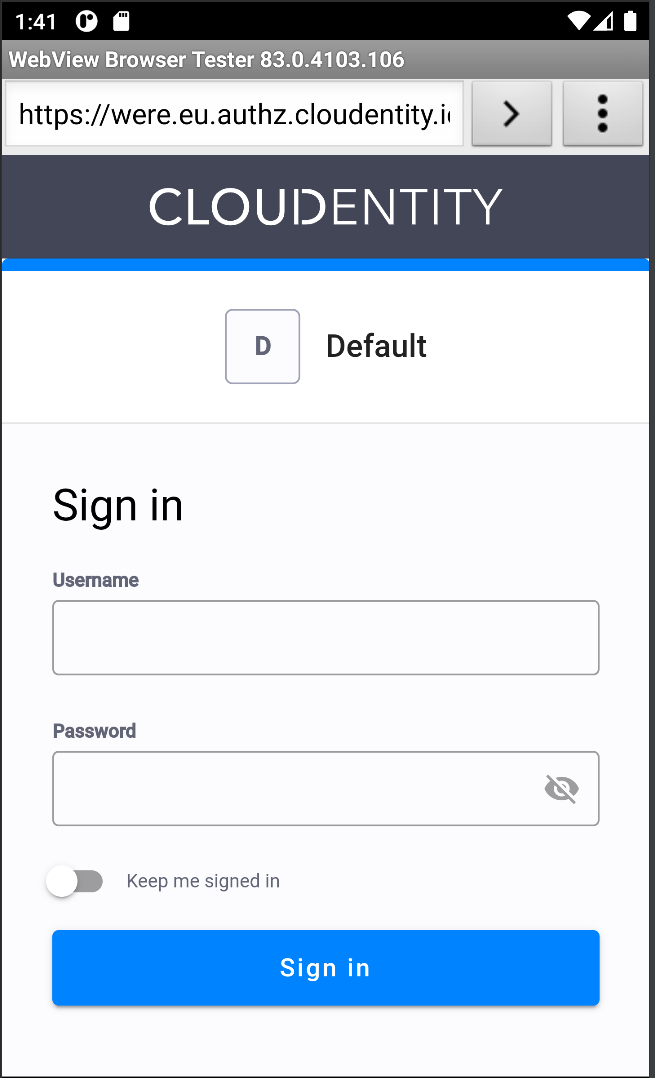
We are going to be redirected to the Login page and we can login in providing required credentials.
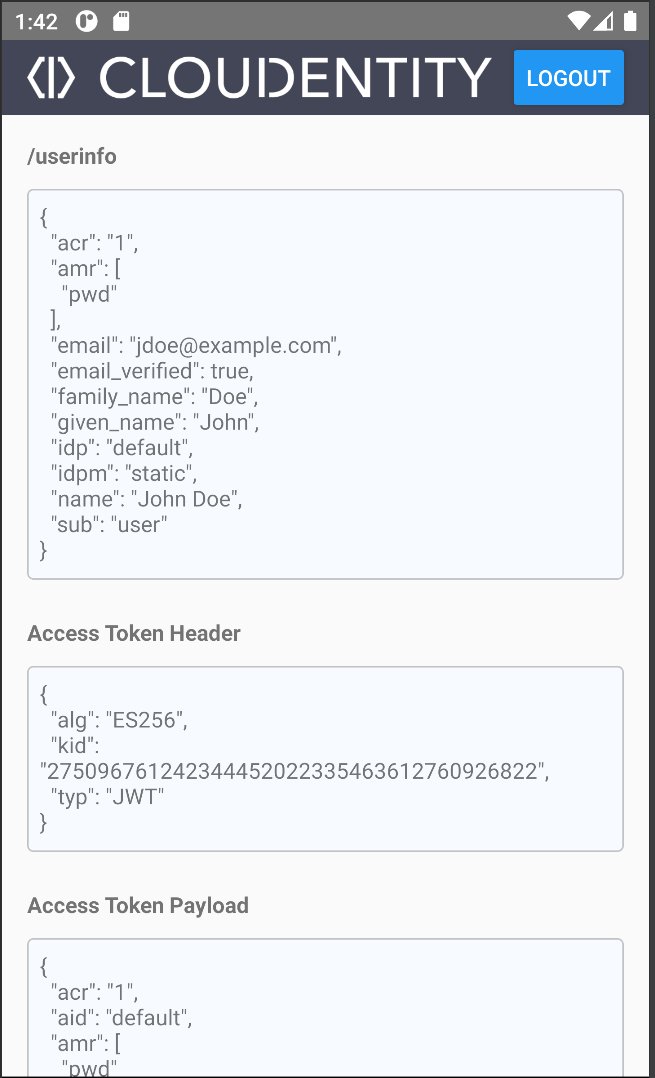
If we successfully logged in, we are displayed decoded
access_tokenvalues like the header and the payload, and making addition call to/userinfoendpoint.