Google Cloud Platform and Google Kubernetes Engine
Google Cloud Platform (GCP) and its Google Kubernetes Engine (GKE) allow to deploy, manage, and scale containerized applications to a Kubernetes cluster using Google infrastructure. Running clusters with GKE provides additional benefits such as:
-
Google Cloud’s load balancing
-
Node pools to designate subsets of nodes within a cluster
-
Autoscaling of cluster’s node instances count
-
Autoupgrades and autorepairs for nodes
-
and more.
If you are running your infrastructure on GCP, why not run the Cloudentity platform and all its components as part of it?
Cloudentity on GCP
To set up the Cloudentity platform on GCP, you will:
-
Set up all required dependencies such us PostgreSQL and Redis.
-
Create and define your cluster.
-
Install the Cloudentity platform.
-
Optionally, install additional dependencies such as Fission or TimescaleDB.
Cloudentity and its dependencies are installed with Helm Charts - a package manager for K8s.
To learn more about Cloudentity and its deployment on Kubernetes, check our Deployments Overview.
Set Up Required Dependencies
To set up required dependencies we will use GCP SQL Cloud service and GCP Memorystore. The Cloudentity platform requires two databases to work:
-
Either Cockroach or PostgreSQL database.
Since GCP Cloud SQL Engine provides a possibility to integrate with MySQL, PostgreSQL, or SQL Server, in this article, we will set up a PostgreSQL database.
-
Redis database to store security tokens such as access tokens or refresh tokens.
Setup PostgreSQL
You may need to enable this API the first time You will visit it.
-
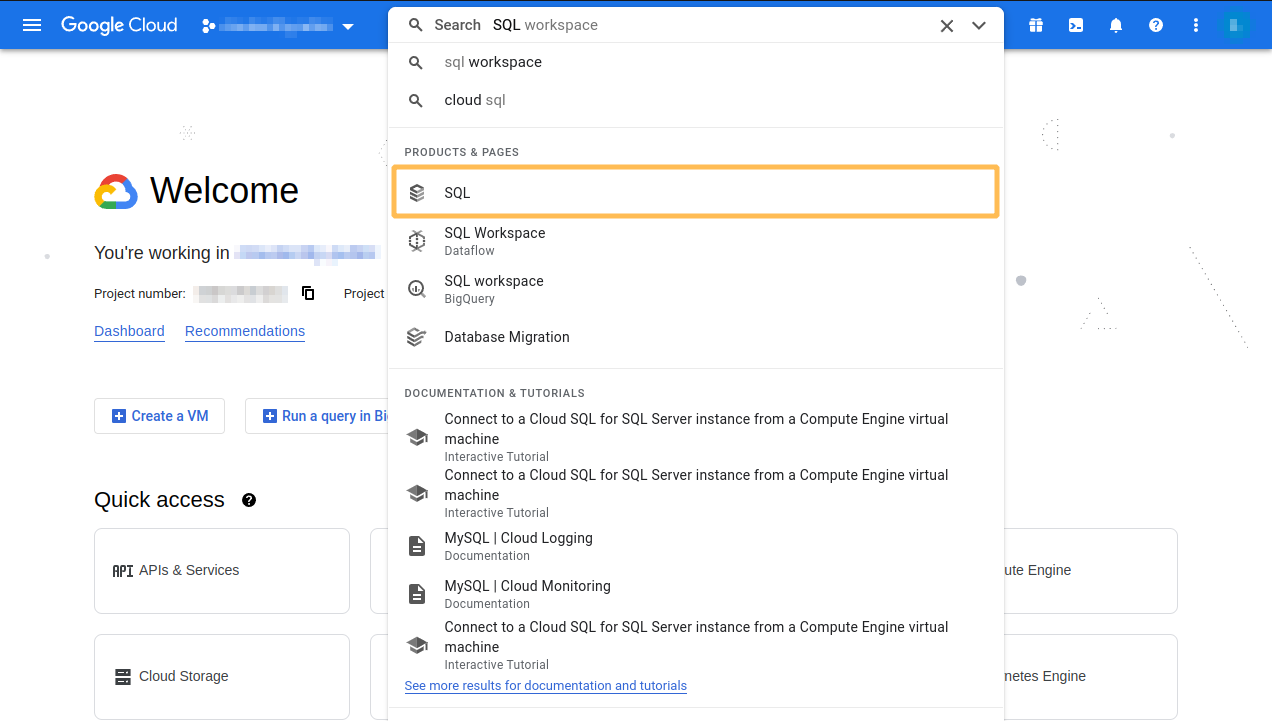
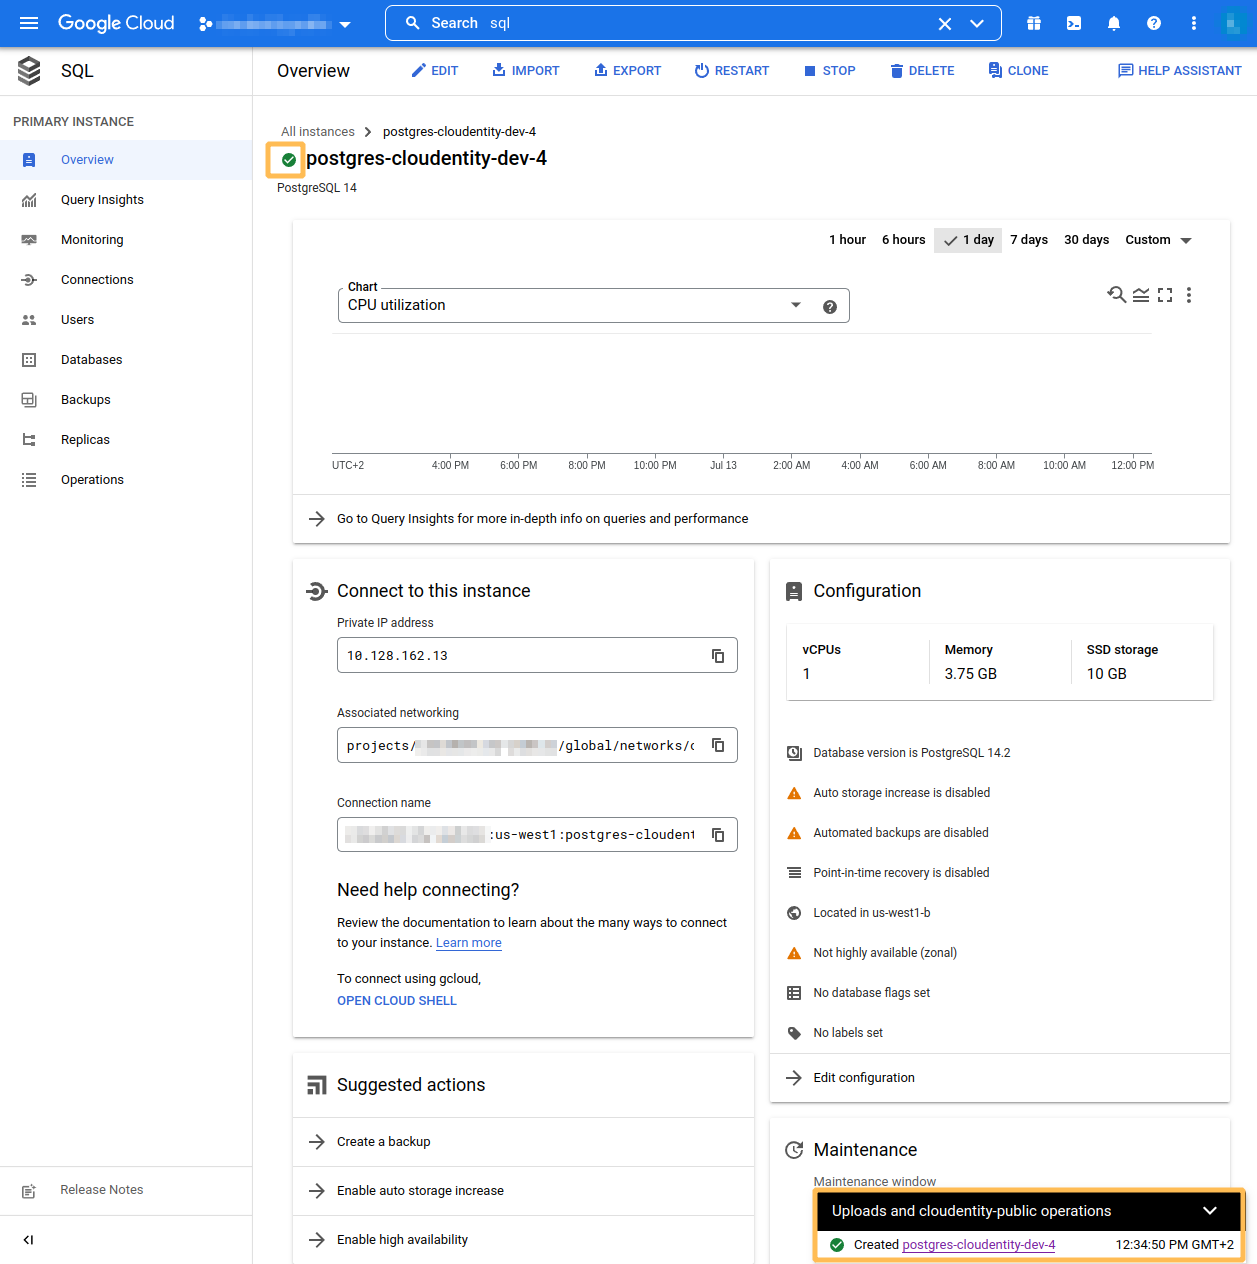
In GCP, go to Cloud SQL Engine.
-
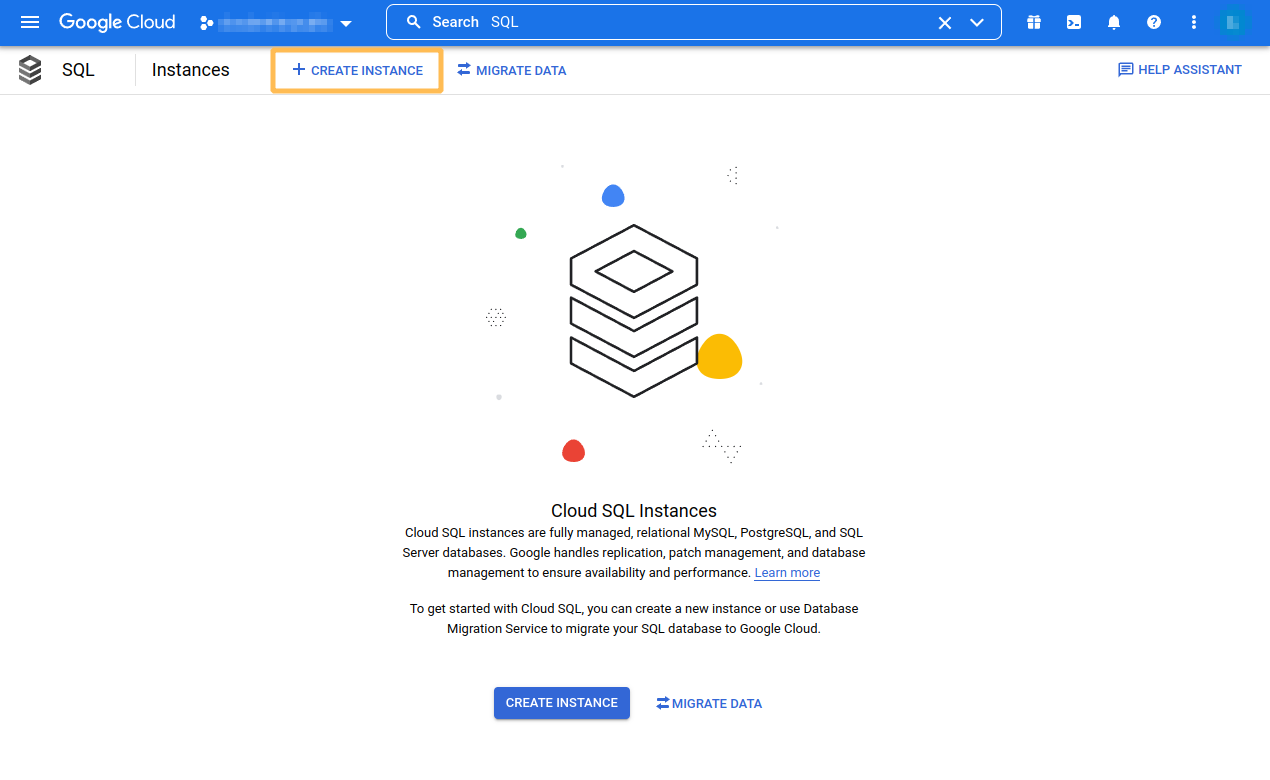
Select Create instance.
-
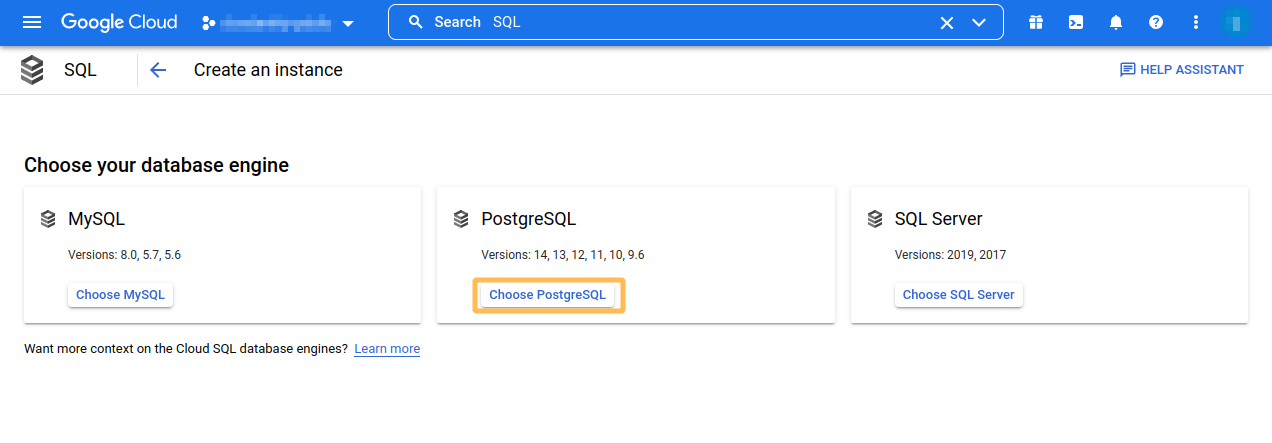
Select PostgreSQL.
-
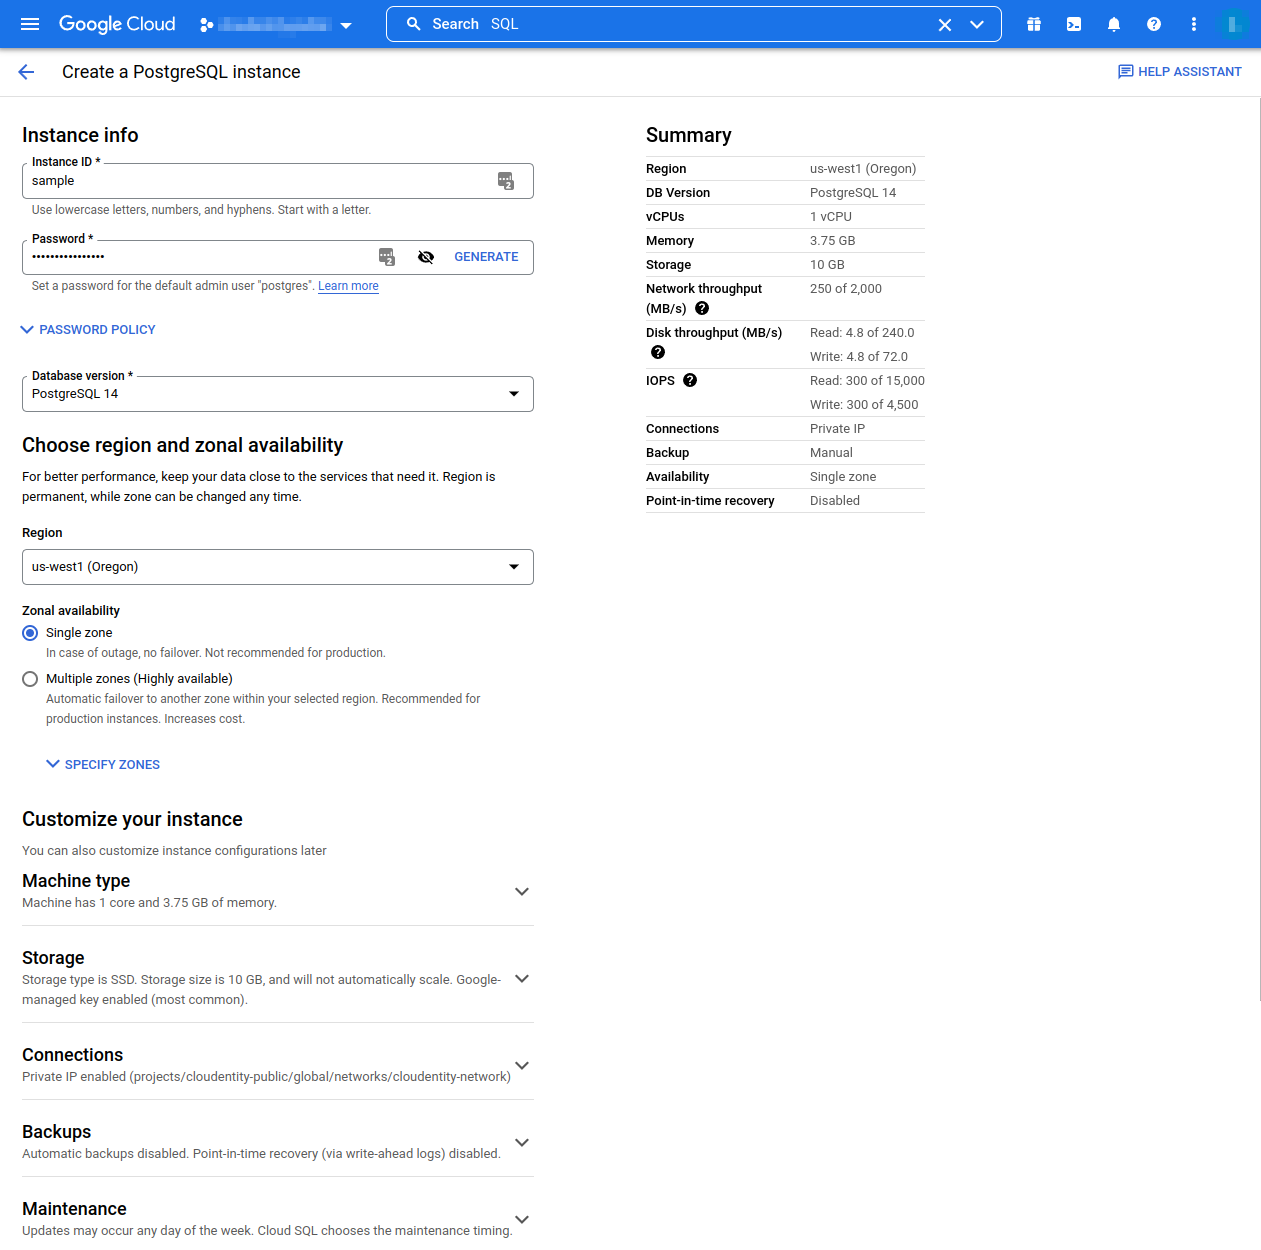
Fill out PostgreSQL instance details.
- Type instance ID.
- Type or generate a password (remember to note it down, as it’ll be later required for connection to database).
- Select desired version of database version (the current recommended version is PostgresSQL 14).
- Choose region and zonal availability - for testing purposes, you can use a Single zone, but for production purposes, Highly available is recommended.
- Select desired Machine Type - for simple testing, Standard 1 vCPU, 3.75 GB is sufficient, but for production, we recommend that you decide based on Cloudentity sizing recommendations.
- Select desired Storage - recommended type is SSD. For testing purposes,
capacity
10 GBshould be sufficient, but for production purposes follow Cloudentity sizing recommendations. - The Connections section highly depends on your case. In most cases, if you want to improve security, we recommend selecting only Private IP with the associated network, then selecting the available Allocated IP range (the Kubernetes cluster that you own should be able to access instances within this network).
- The Backups setting is user-dependent. You can turn this setting off for testing purposes, but for production, turning it on is highly recommended.
-
Select Create instance at the bottom of the page.
-
Wait for the database to start.
-
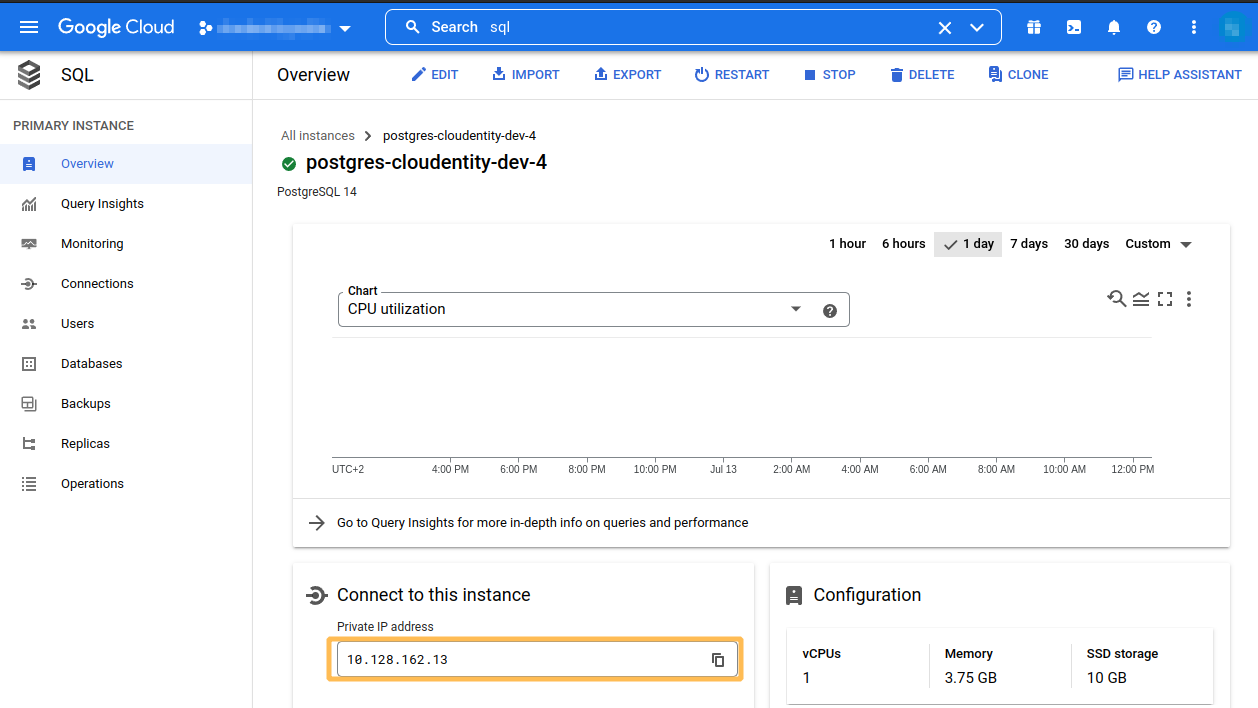
Note IP address assigned to access database.
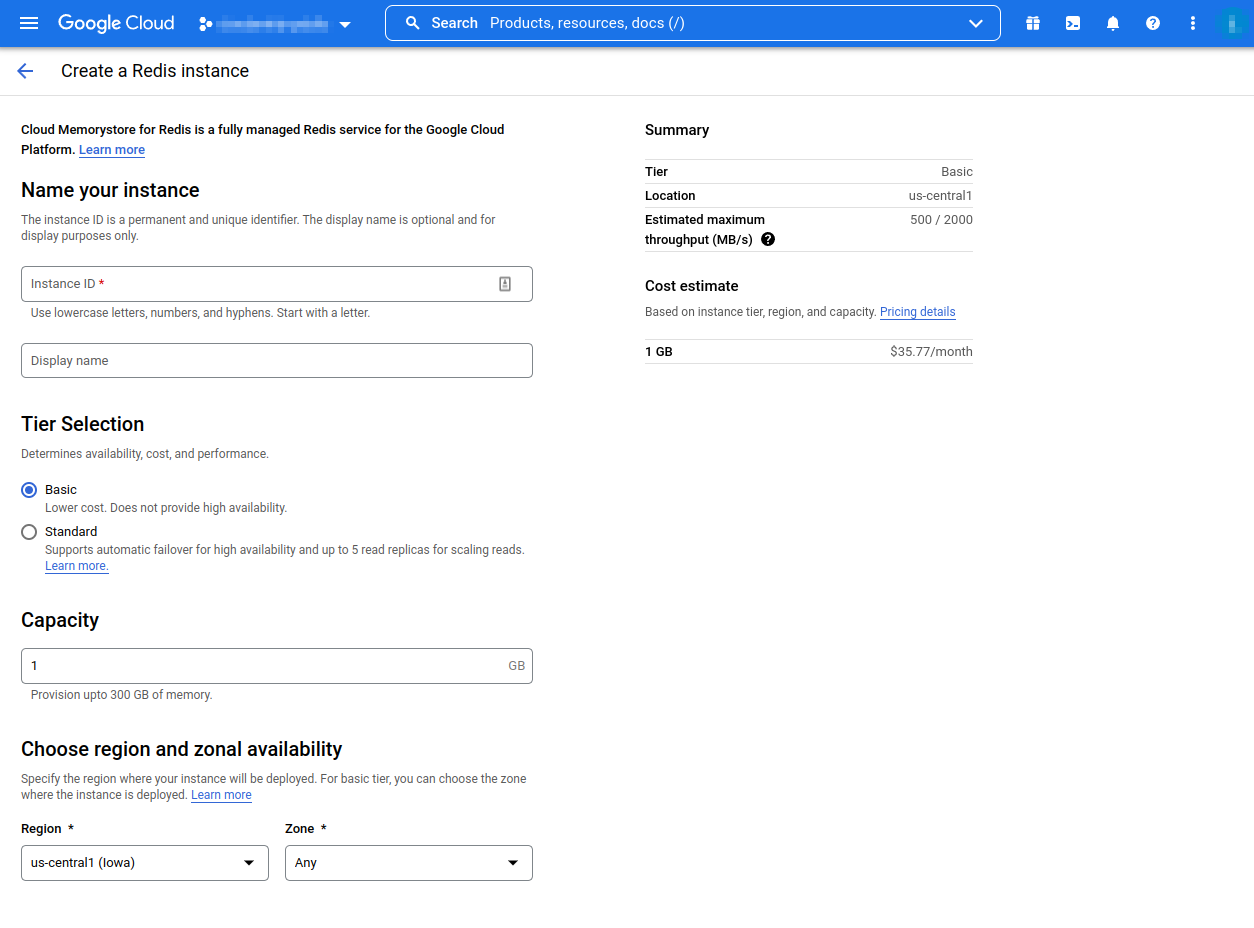
Set Up Redis
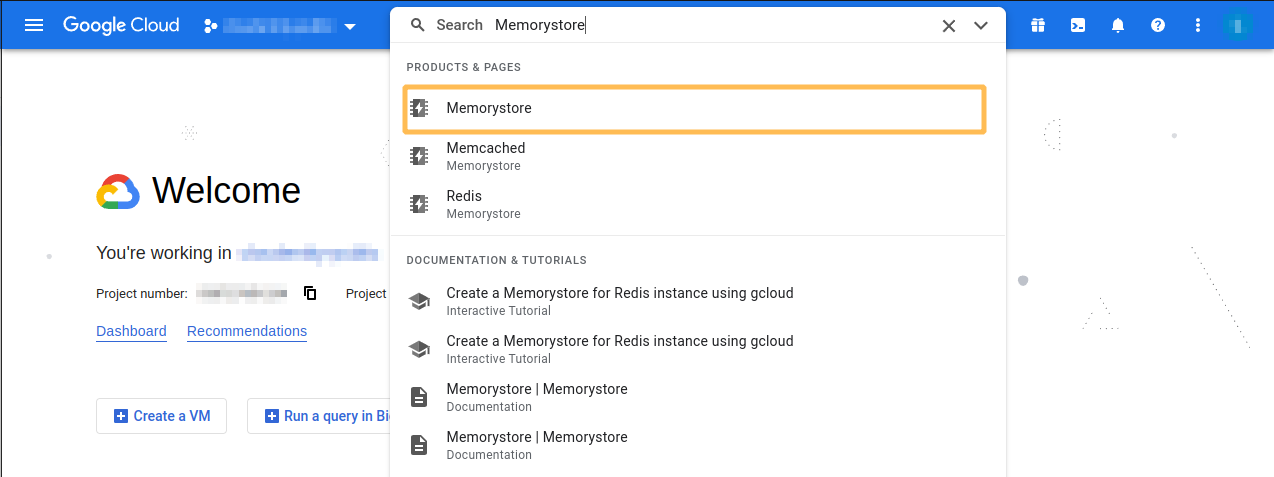
You may need to enable this API the first time You will visit it.
-
In GCP, go to Memorystore.
-
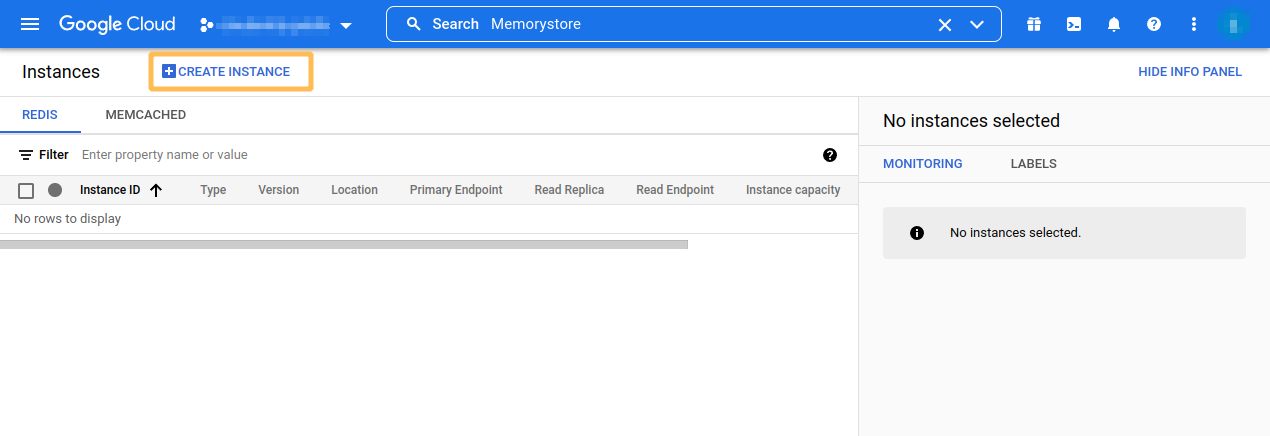
Select Create instance.
-
Fill out Redis instance details.
- Provide an Instance ID.
- Define the Display name for your Redis instance.
- Select Tier Selection. You can use the Basic tier for testing purposes, but the Standard tier is recommended for production purposes.
- Select desired Capacity. For testing purposes, 1GB is enough for the non-production environment. The desired capacity is highly dependent on specific use cases handled by Cloudentity and the number of tokens that are to be stored.
- Select desired Choose region and zonal availability.
- In Set up connection, select your desired private network.
- Optionally, if you want to increase security, you can select the Enable AUTH option in the Security section. Note that Enable in-transit encryption enables TLS for Redis, and you will need to extend its configuration to handle the TCL connection with certificate.
- In the Configuration section, select a desired Redis version. We recommend using Redis 7.x, but, currently, GCP only supports versions up to 6.x).
-
Select Create instance at the bottom of the page.
-
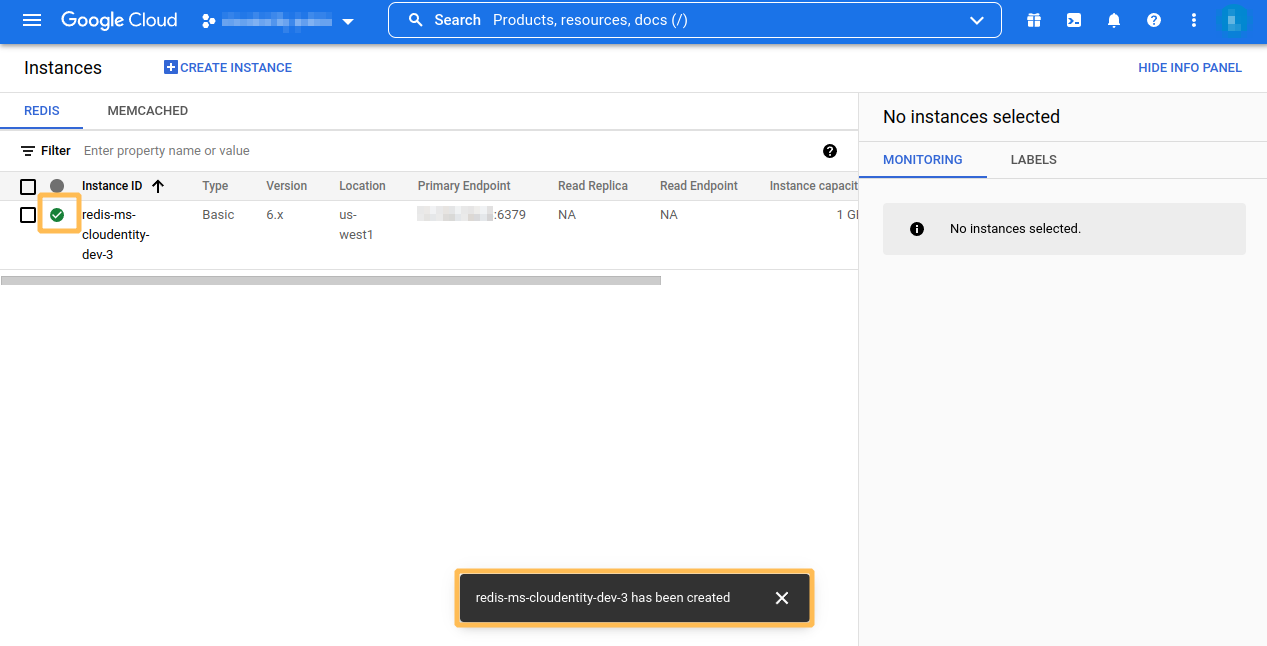
Wait for the Memorystore to finish creating.
-
Select created Redis instance.
-
Note Primary Endpoint.
-
If you enabled AUTH in step #3.7, note Auth String as well.
Create Kubernetes Cluster
In this section, we’ll deploy the cluster using GCP Autopilot. In case You want to deploy a Standard cluster, follow the official GCP documentation for Standard clusters.
Prerequisites
- gcloud CLI is installed (https://cloud.google.com/sdk/docs/install).
- Helm
- Kubectl
Public Cluster
The simplest option is to create a public cluster in your desired region:
gcloud container clusters create-auto cloudentity-dev \
  --region $REGION \
  --network=$PRIVATE_CLUSTER_NETWORK \
  --subnetwork=cloudentity-usw1
Private Cluster
In case you want to improve the security and restrict nodes' access to the internet, you can create a private cluster:
gcloud container clusters create-auto cloudentity-dev \
  --region $REGION \
  --enable-private-nodes \
  --network=$PRIVATE_CLUSTER_NETWORK \
  --subnetwork=cloudentity-usw1
To use Cloudentity with a private cluster, you need to set access to the docker
registry (i.e., you can use GCP Artifact Registry)
and override the image registry image.repository in your Cloudentity helm deployment.
Get Credentials for Cluster
After the cluster finishes creating, execute the command below to generate the kubeconfig entry in
order for kubectl getting access to your cluster:
gcloud container clusters get-credentials cloudentity-dev --region $REGION
Deploy Cloudentity Platform to GCP
Setup Kubernetes Namespace
To set up a Kubernetes namespace for your Cloudentity deployment, execute the following commands:
kubectl create namespace acp-system
kubectl create secret docker-registry docker.cloudentity.io \
  --namespace acp-system \
  --docker-server=docker.cloudentity.io \
  --docker-username="$DOCKER_USR" \
  --docker-password="$DOCKER_PWD"
Install Cloudentity
To install the Cloudentity platform, prepare a values.yaml file with your
Cloudentity deployment configuration. If you need, refer to
the Advanced Configuration section.
You may use the default values.yaml file, but you need to define the address for your Redis
instance and an url for your PostgreSQL database.
Example of minimal values.yaml file:
redis:
  address:
  - $REDIS_ADDRESS:6379
sql:
  url: postgres://$PG_USR:$PG_PWD@$PG_ADDRESS:5432/$DATABASE?sslmode=disable
Once done with configuring the values.yaml file, execute the following command to install
the Cloudentity with Helm Charts:
helm repo add acp https://charts.cloudentity.io
helm repo update
helm upgrade acp acp/acp --values ./values.yaml --namespace acp-system --timeout 5m --install
Result
Congratulations! Your Cloudentity platform instance is now up and running! If you want, you may now move to applying Advanced Configuration or installing Additonal Dependencies.
Install Additional Dependencies
Even though your Cloudentity deployment is up and running, to get it fully working you need to install some additional dependencies:
-
Fission to be able to execute Cloudentity Extensions in a secure environment
-
TimescaleDB to be able to store Audit Events.
Remember
For GCP deployment, setting up Fission and TimescaleDB roles used to apply the Helm Charts requires the
container.clusterRoles.createpermission (i.e., part ofKubernetes Engine Adminrole).
Fission
For instructions on how to install and configure fission, refer to the Configuring Fission to Run Functions as a Service article.
TimescaleDB
For instructions on how to install and configure TimescaleDB, refer to the Installing and Configuring TimescaleDB for Storing Audit Events article.