Purpose
Protect your APIs and applications with policies that verify Signal Sciences signals.
Create Policy
- Create a policy as explained in Creating a policy in the Cloudentity policy editor.
Result
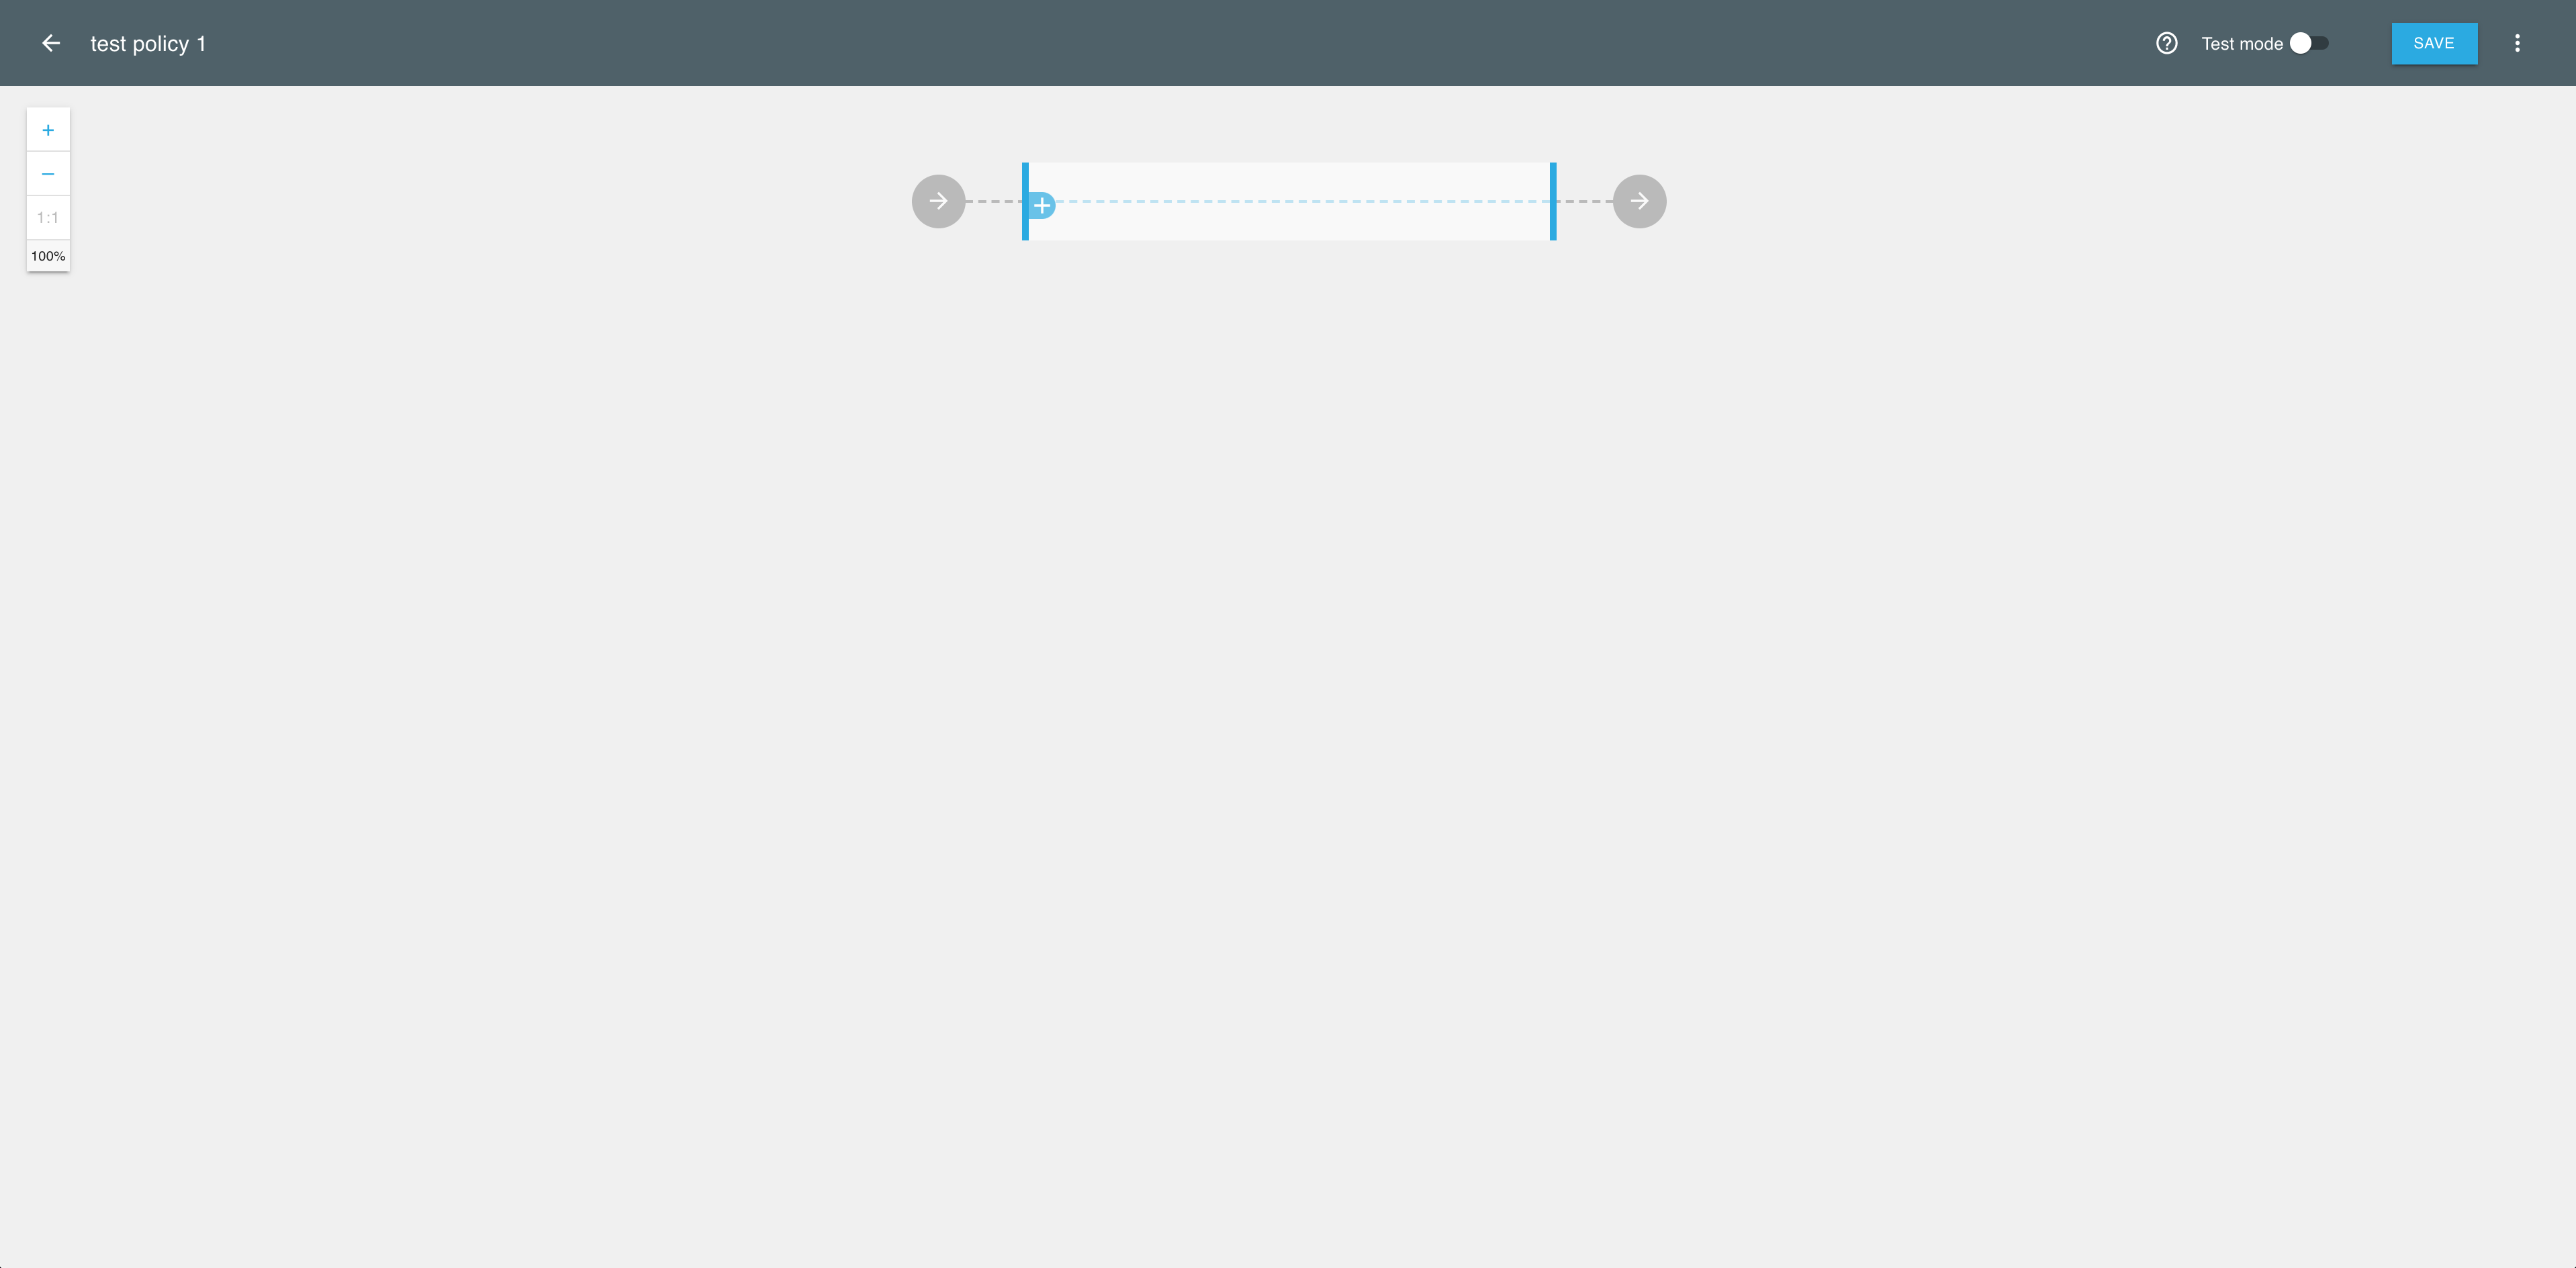
The Cloudentity policy builder opens.
Add Signal Sciences
-
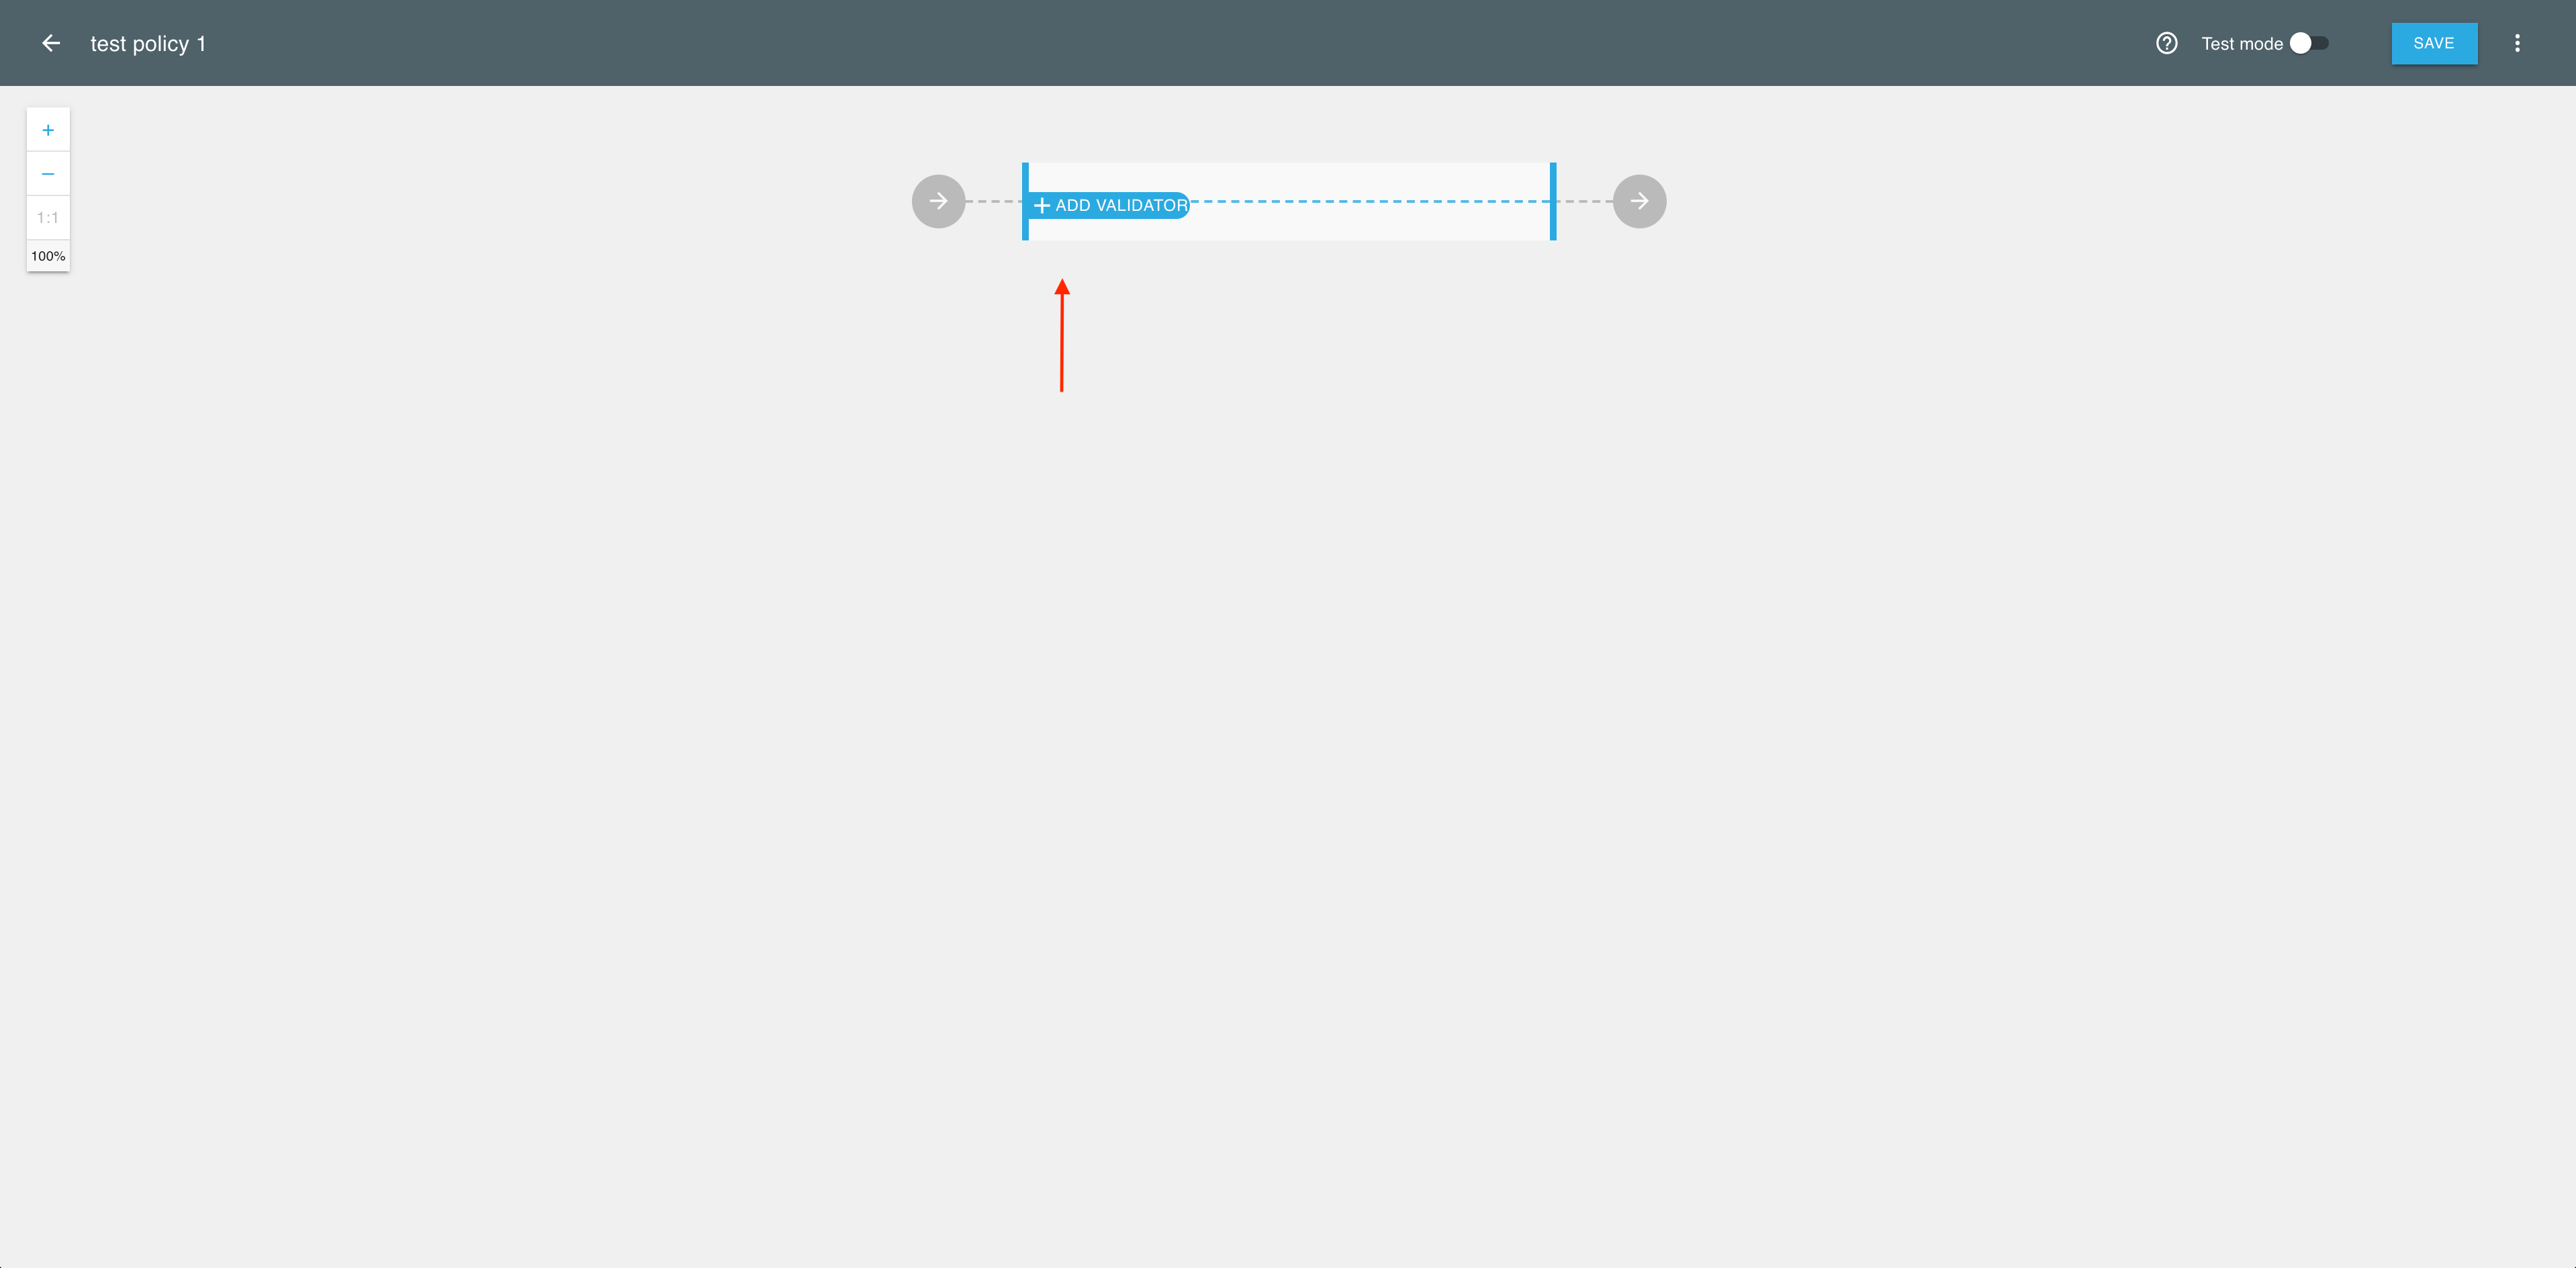
In the policy builder, select the + sign to add a validator.
-
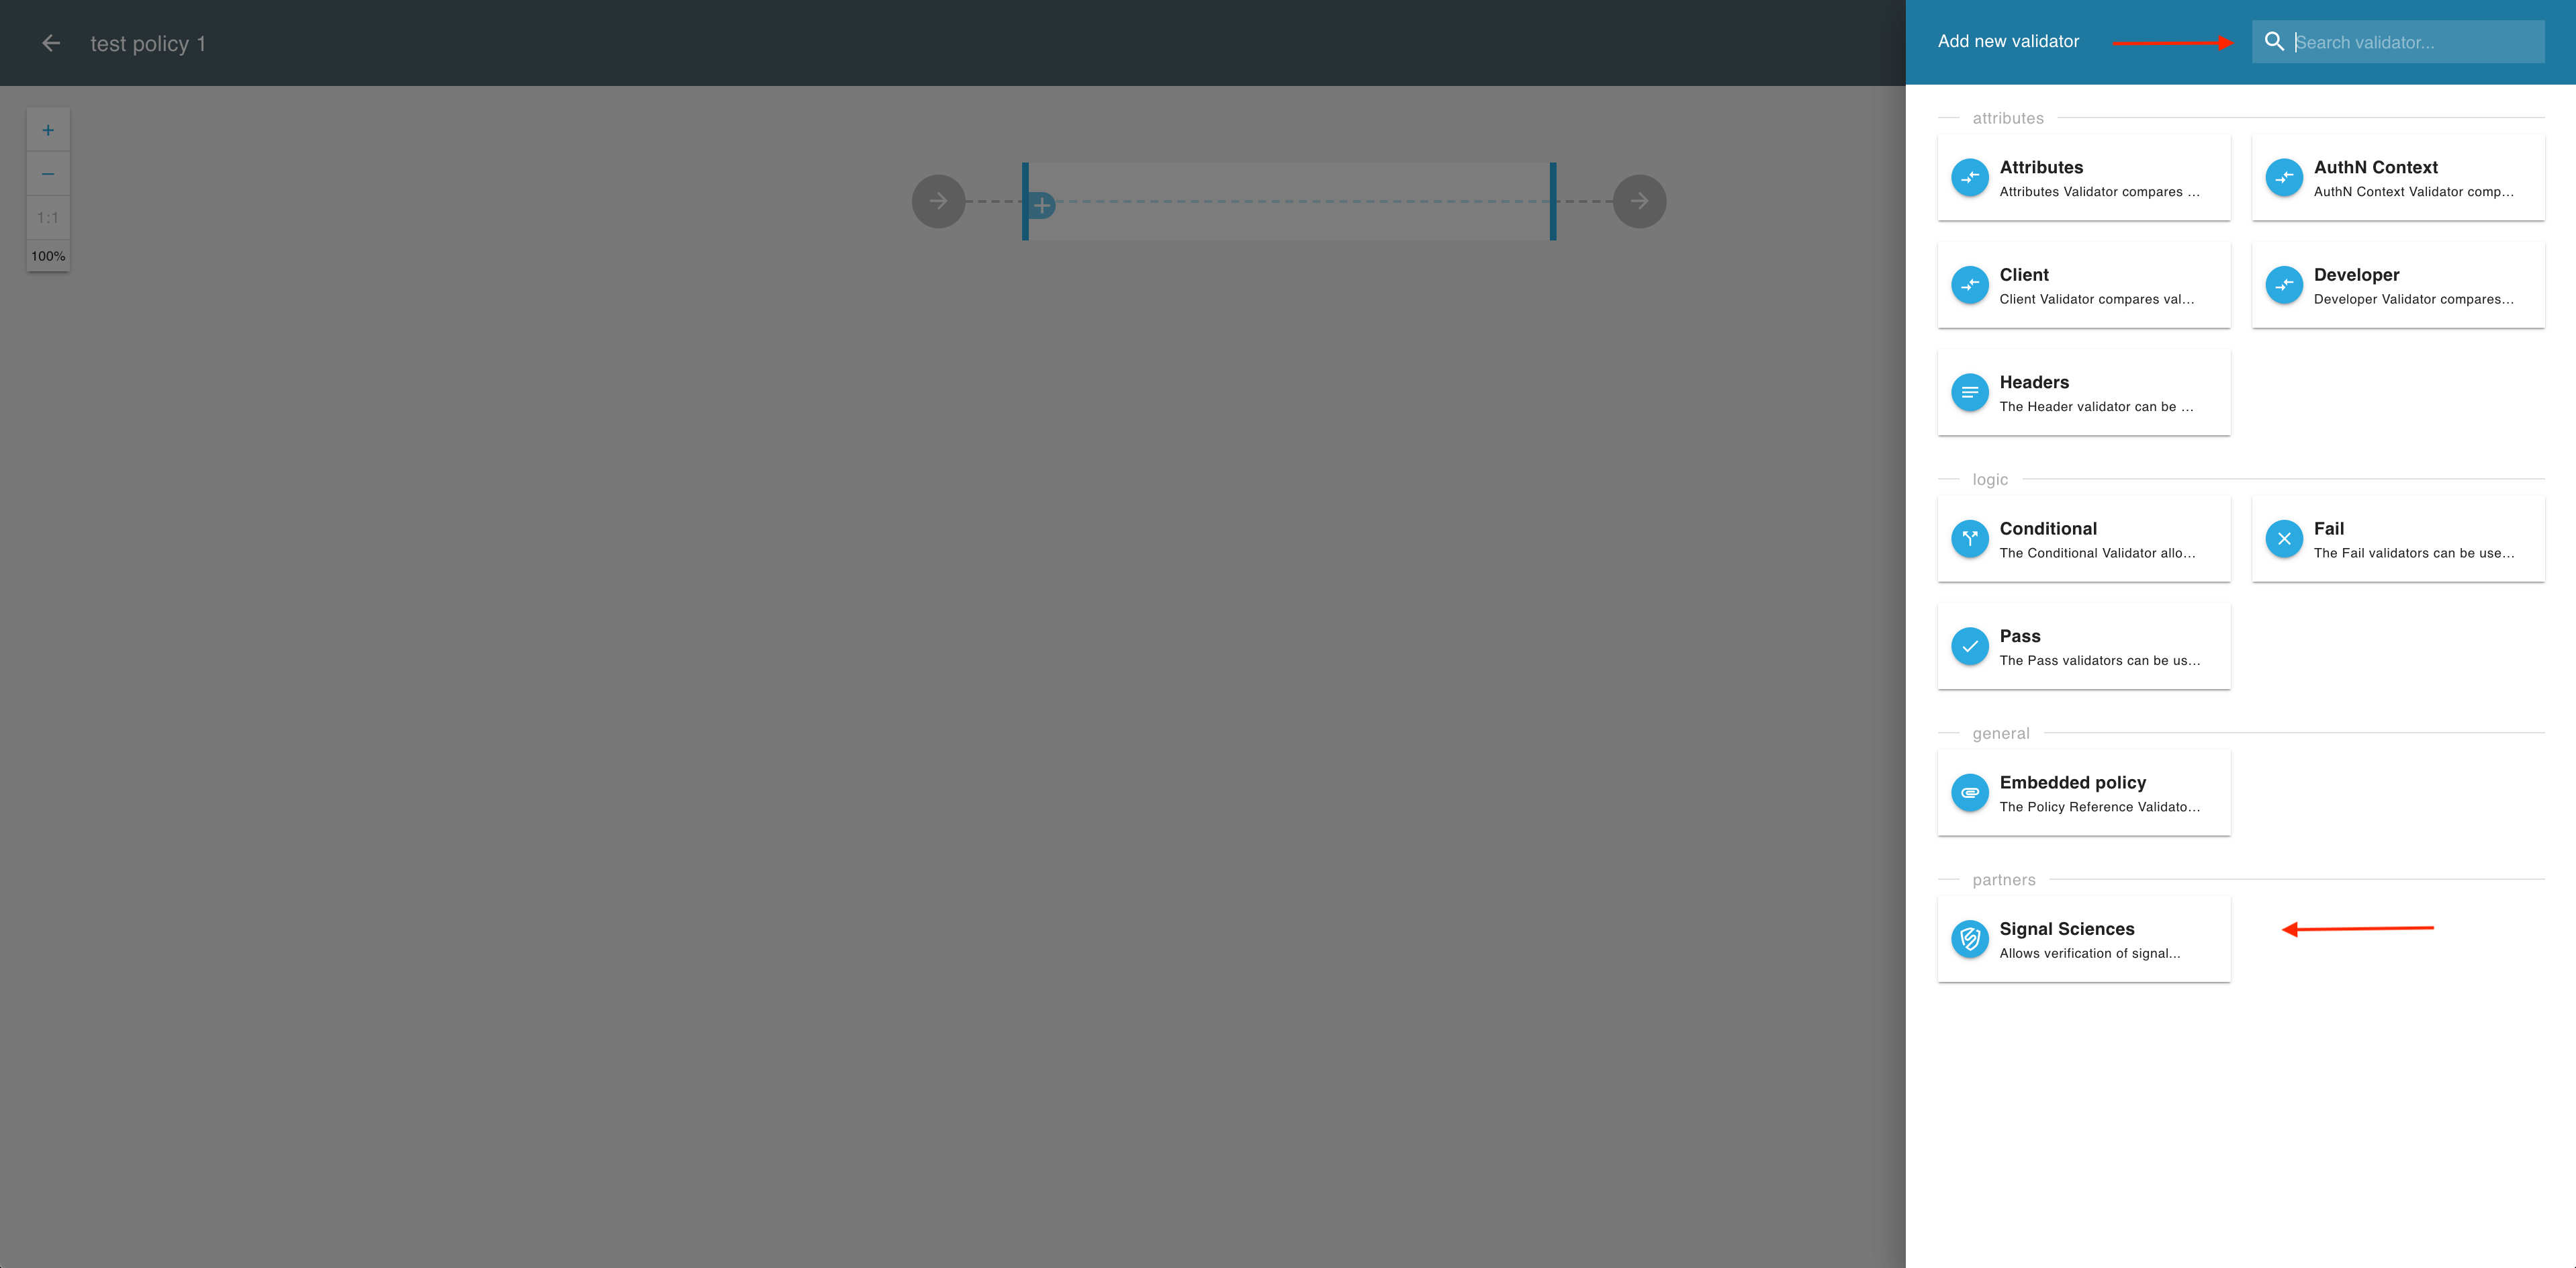
In the Add new validator fly-out view, enter Signal Sciences into the search field or select the Signal Sciences validator from the predefined list of the available validators.
-
In the Signal Sciences validator view, select ADD SIGNAL.

-
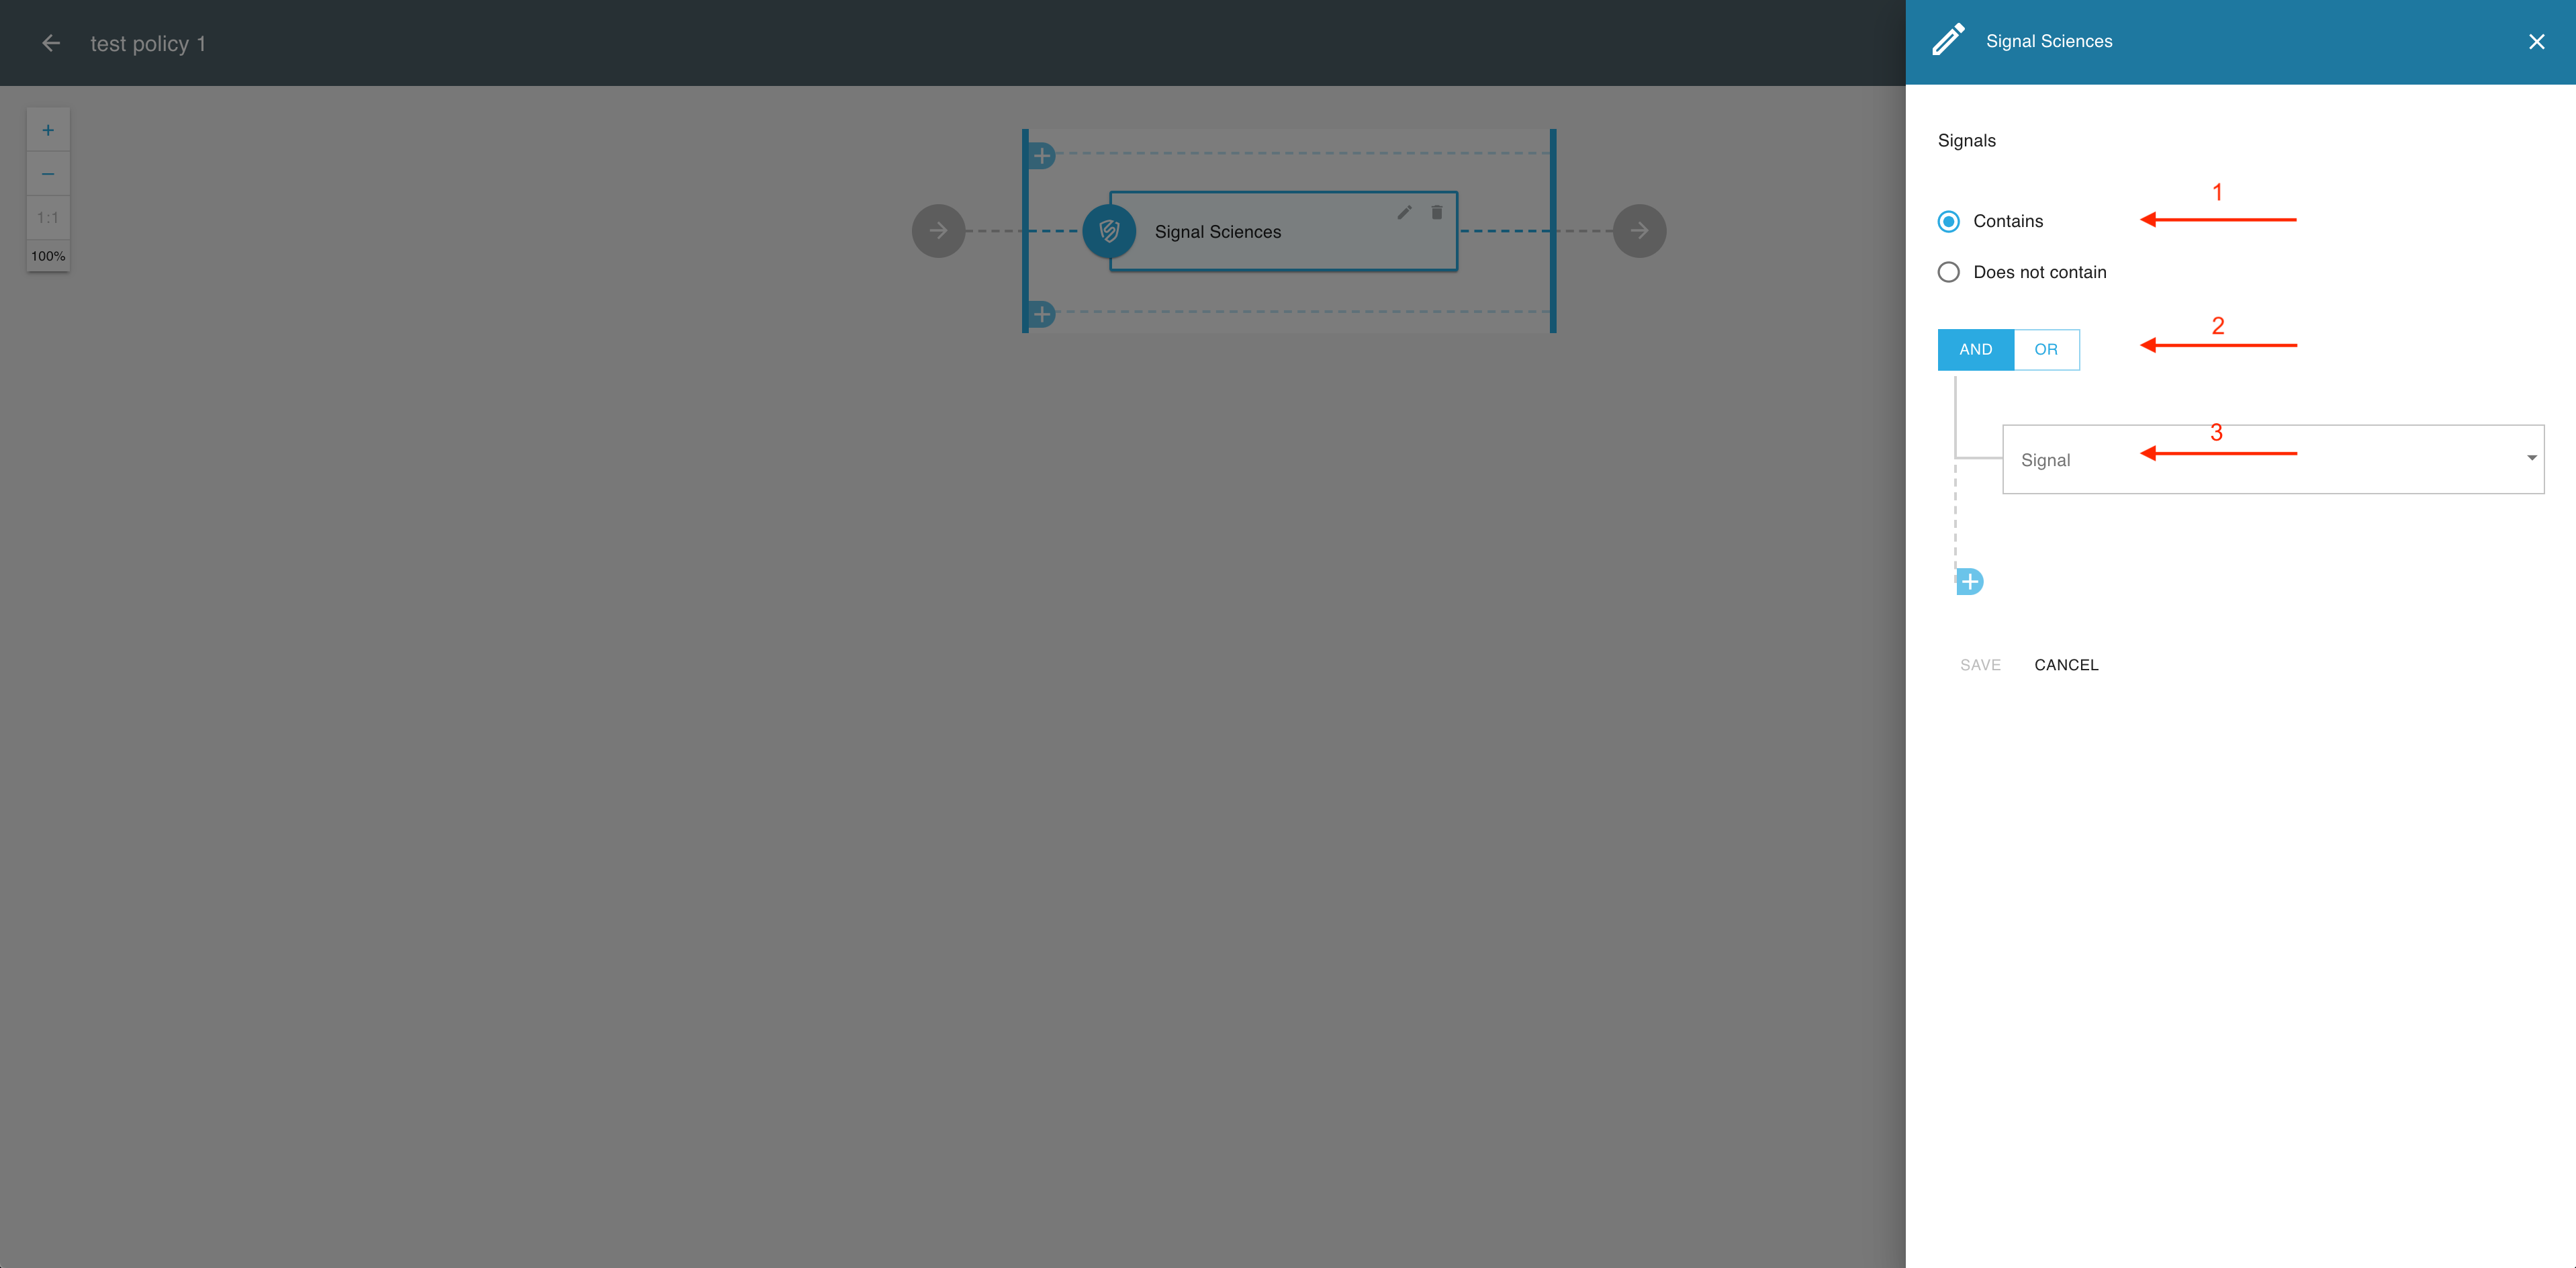
In the Signal Sciences validator editor
-
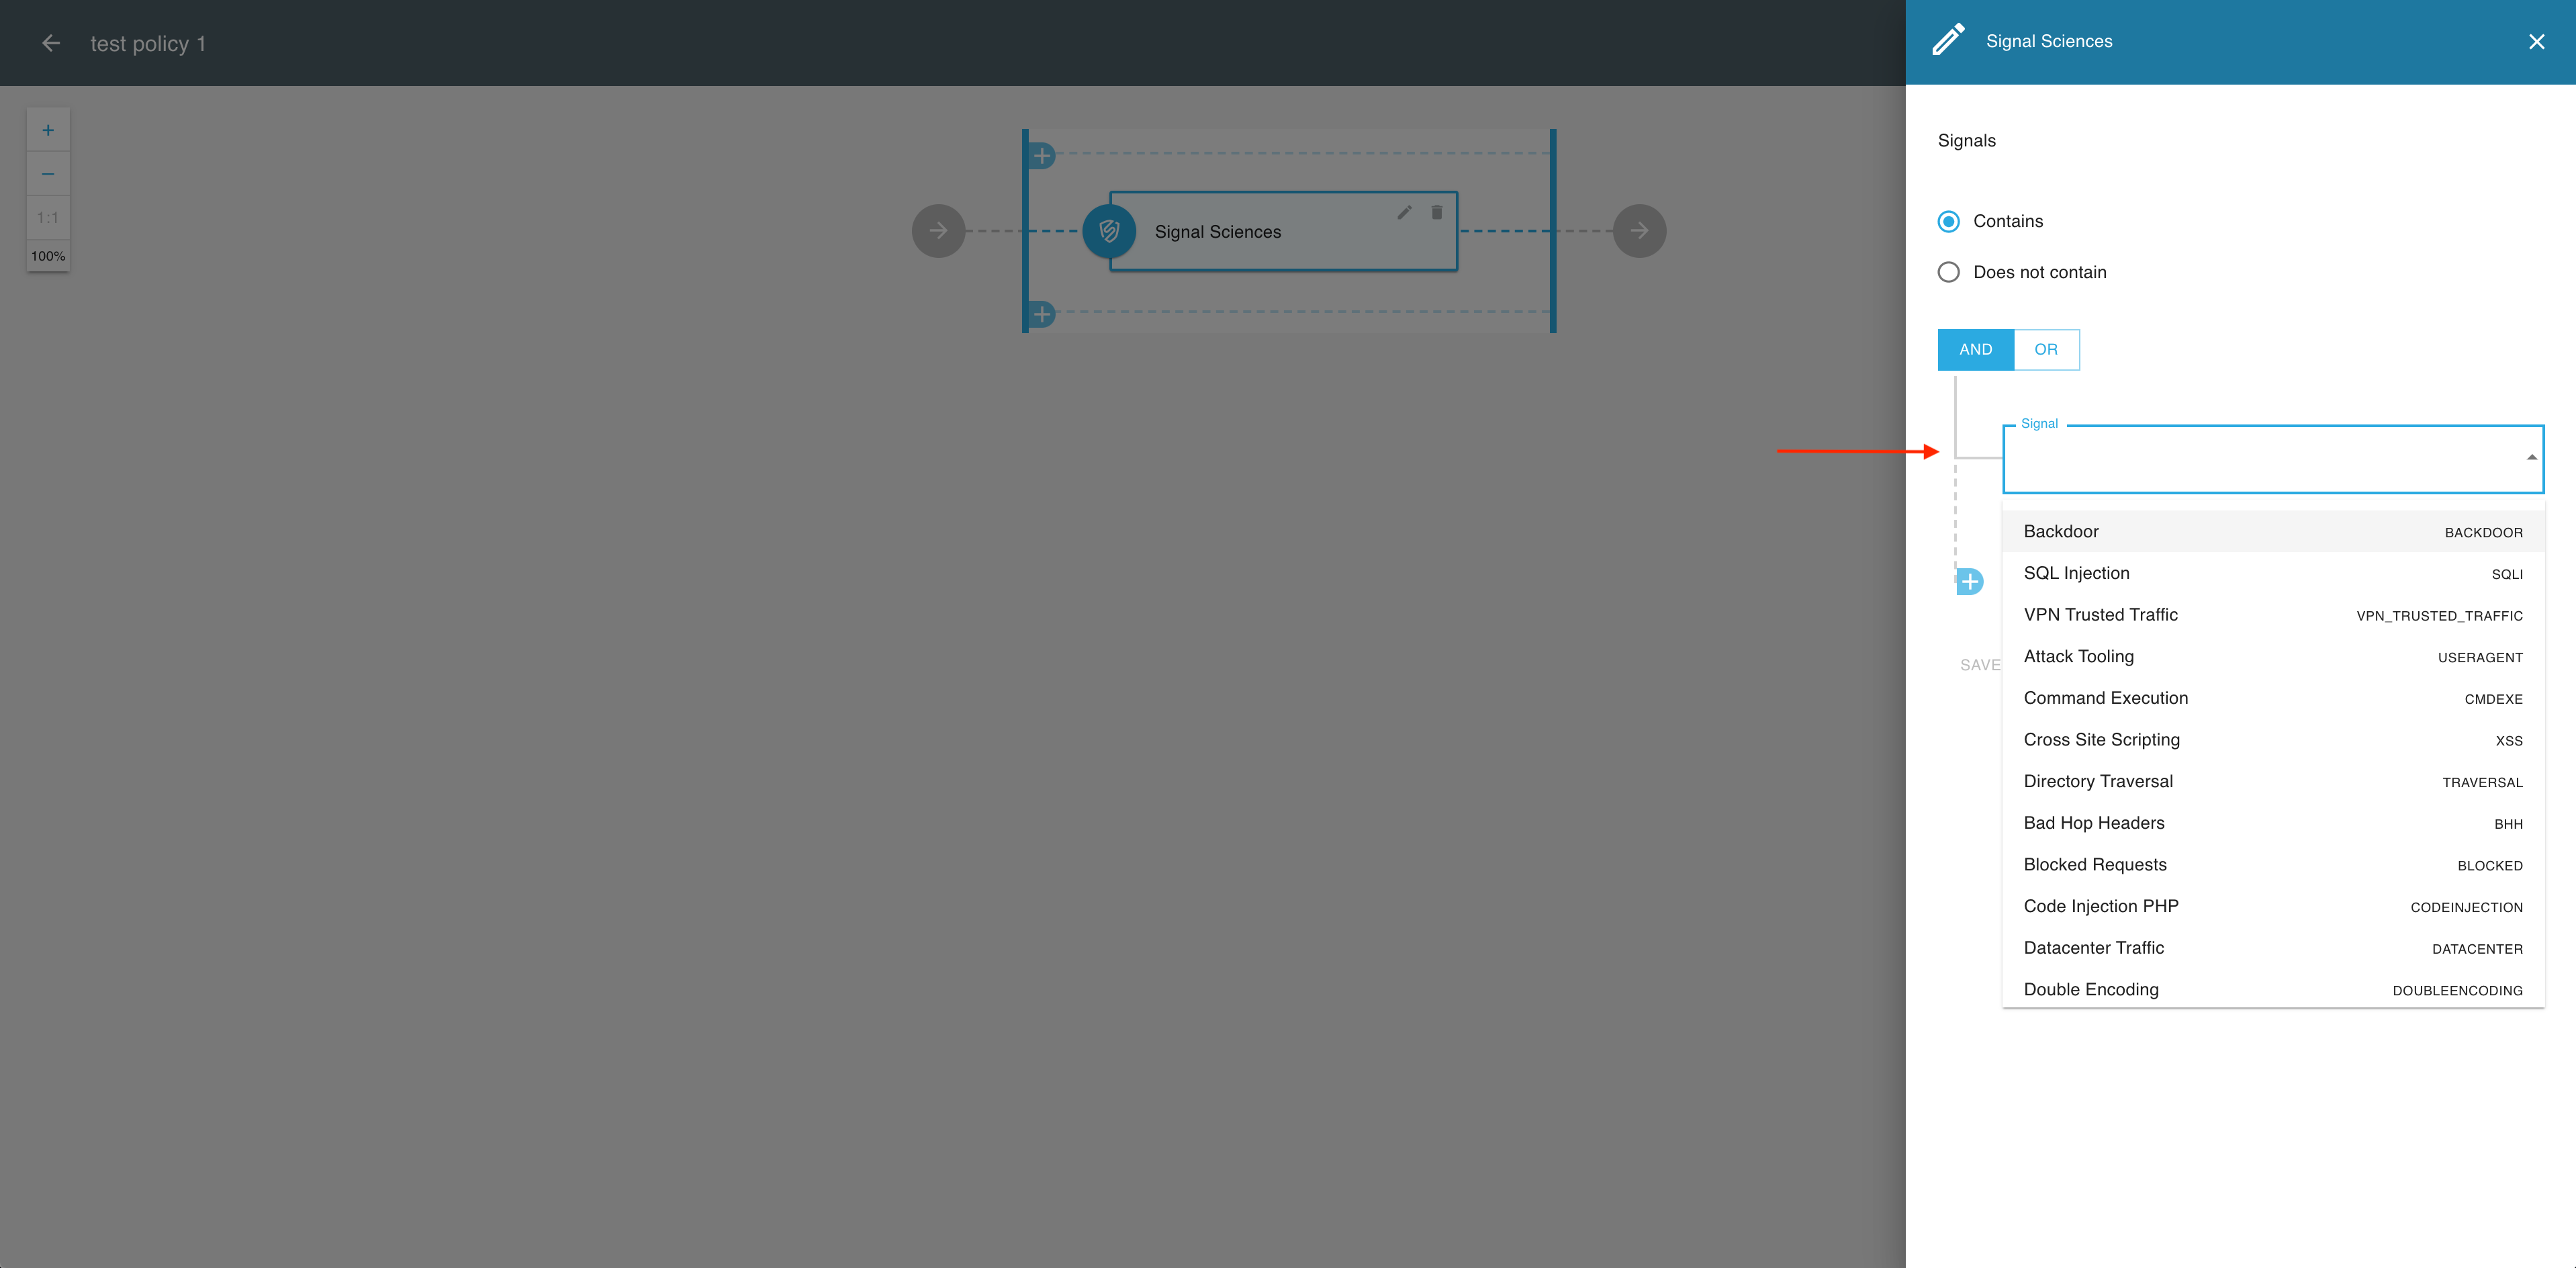
Choose if the validator includes or excludes the selected signals.
-
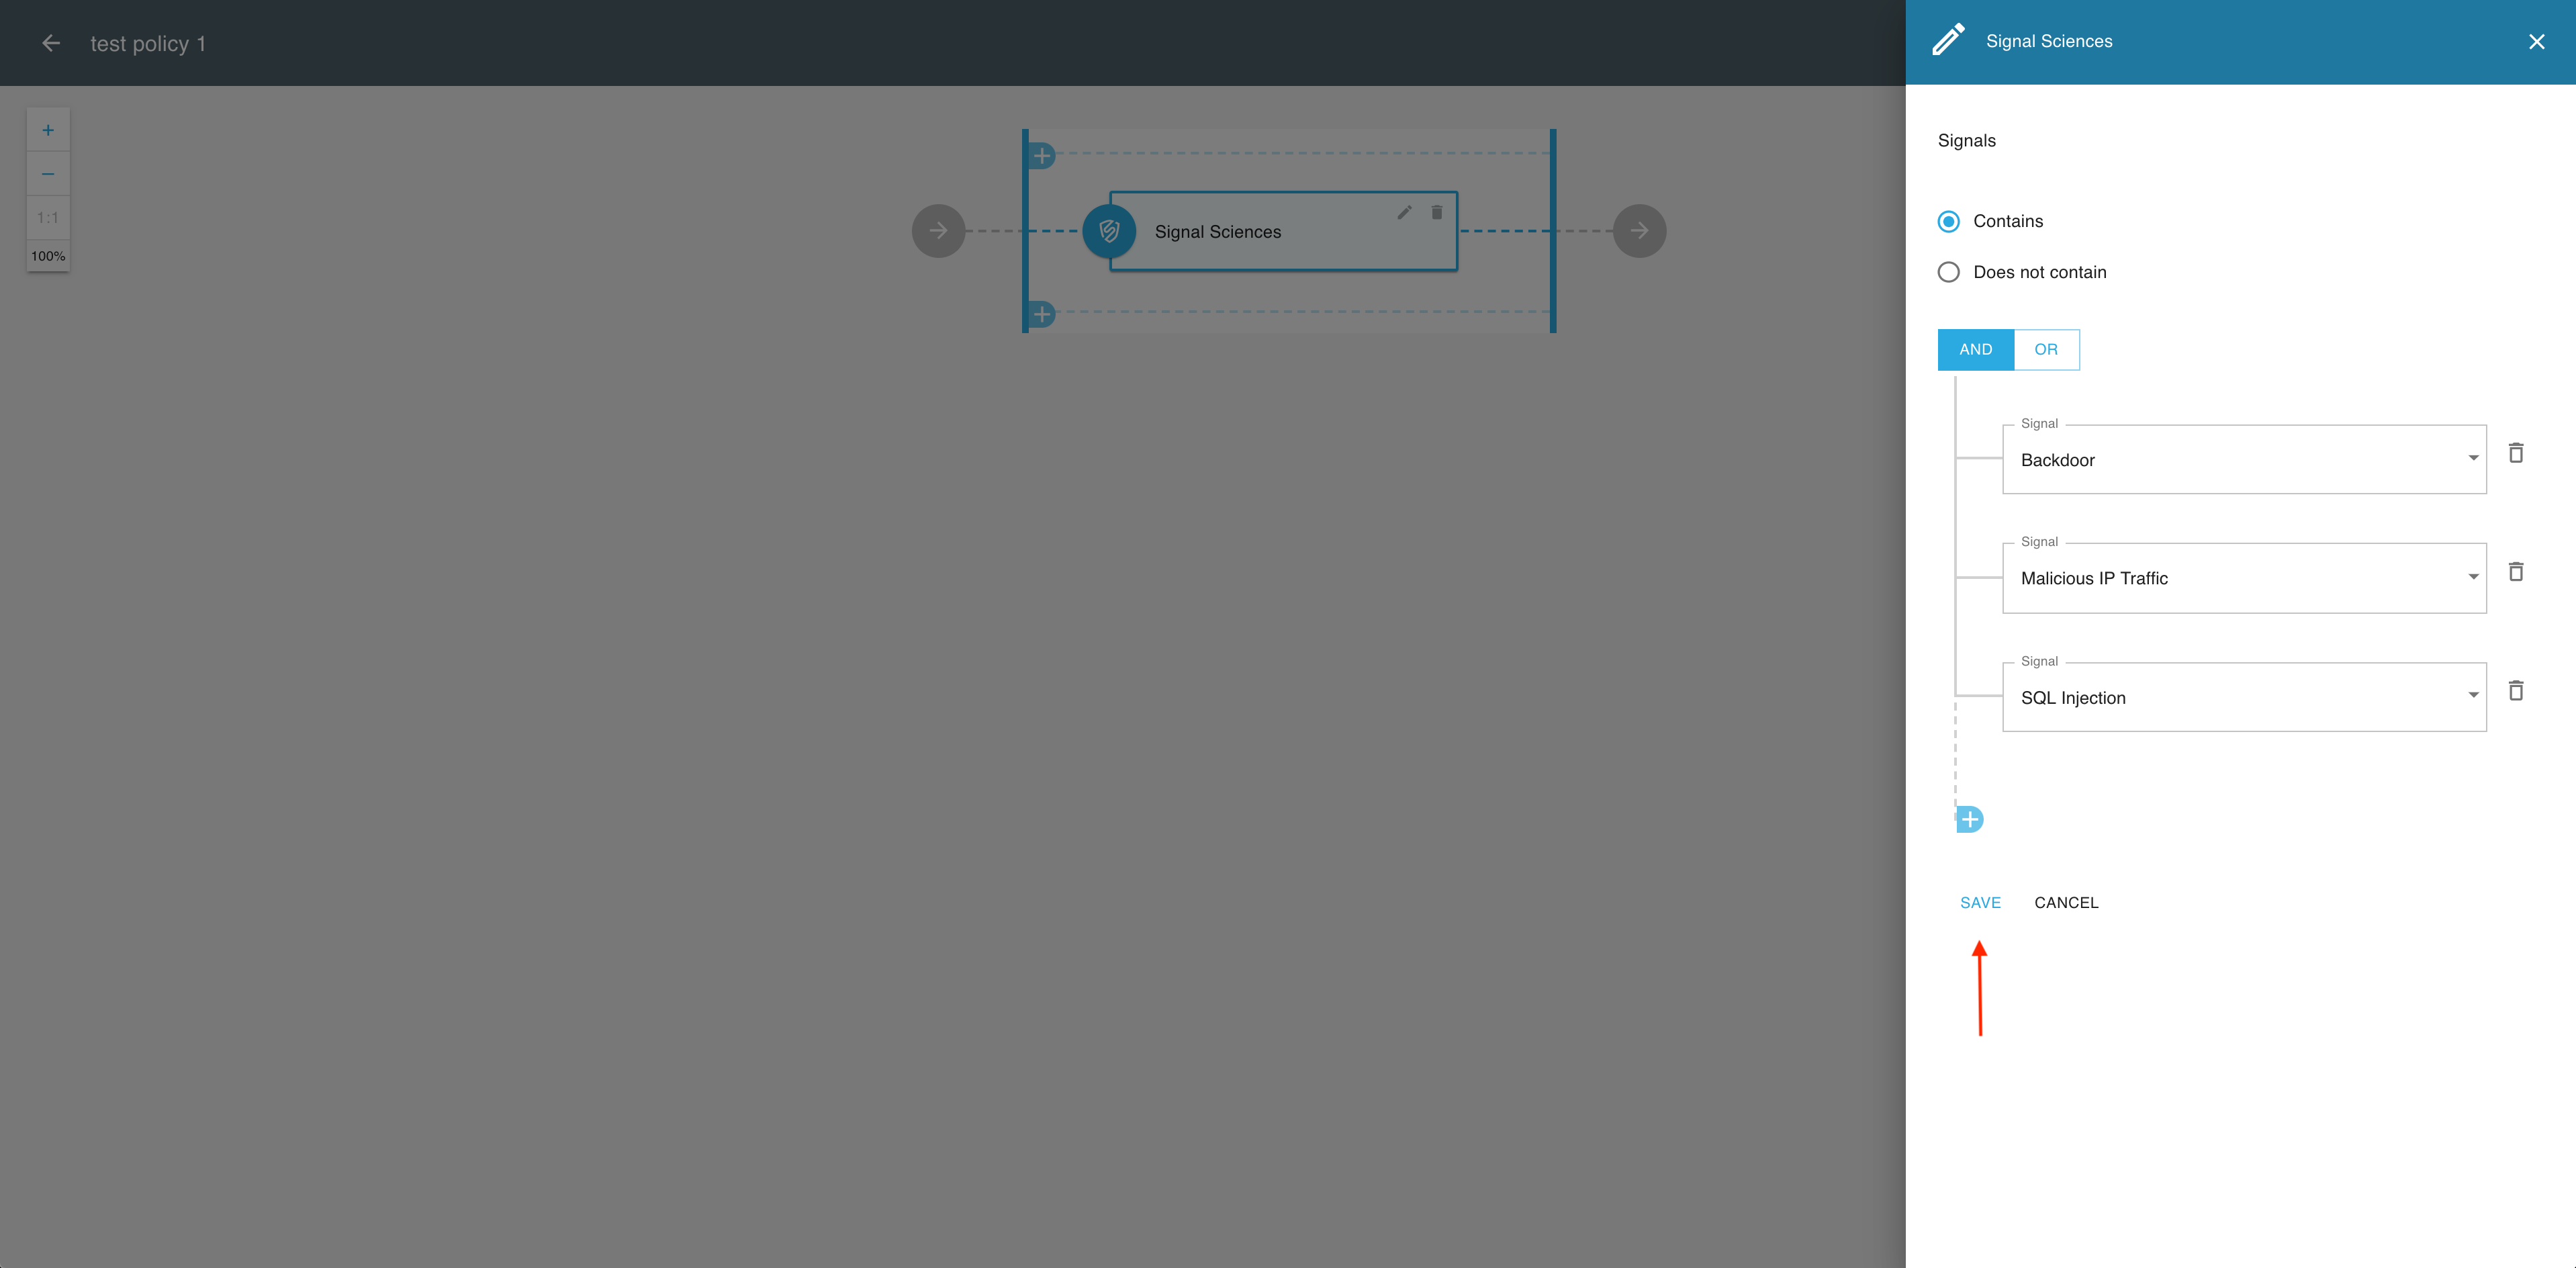
Select the operator (AND or OR) to define the relationship between the selected signals.
-
Select signals for the validator from the dropdown list.
Note
You can add multiple signals, each of which you select from the list of predefined signals.
-
If you’ve done adding your signals, select SAVE.
-
-
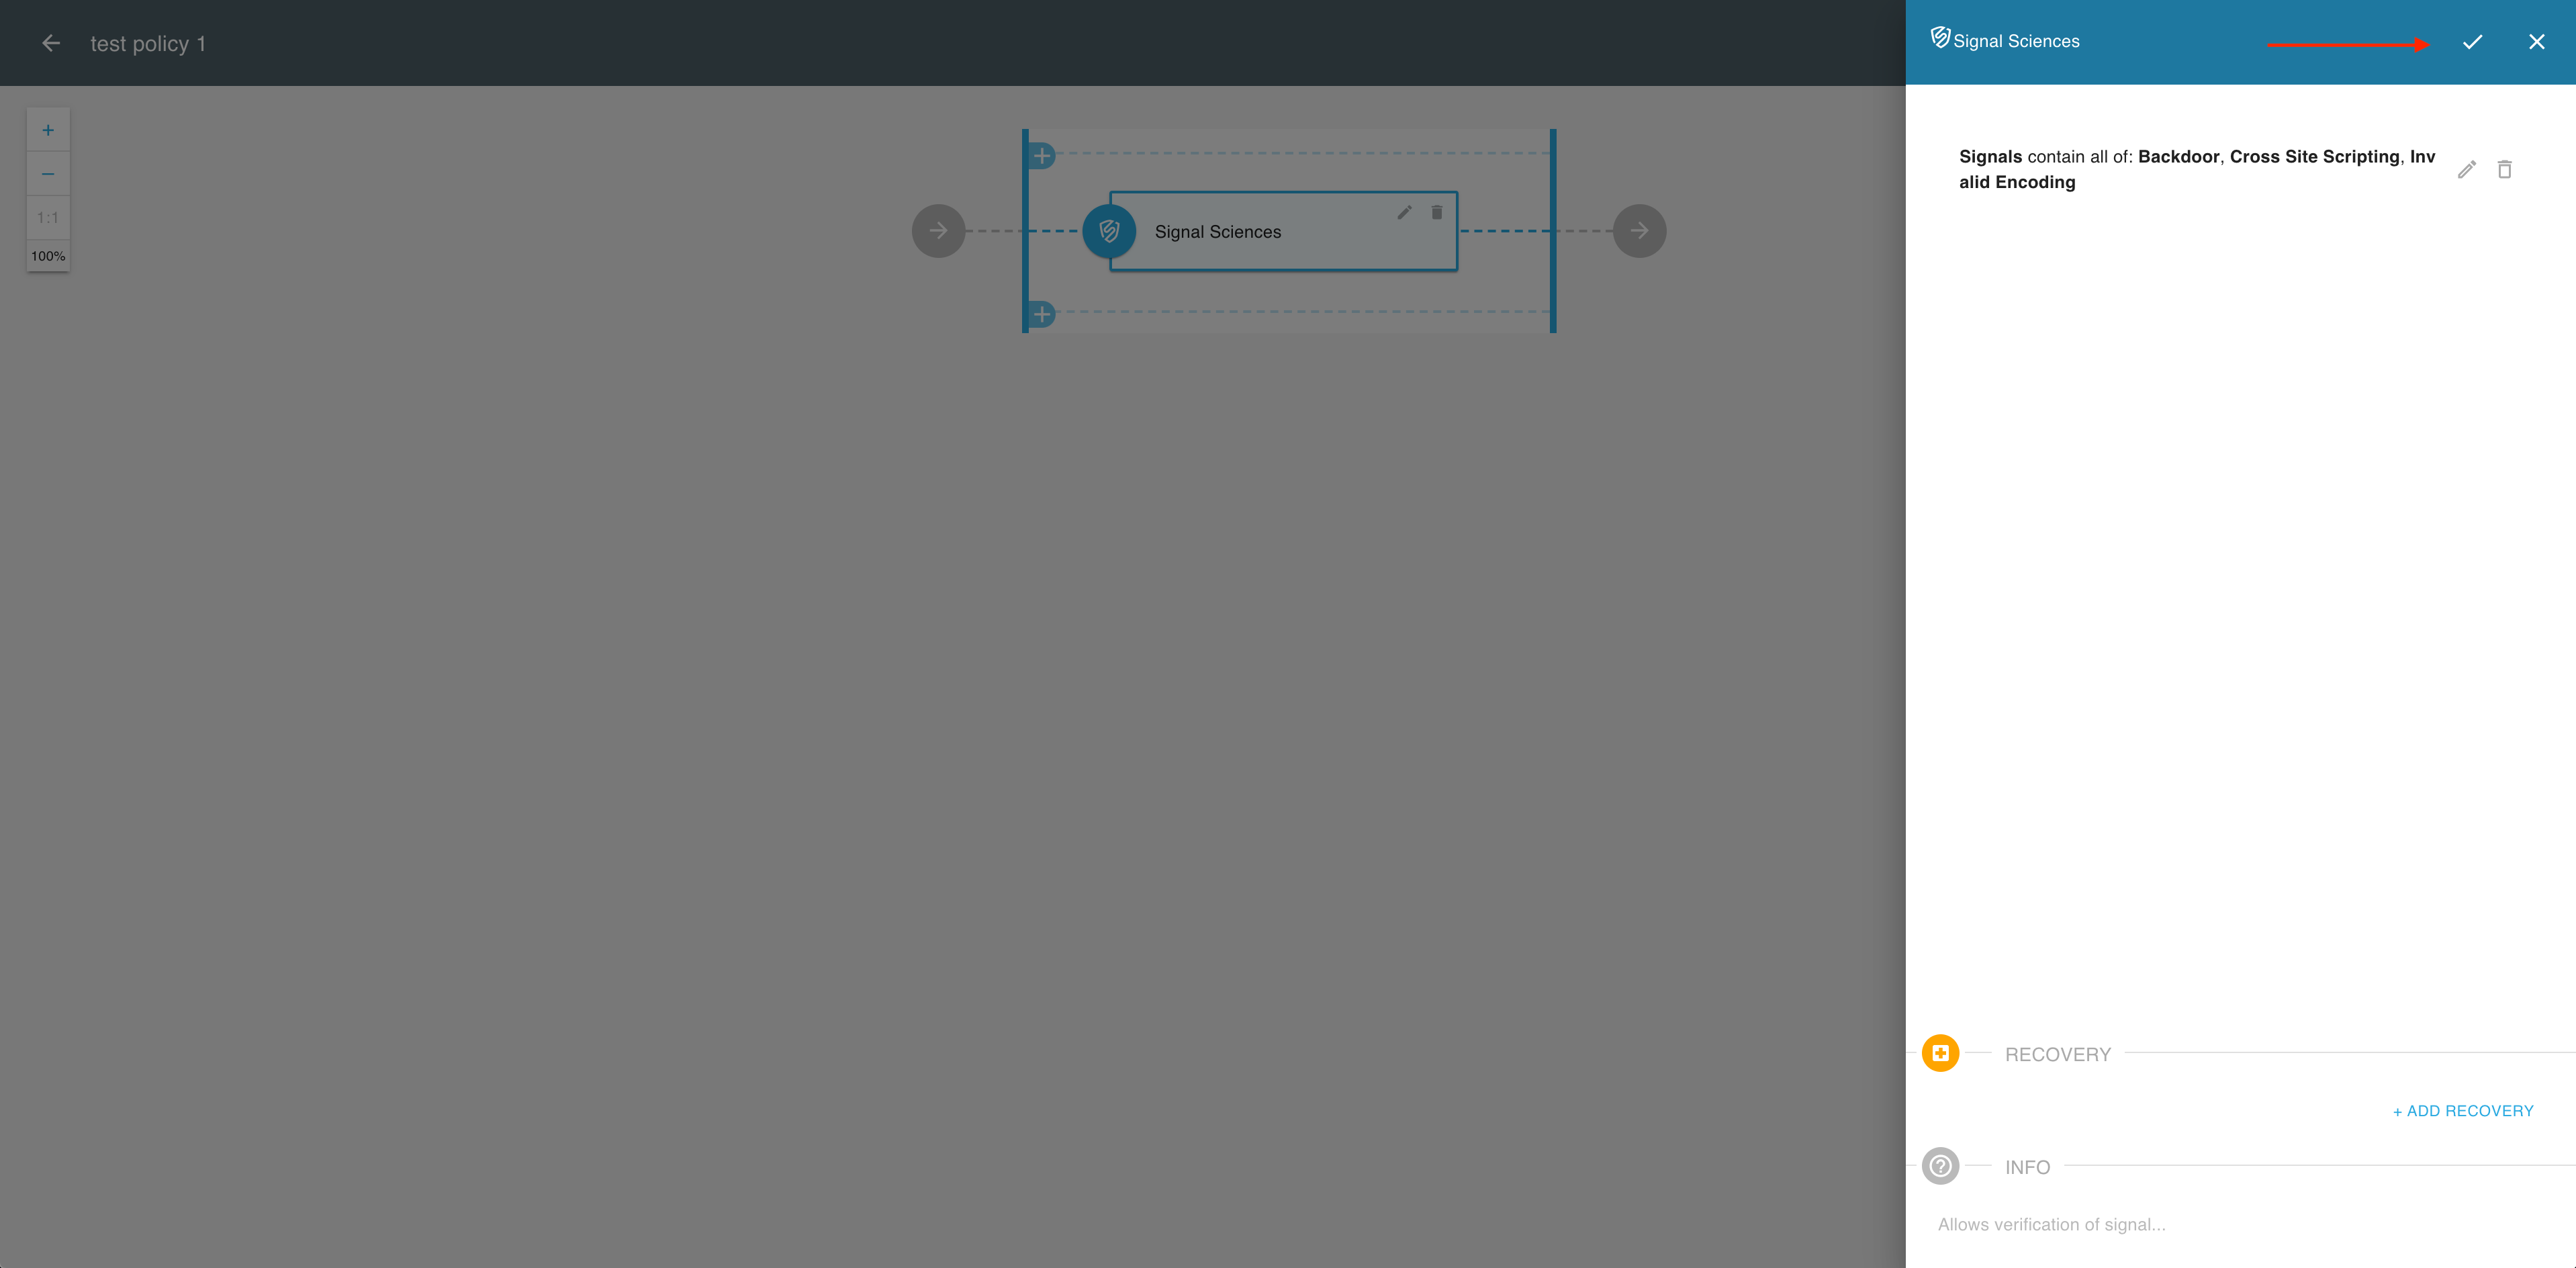
In the Signal Sciences validator view, select the OK icon if your validator is ready.
-
If you’re done adding validators in the policy editor, select SAVE to finalize your new policy.

Result
Your new Signal Sciences policy is available in the Policies view.
Next Steps
Now you can proceed to
-
Configuring scopes for your new policy
-
Applying your policy to APIs (seeApply a sample policyin Protecting APIs with MicroPerimeter™ Custom Authorizer on AWS API Gateway).