Among multiple ways of creating policies in Cloudentity, the one using explicit names of scopes has its dynamic variation now. Cloudentity enables you to define policies using dynamic scopes. For more information on dynamic scopes, see Protecting data with the use of dynamic scopes.
Purpose
Define your policies more efficiently with the use of dynamic scopes.
Prerequisites
- You have login credentials to the Cloudentity administrator portal.
- You have a dynamic scope defined in the Cloudentity administrator portal.
Create Policy
Cloudentity Policy
-
Create a Cloudentity policy as explained in Creating a policy in the Cloudentity policy editor.
-
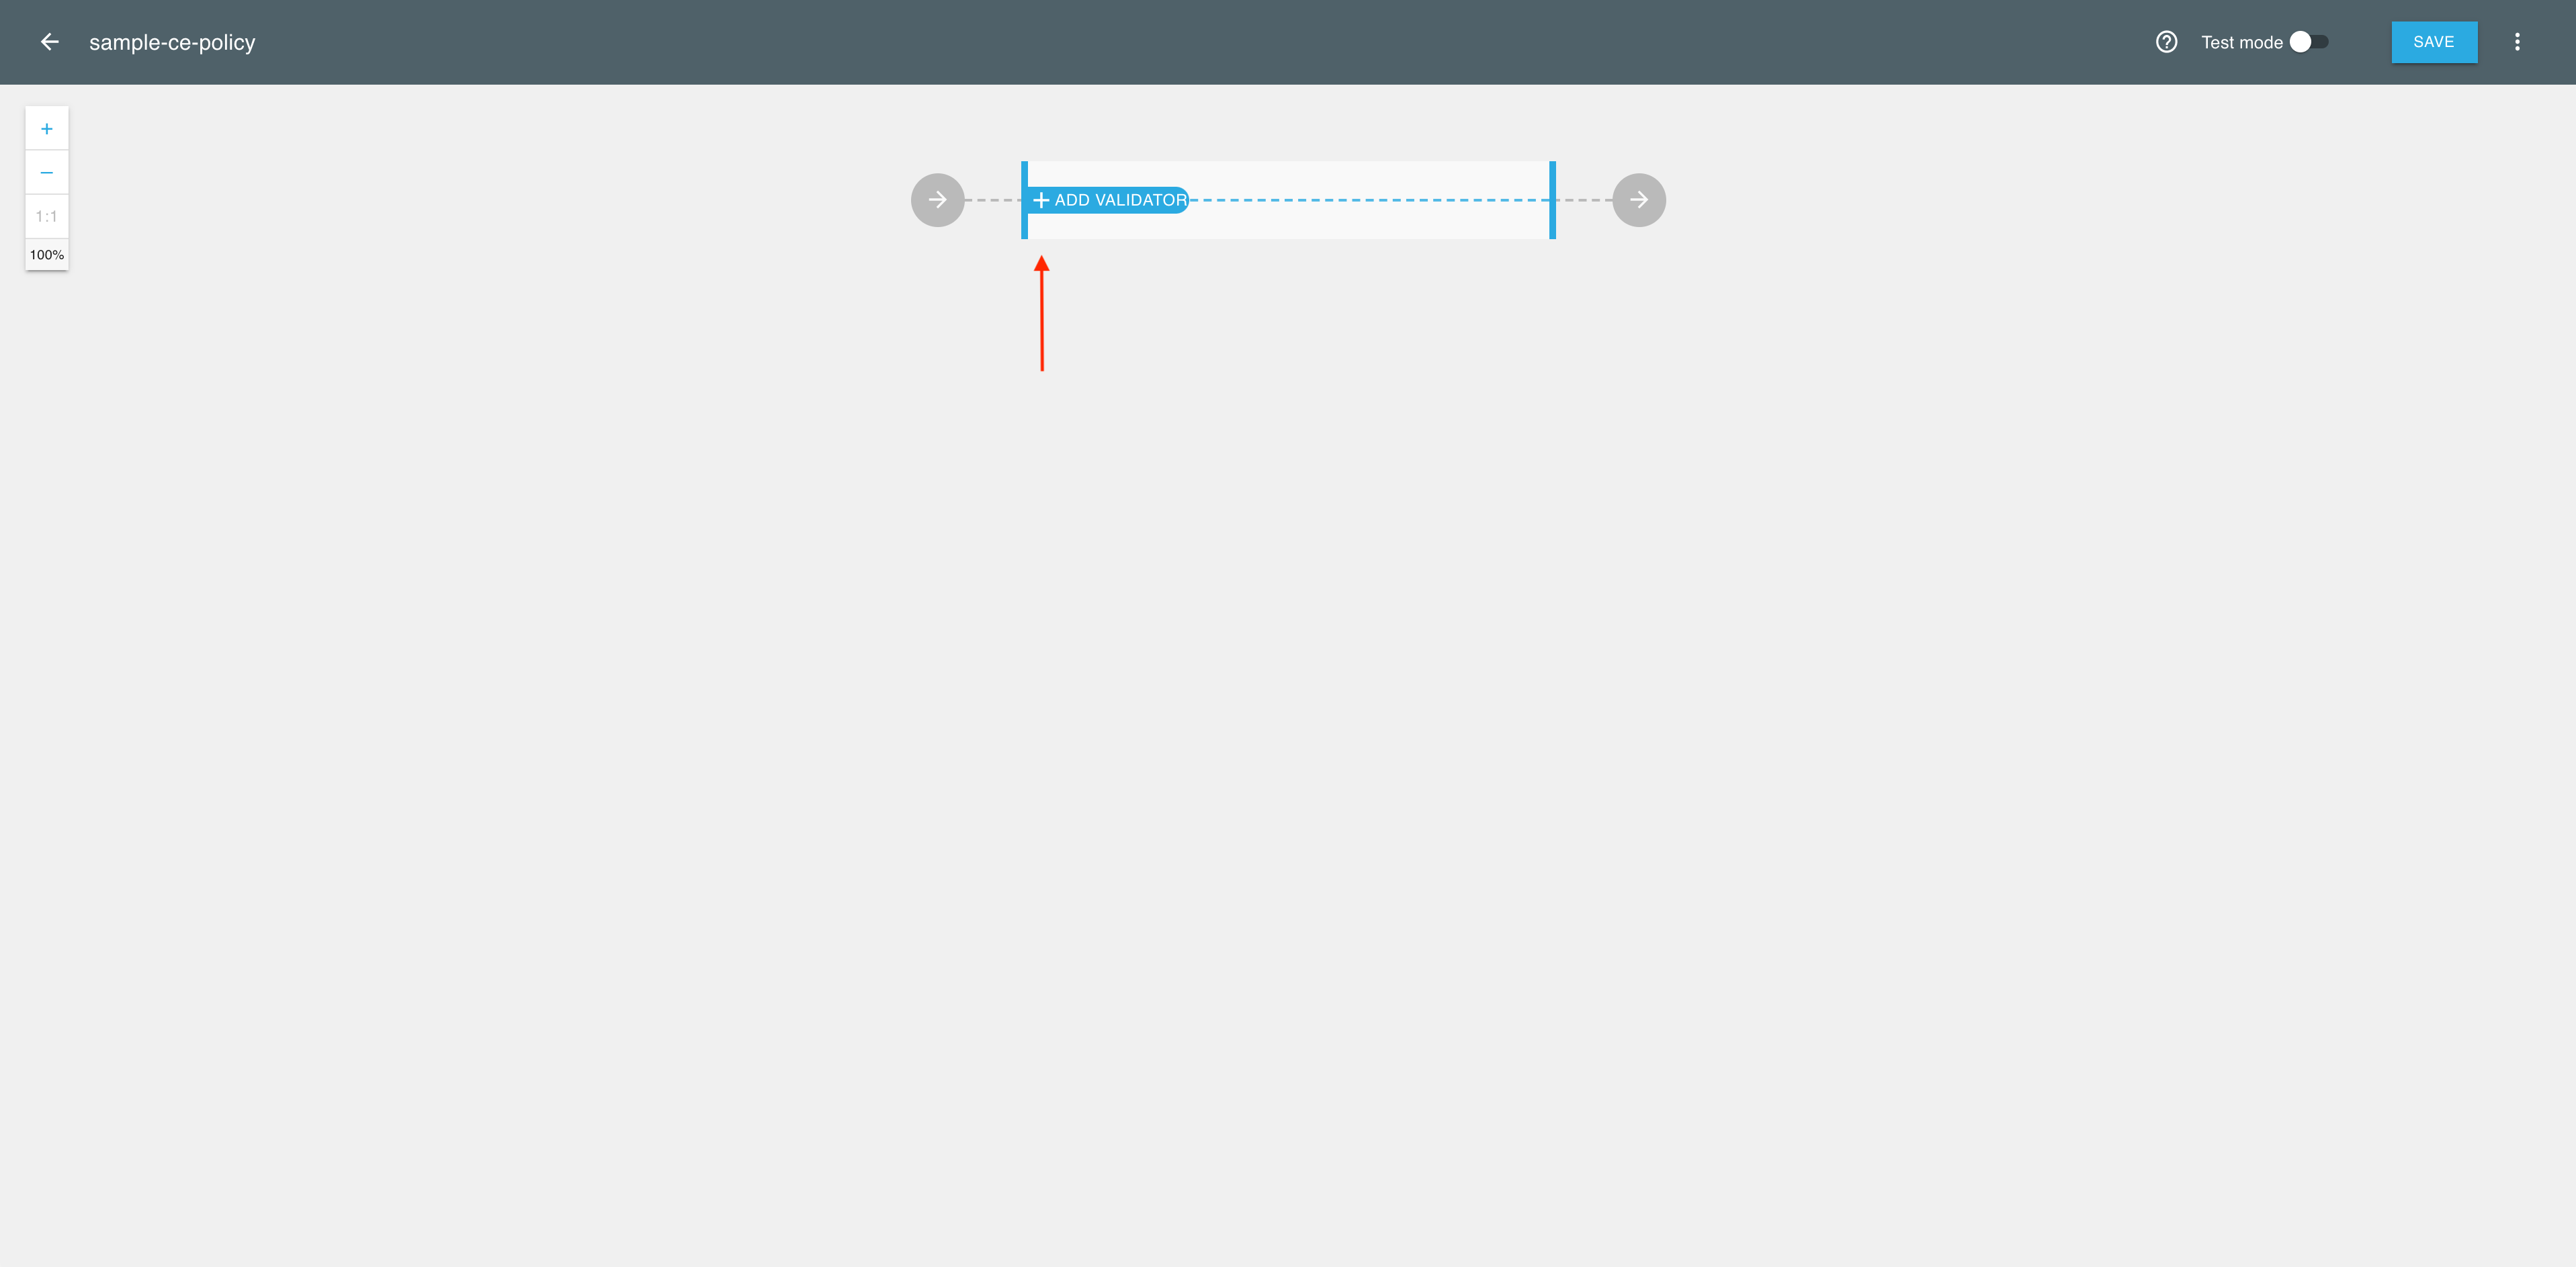
In the policy editor, select + to add a validator.
-
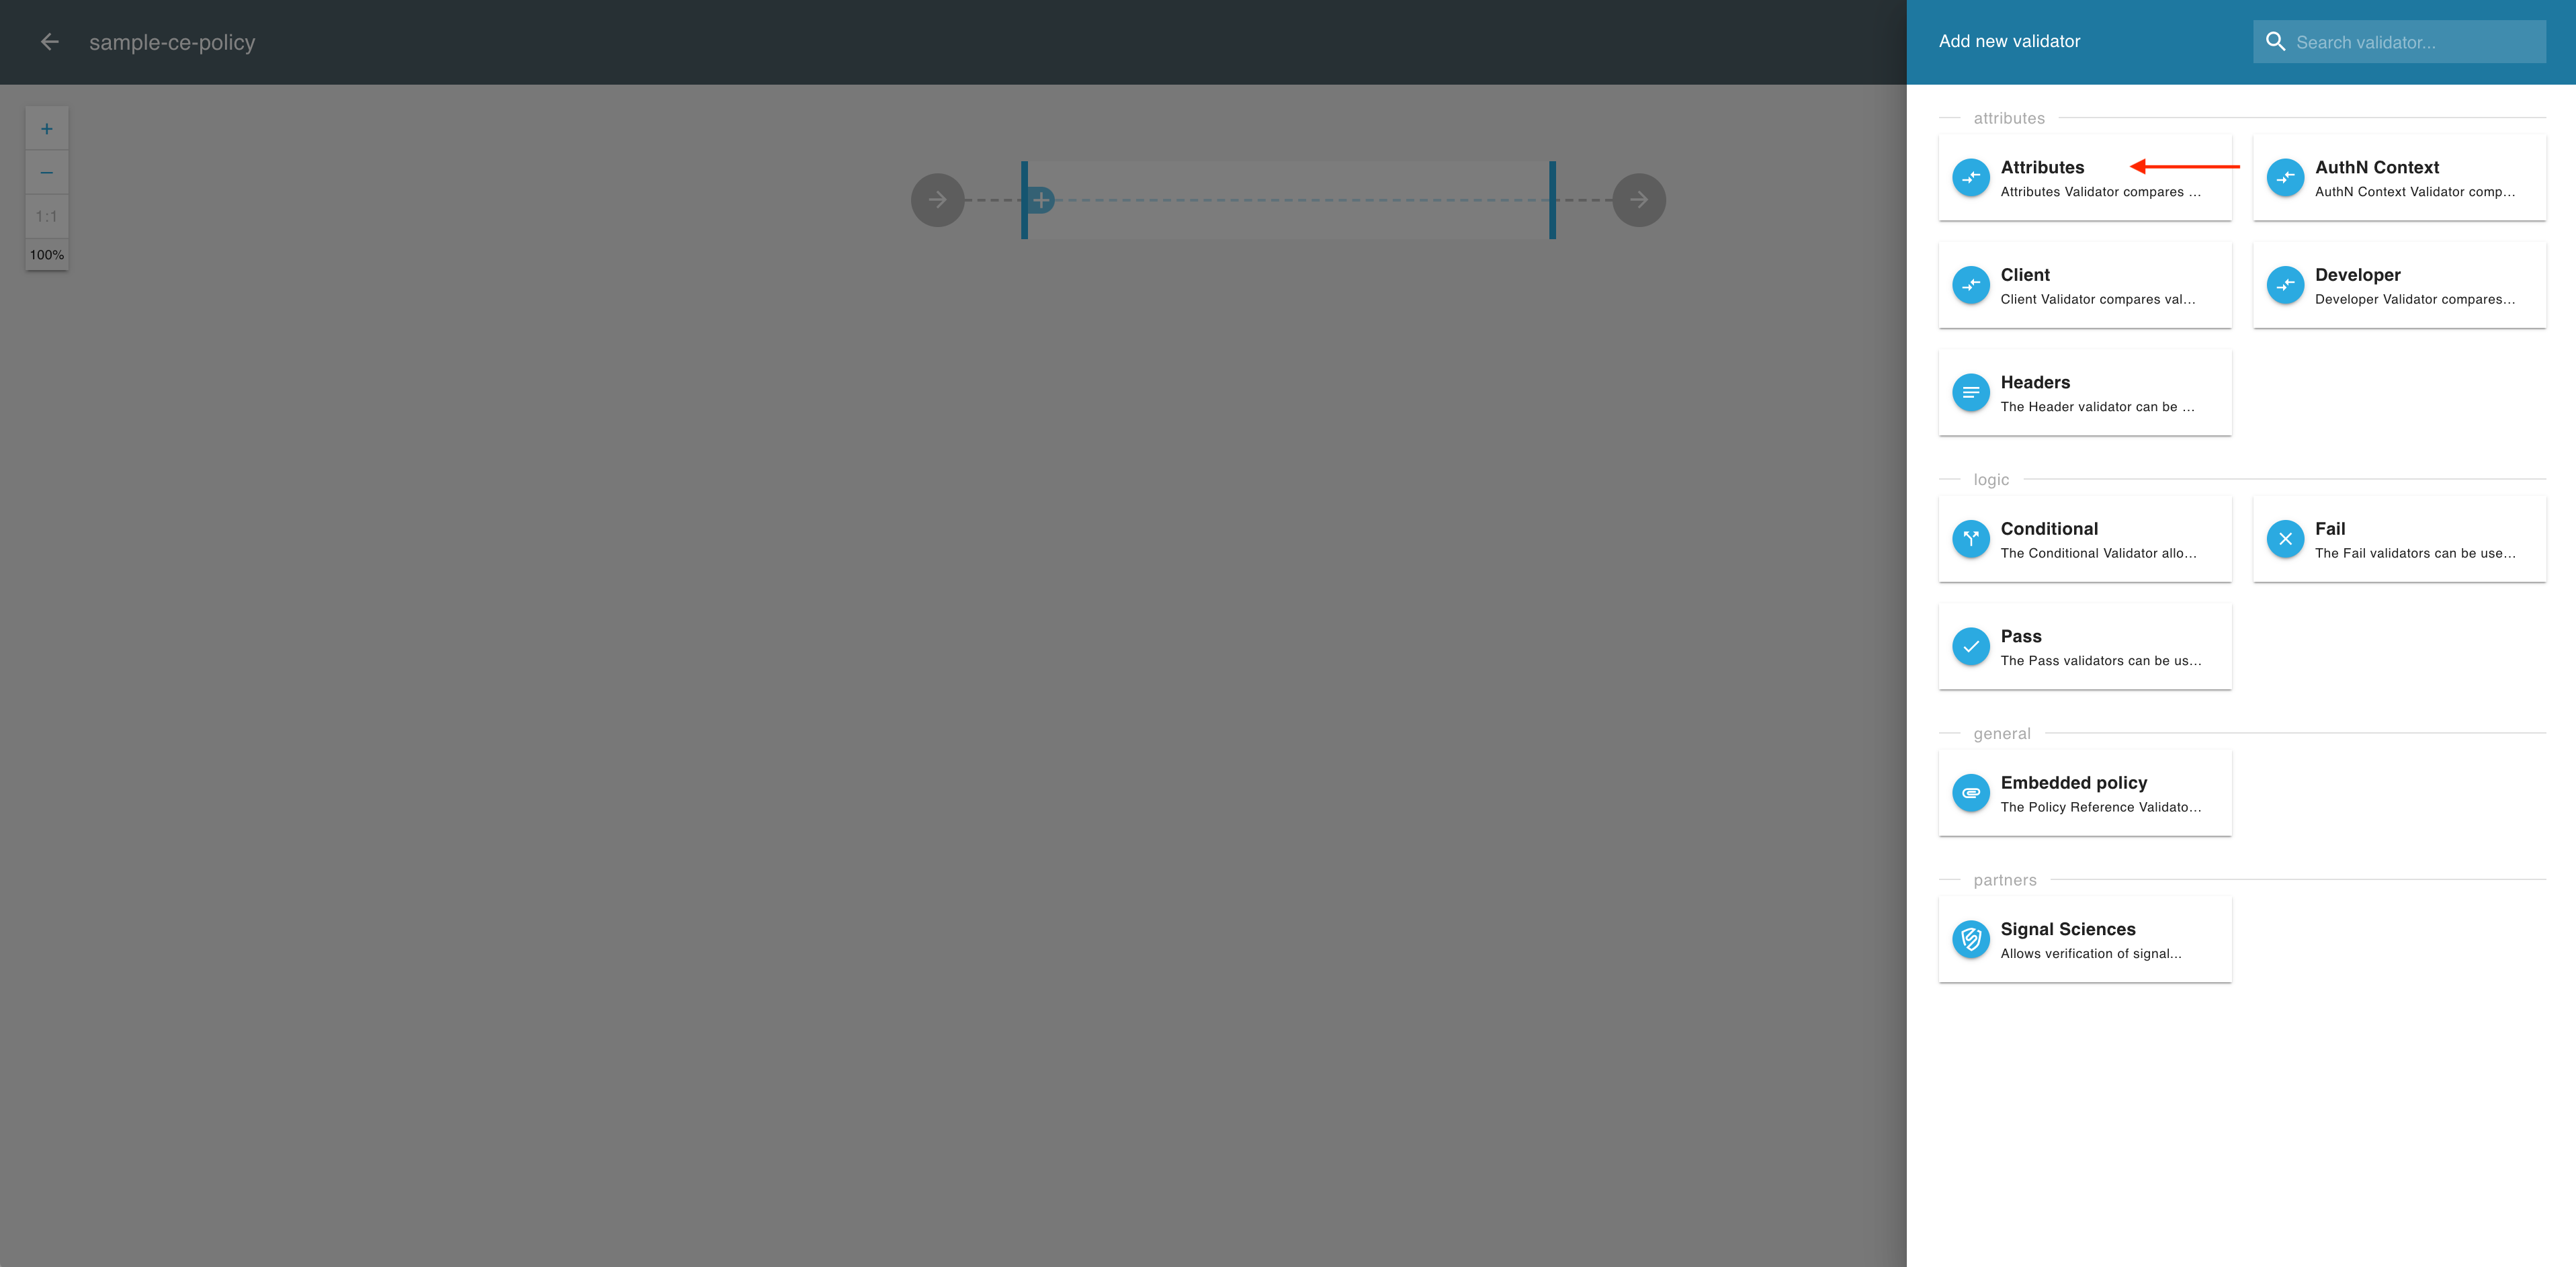
In the Add new validator view, select the Attributes validator.
-
In the Attributes view, select ADD FIELD.

-
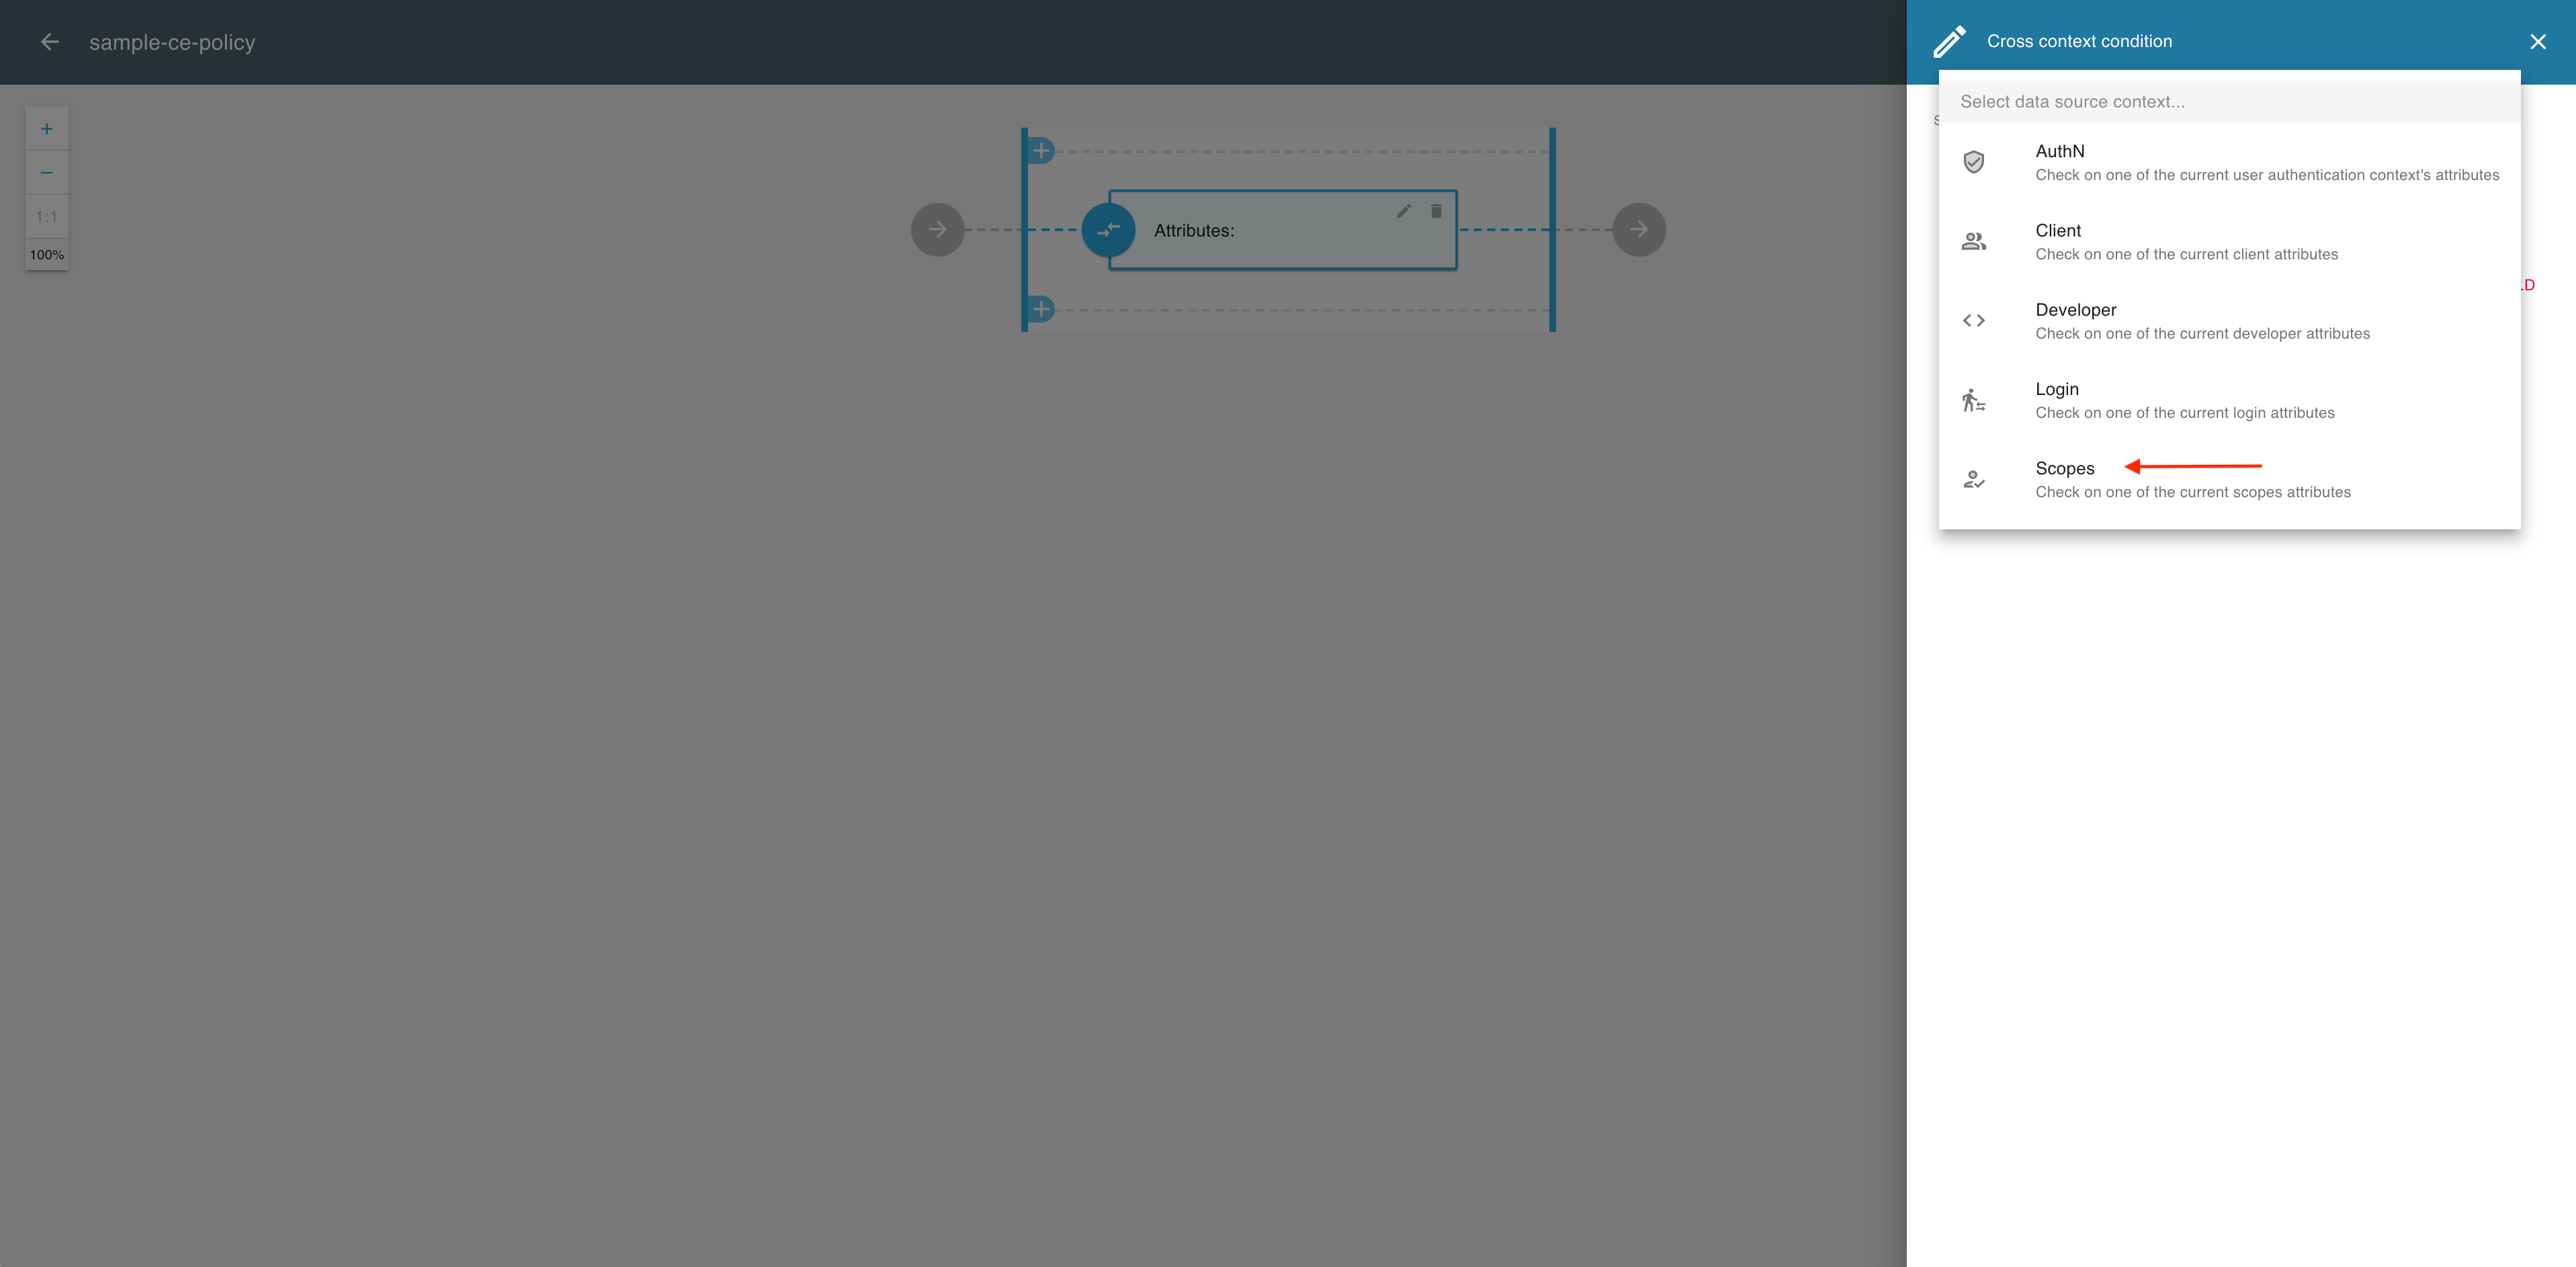
In the Cross context condition editor, expand the Source dropdown menu.

-
From the the Source dropdown menu, select Scopes.
-
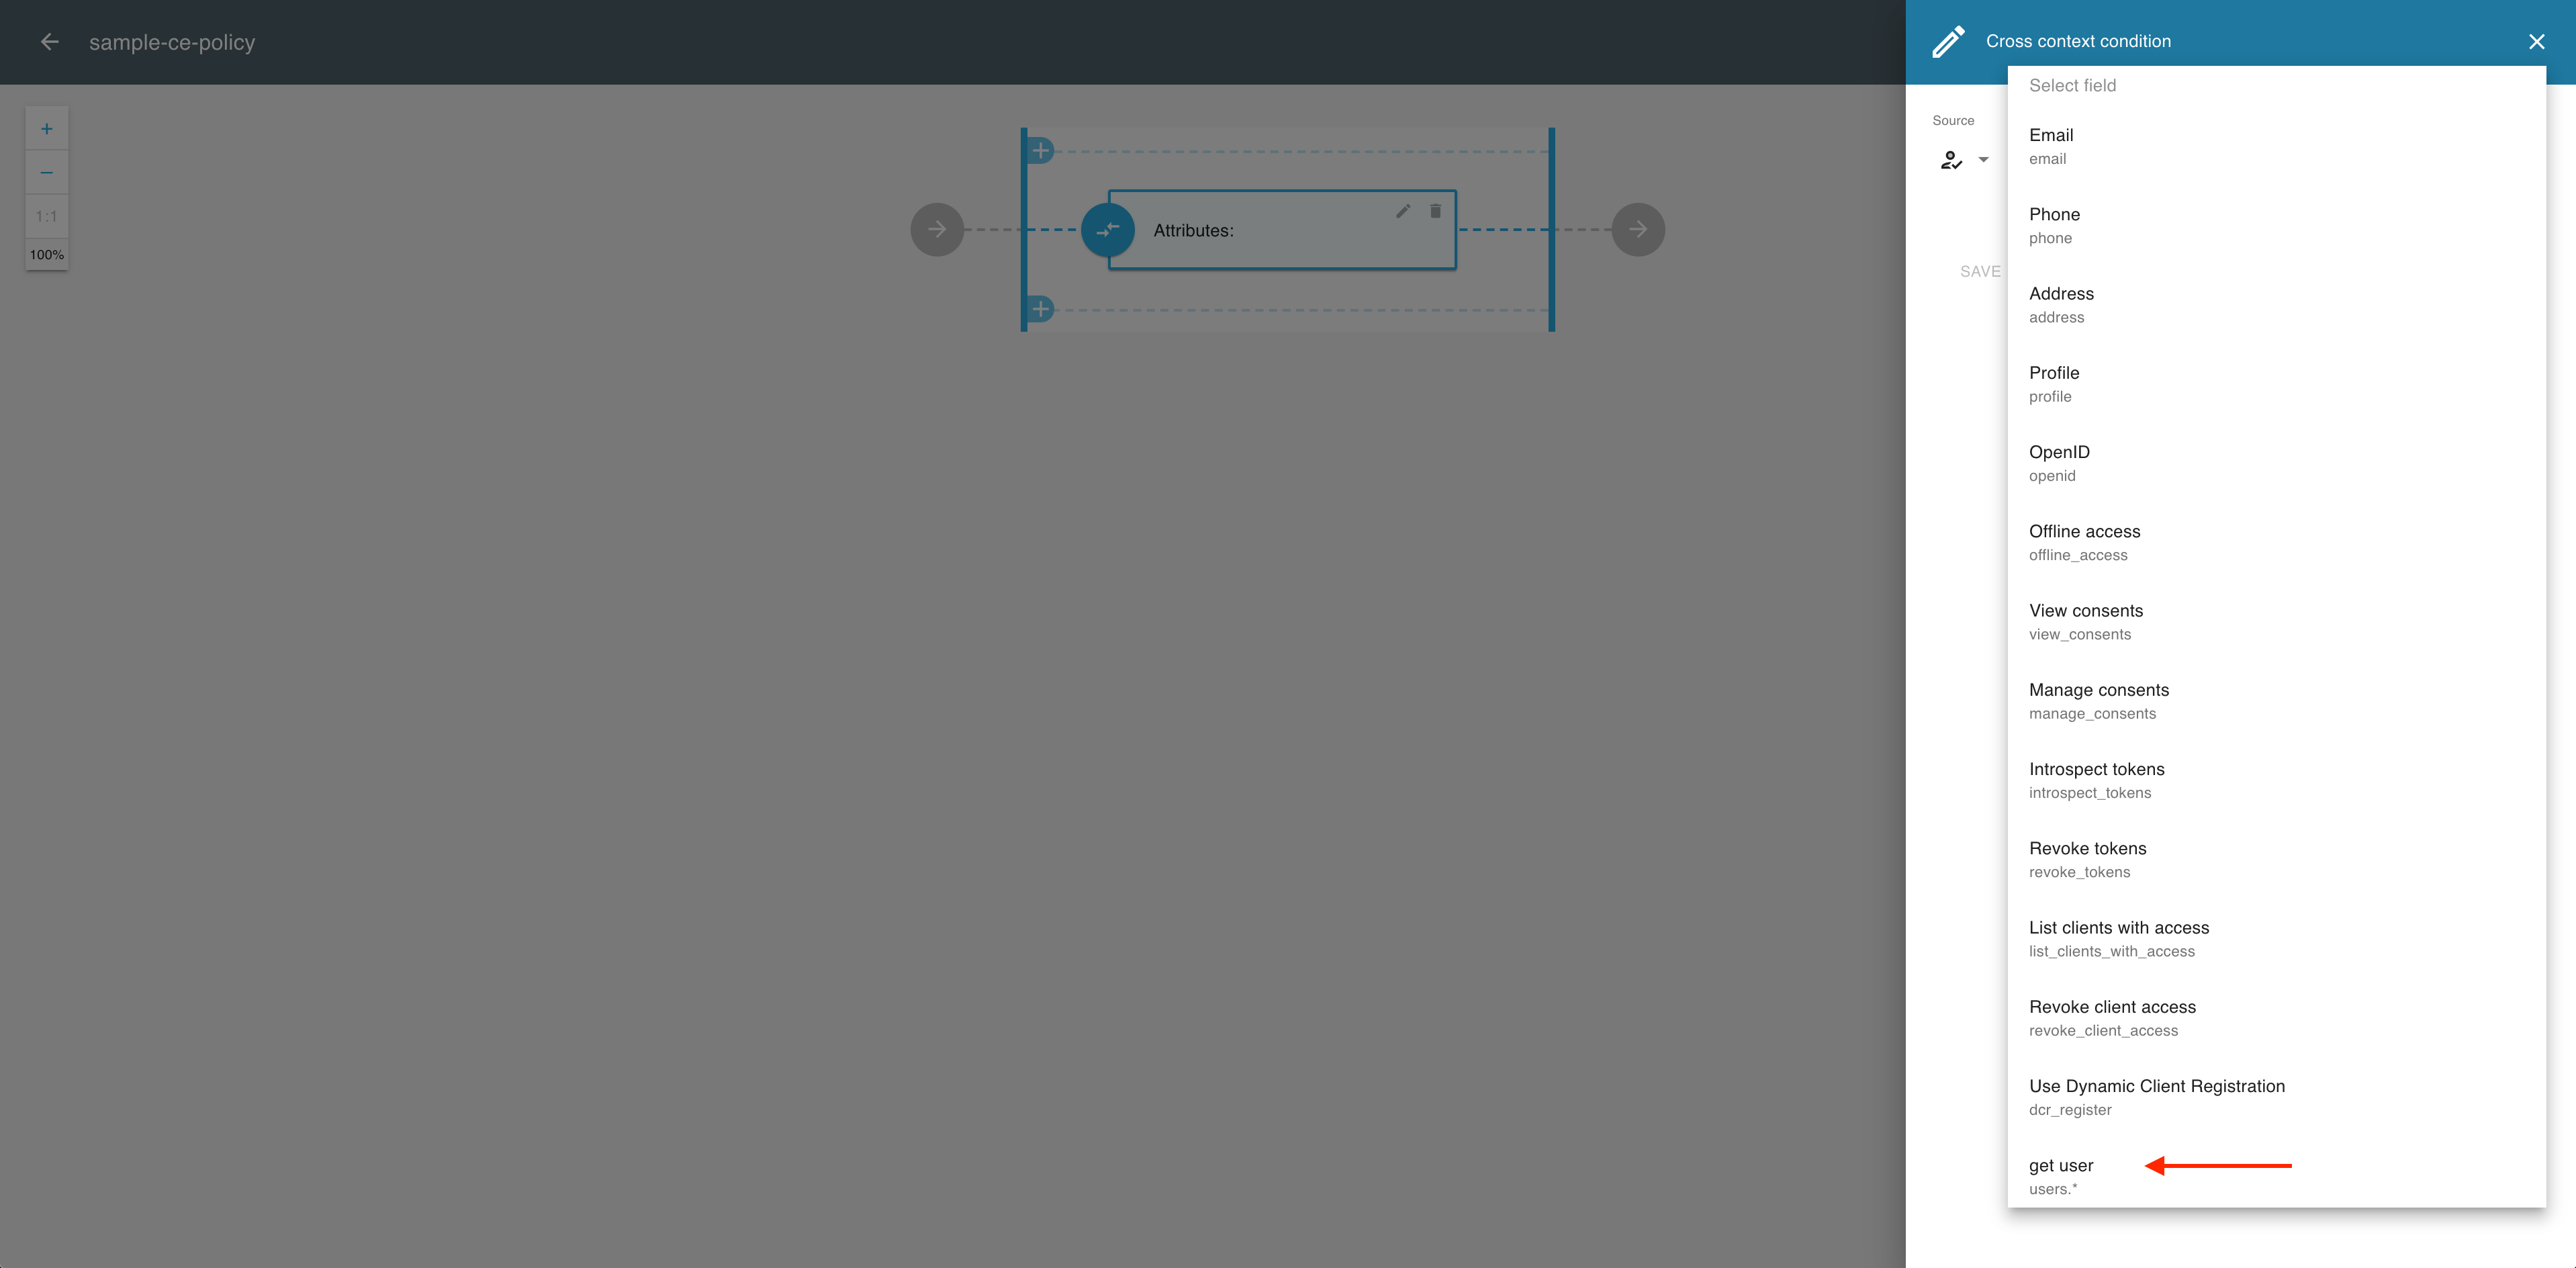
In the Cross context condition editor, expand the Field / Attribute dropdown menu.

-
From the the Field / Attribute dropdown menu, select a dynamic-scope attribute, for example, get user.
-
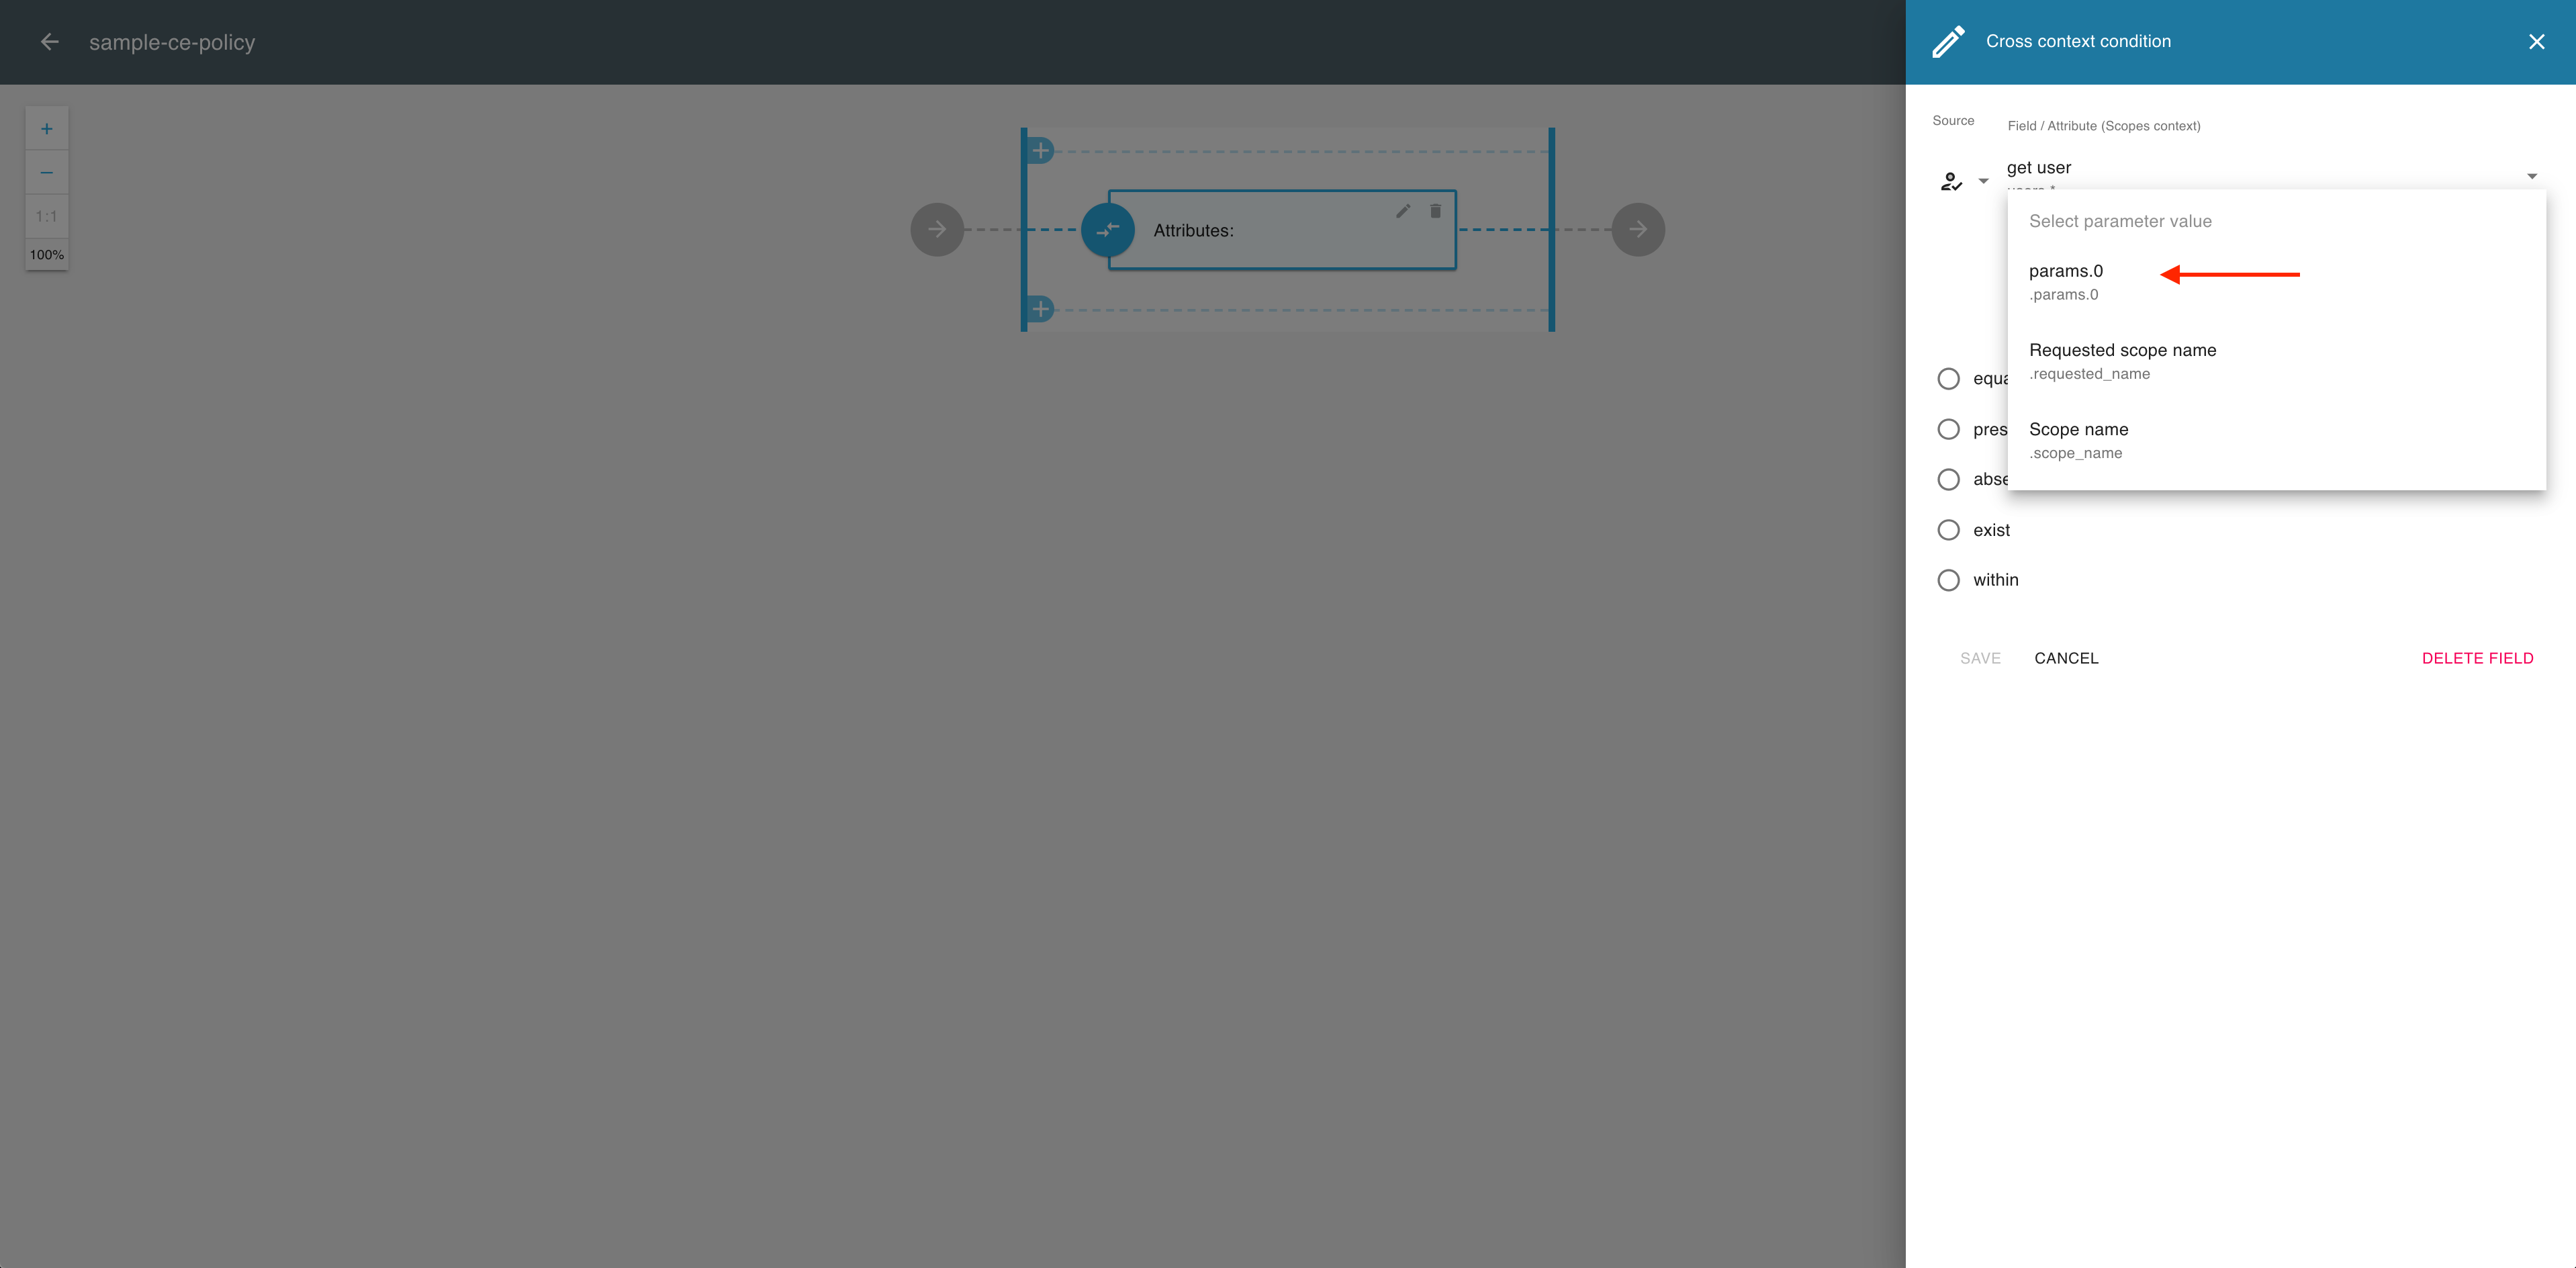
In the Cross context condition editor, expand the Parameter dropdown menu.

-
From the Parameter dropdown menu, select a parameter value pattern, for example, params.0.
-
Select an operator (for example, equals) to establish the relationship between the source and the target (the two building blocks of your scope definition).

-
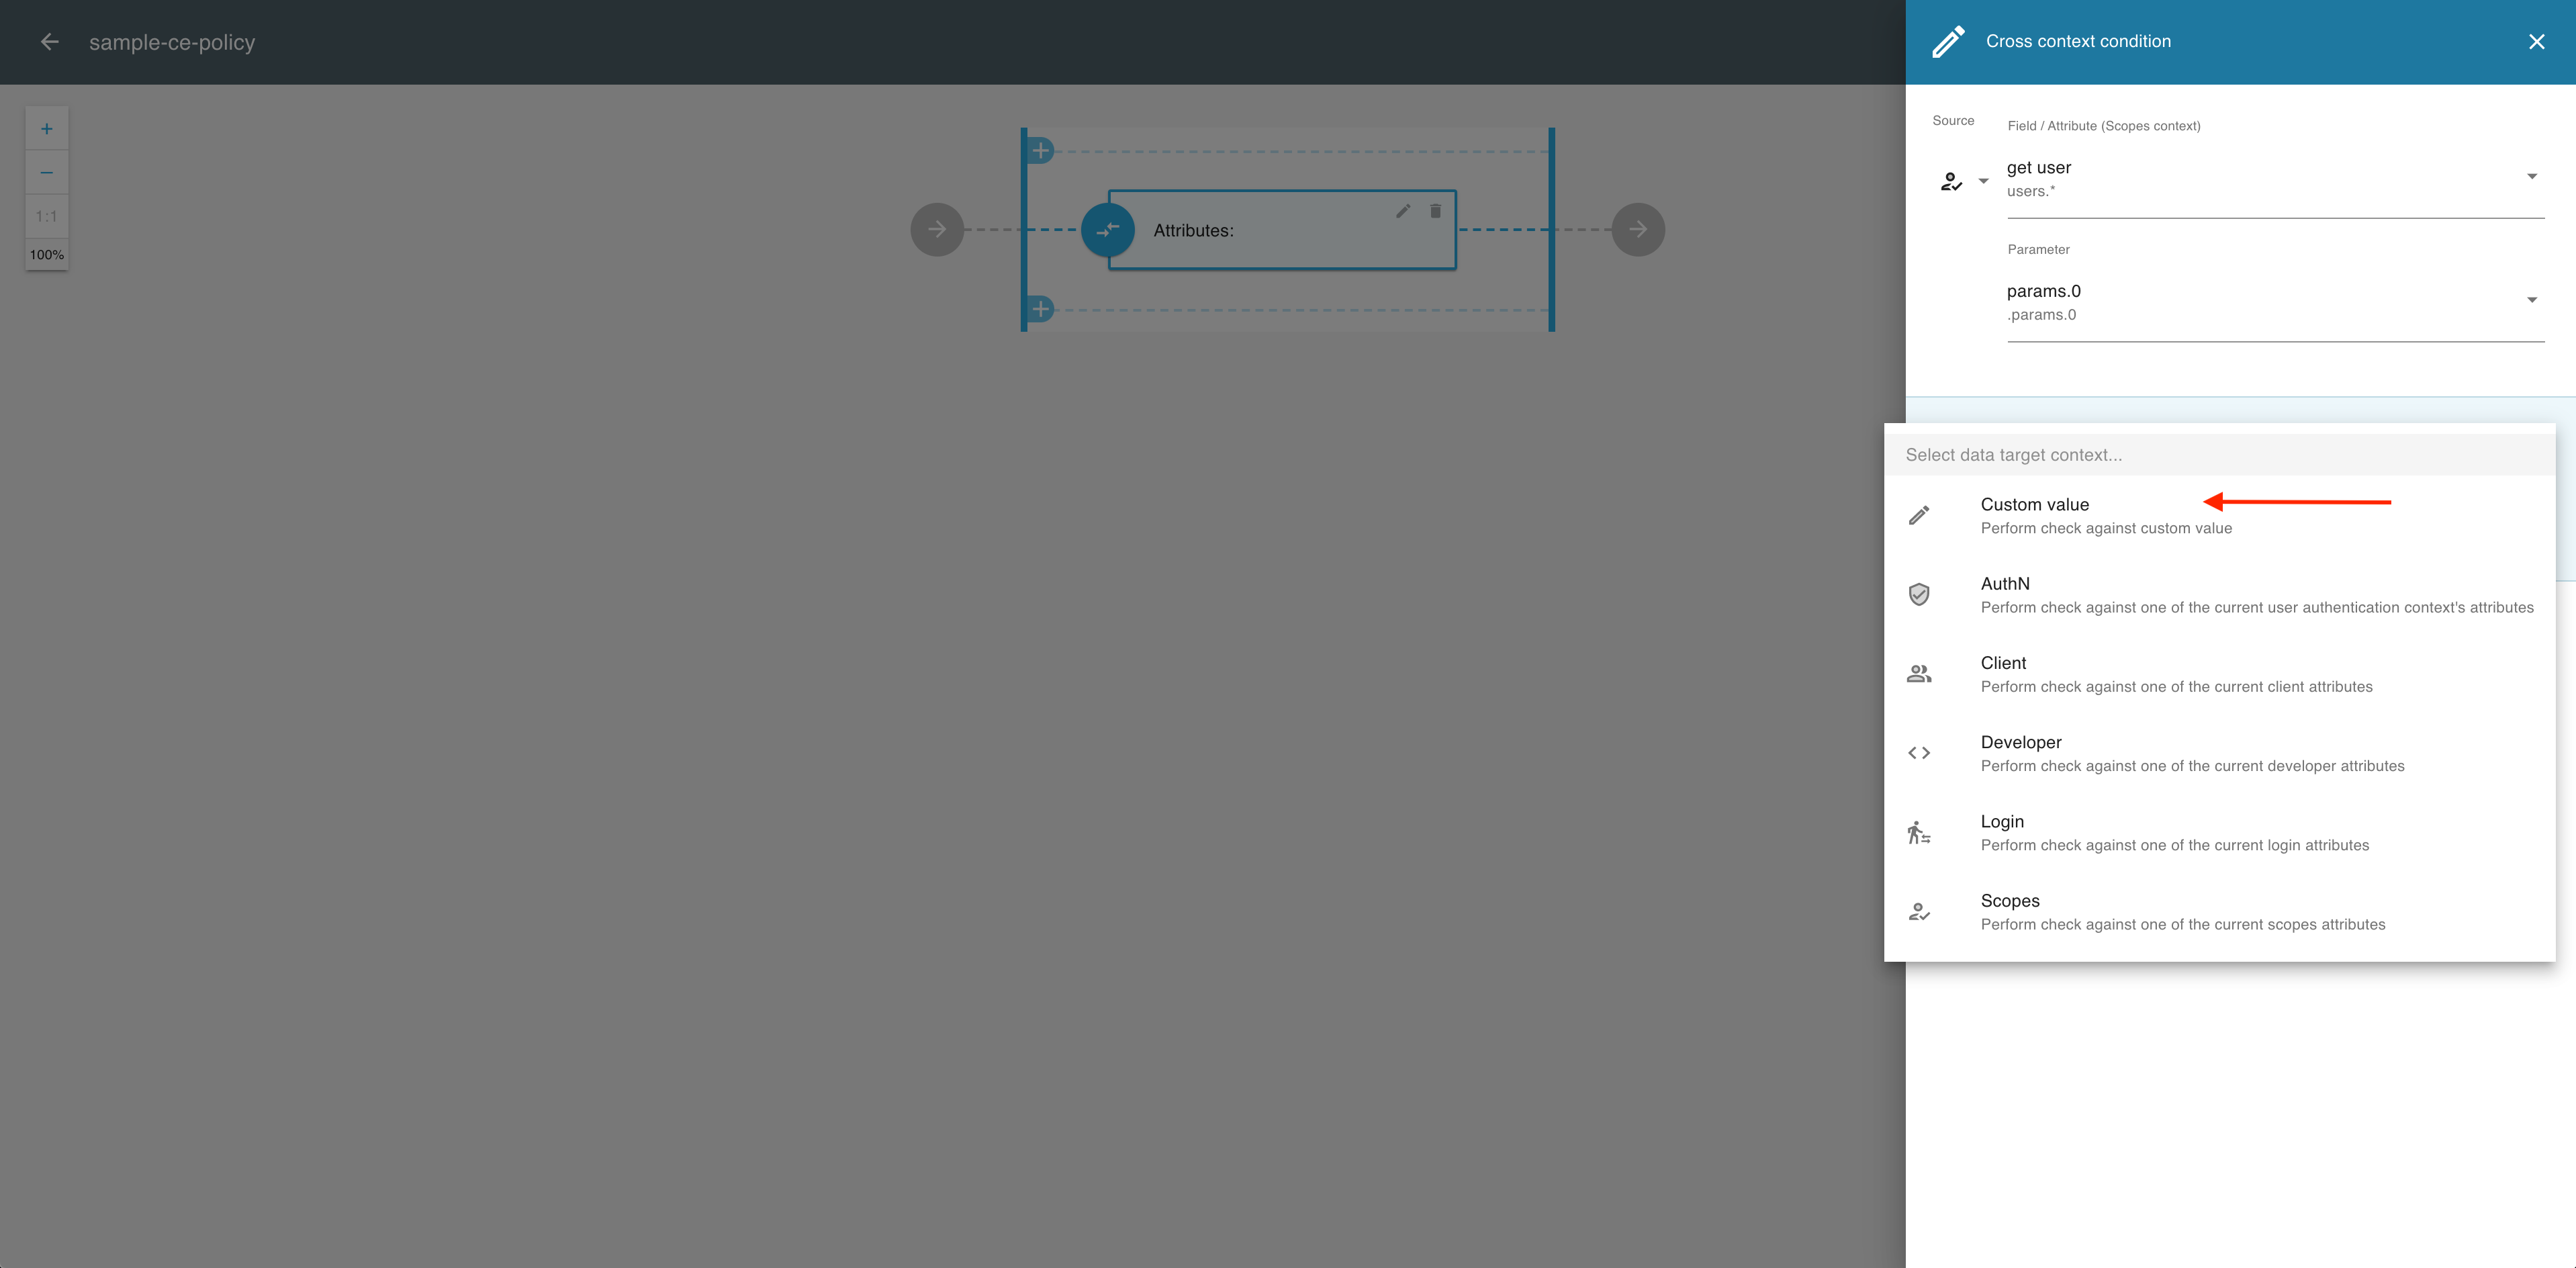
In the Cross context condition editor, expand the Target dropdown menu.

-
From the the Target dropdown menu, select a data target context, for example, Custom value.
-
Specify the value for your target argument (for example, 1) in the filed provided.

-
Select SAVE to proceed.

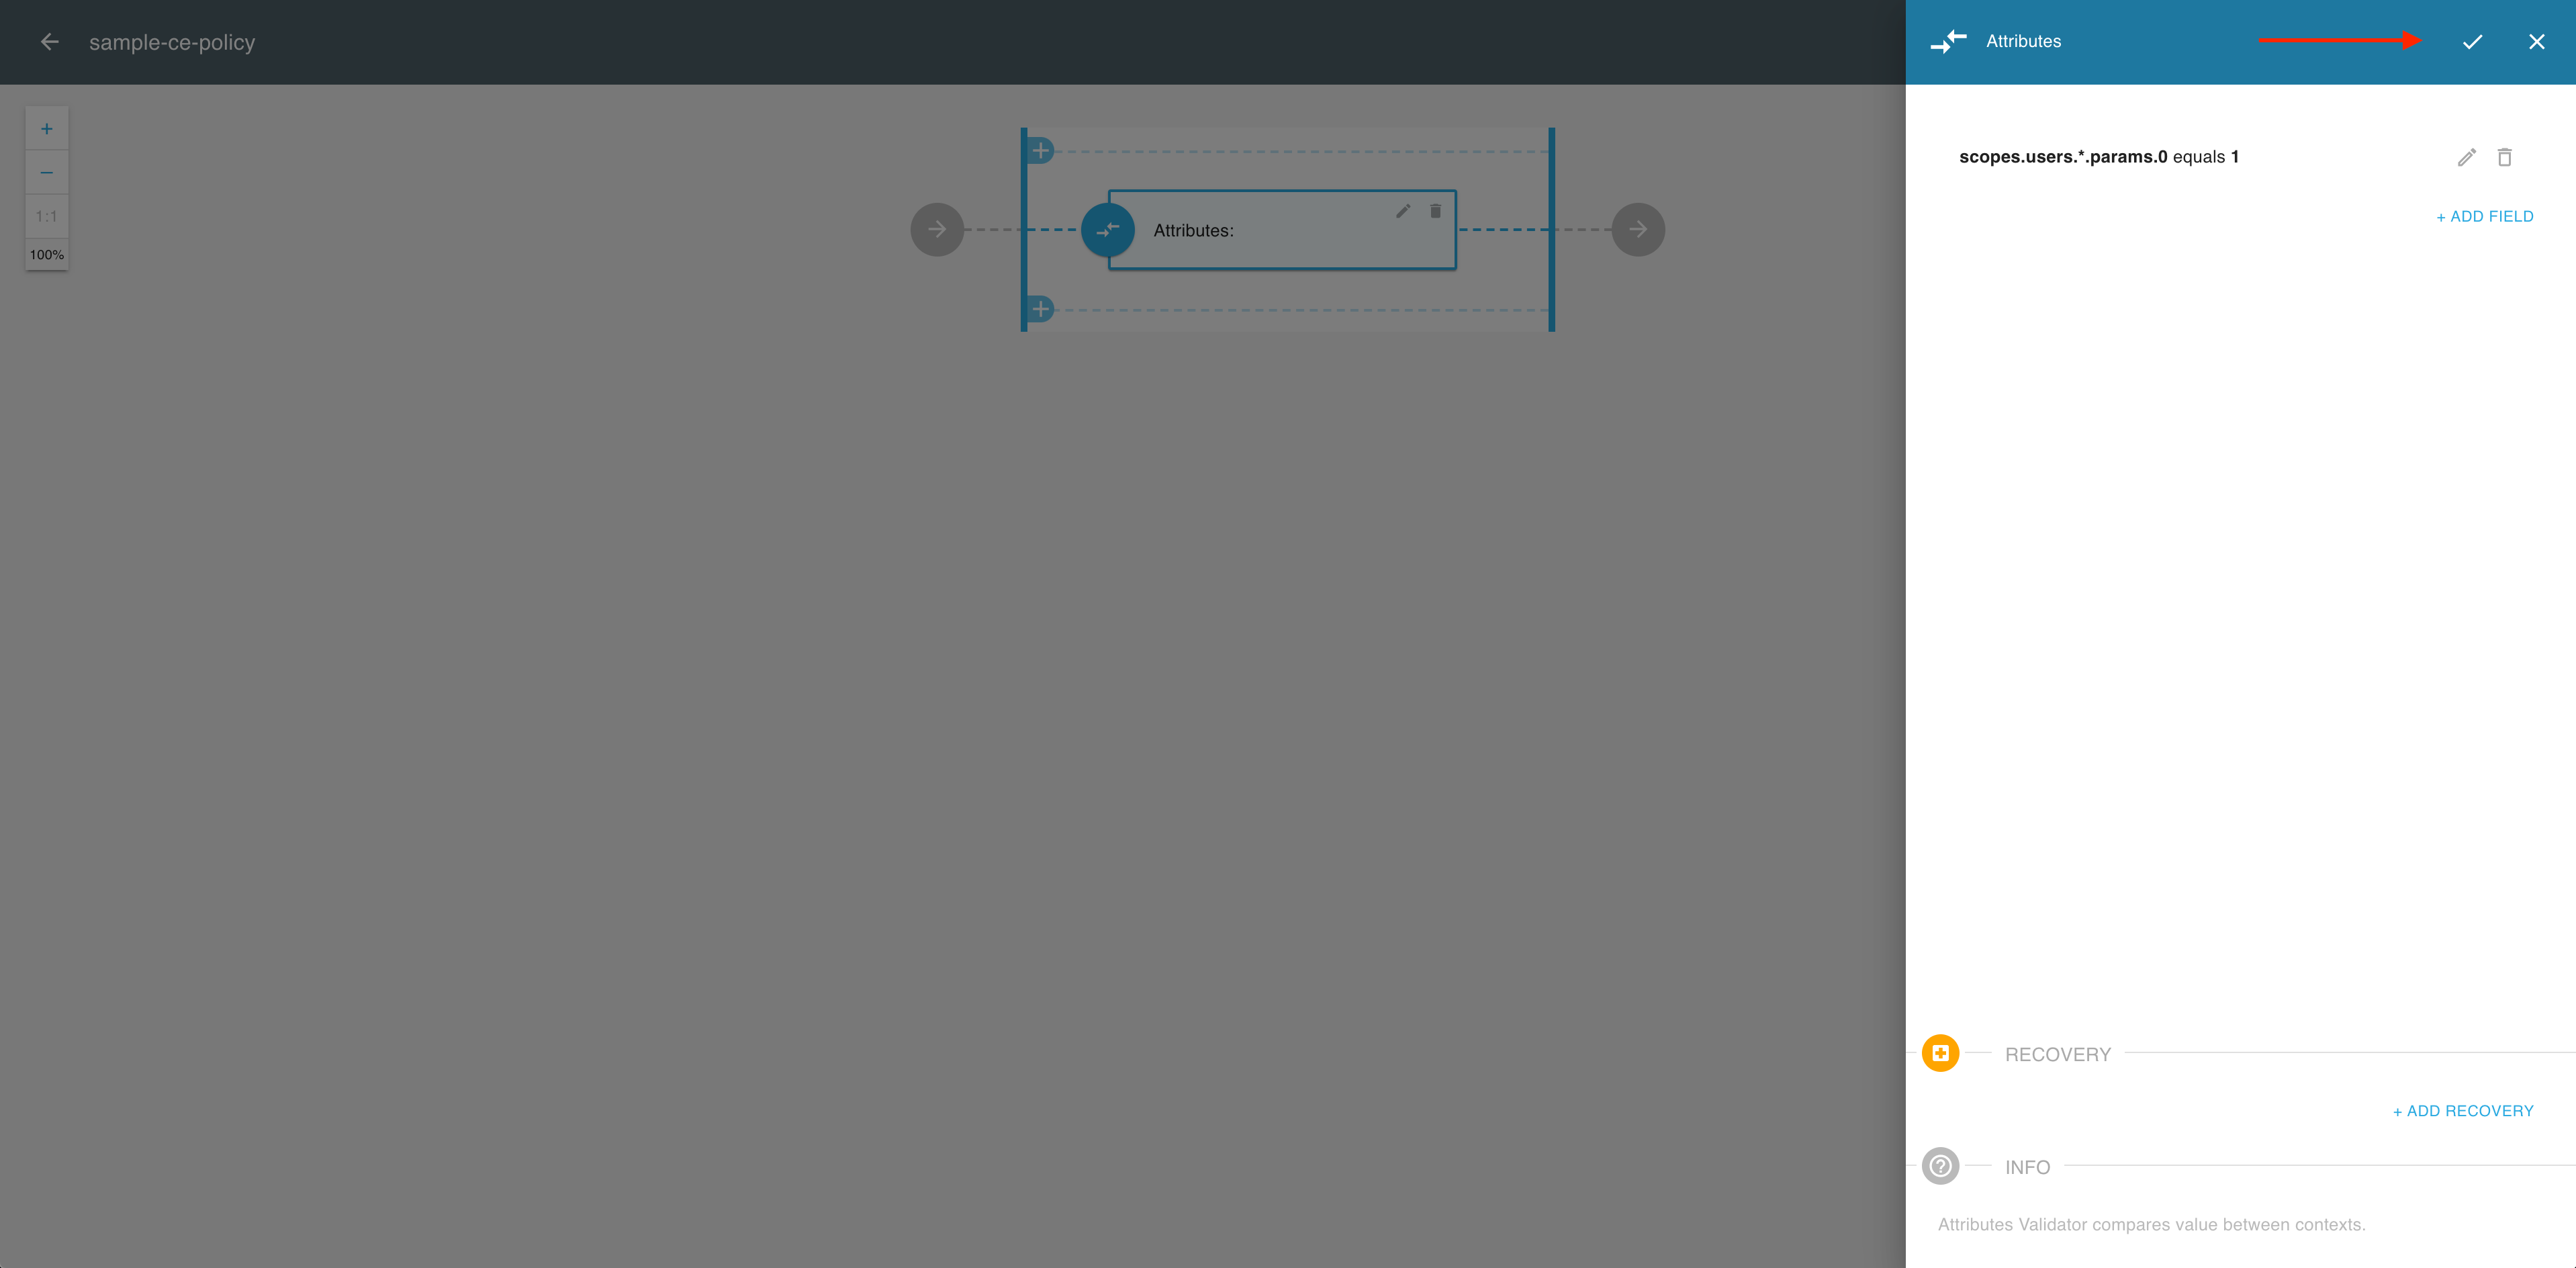
-
In the Attributes view, select the OK icon to complete the validator setup.
-
In the policy editor, select SAVE to proceed.
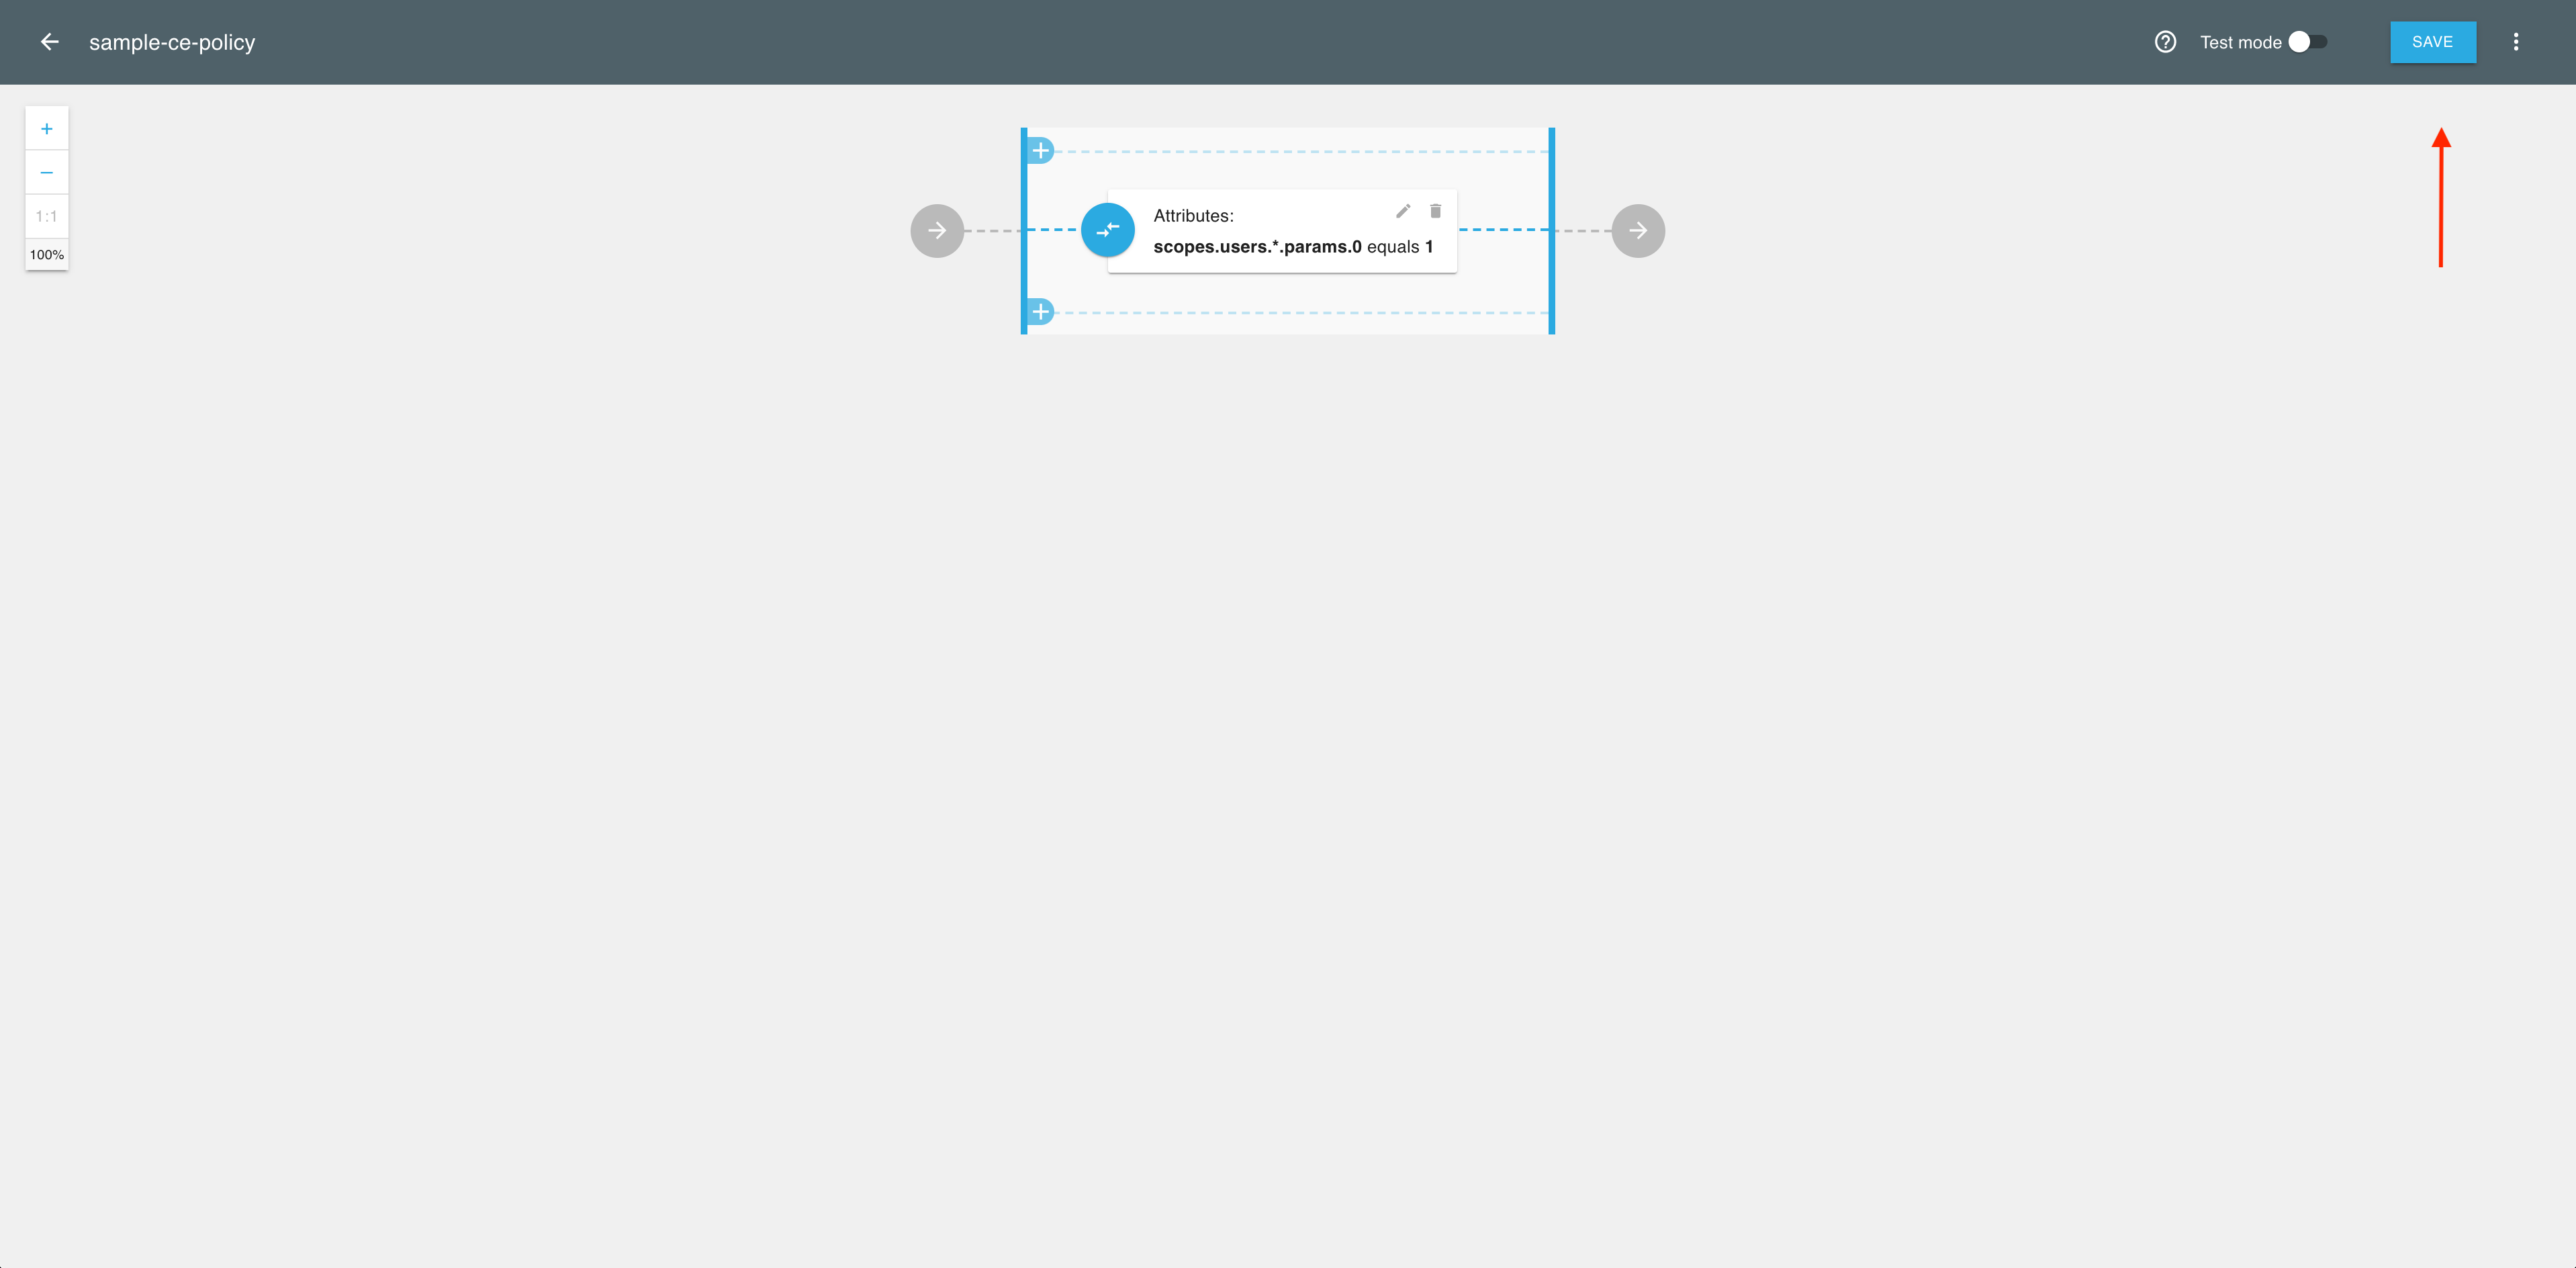
Result
Your Cloudentity policy using a dynamic scope is ready.
Rego Policy
-
Create a Rego policy as explained in Protecting applications and APIs in Cloudentity using Open Policy Agent.
Result
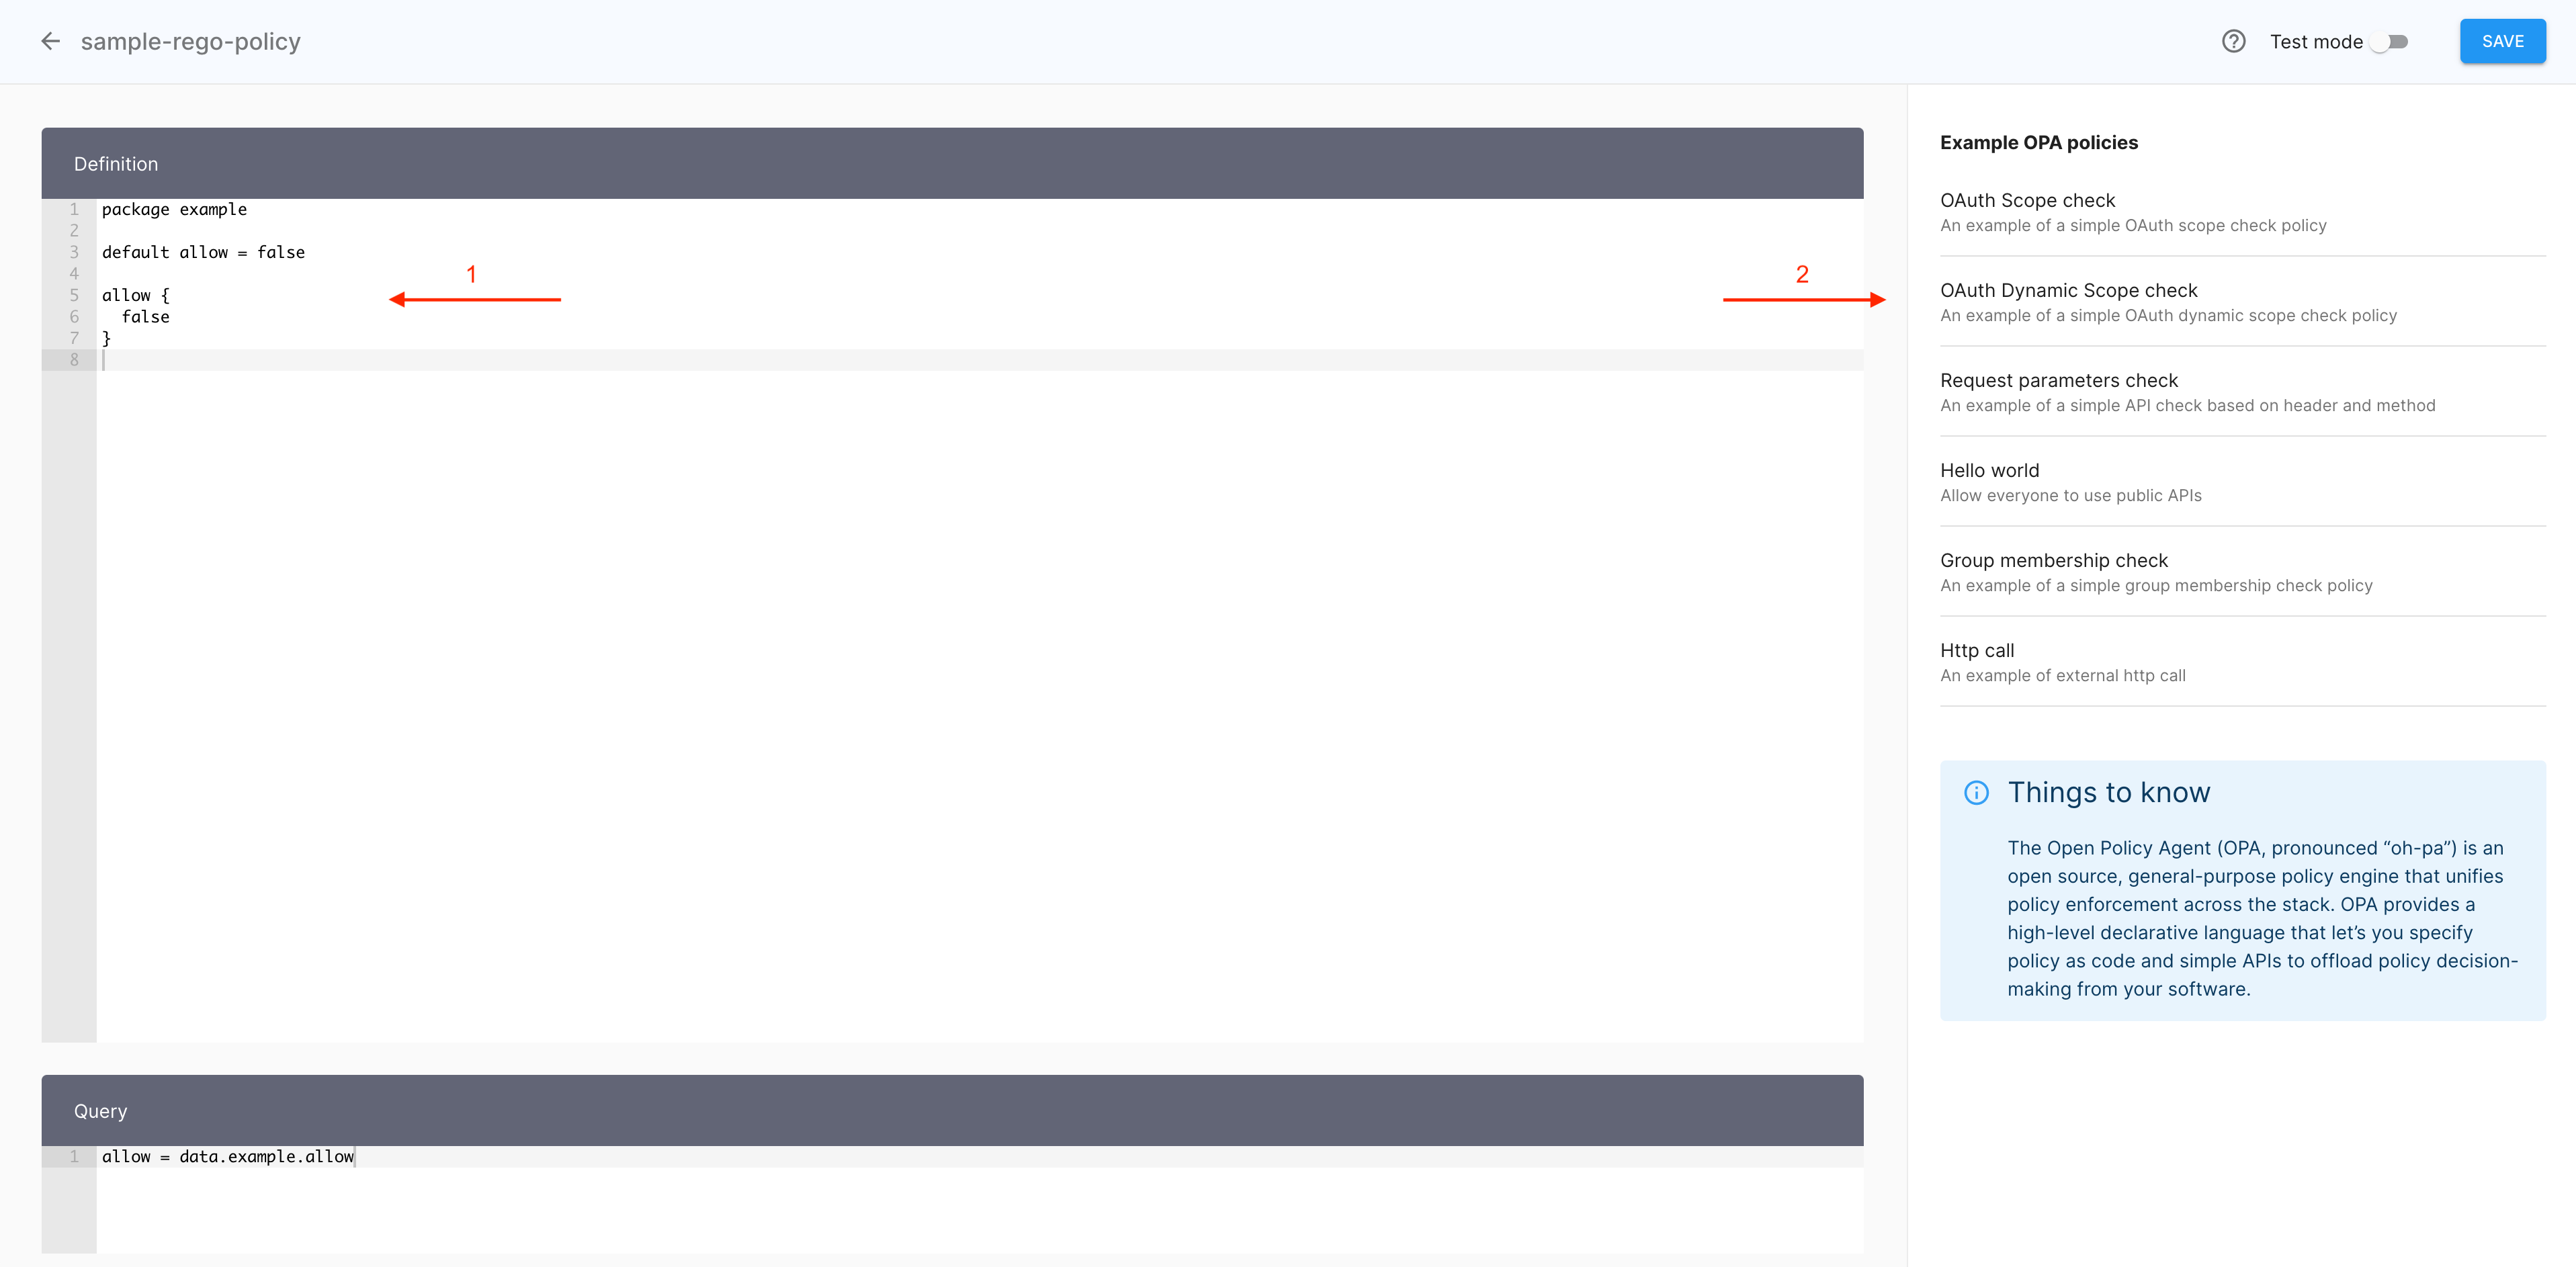
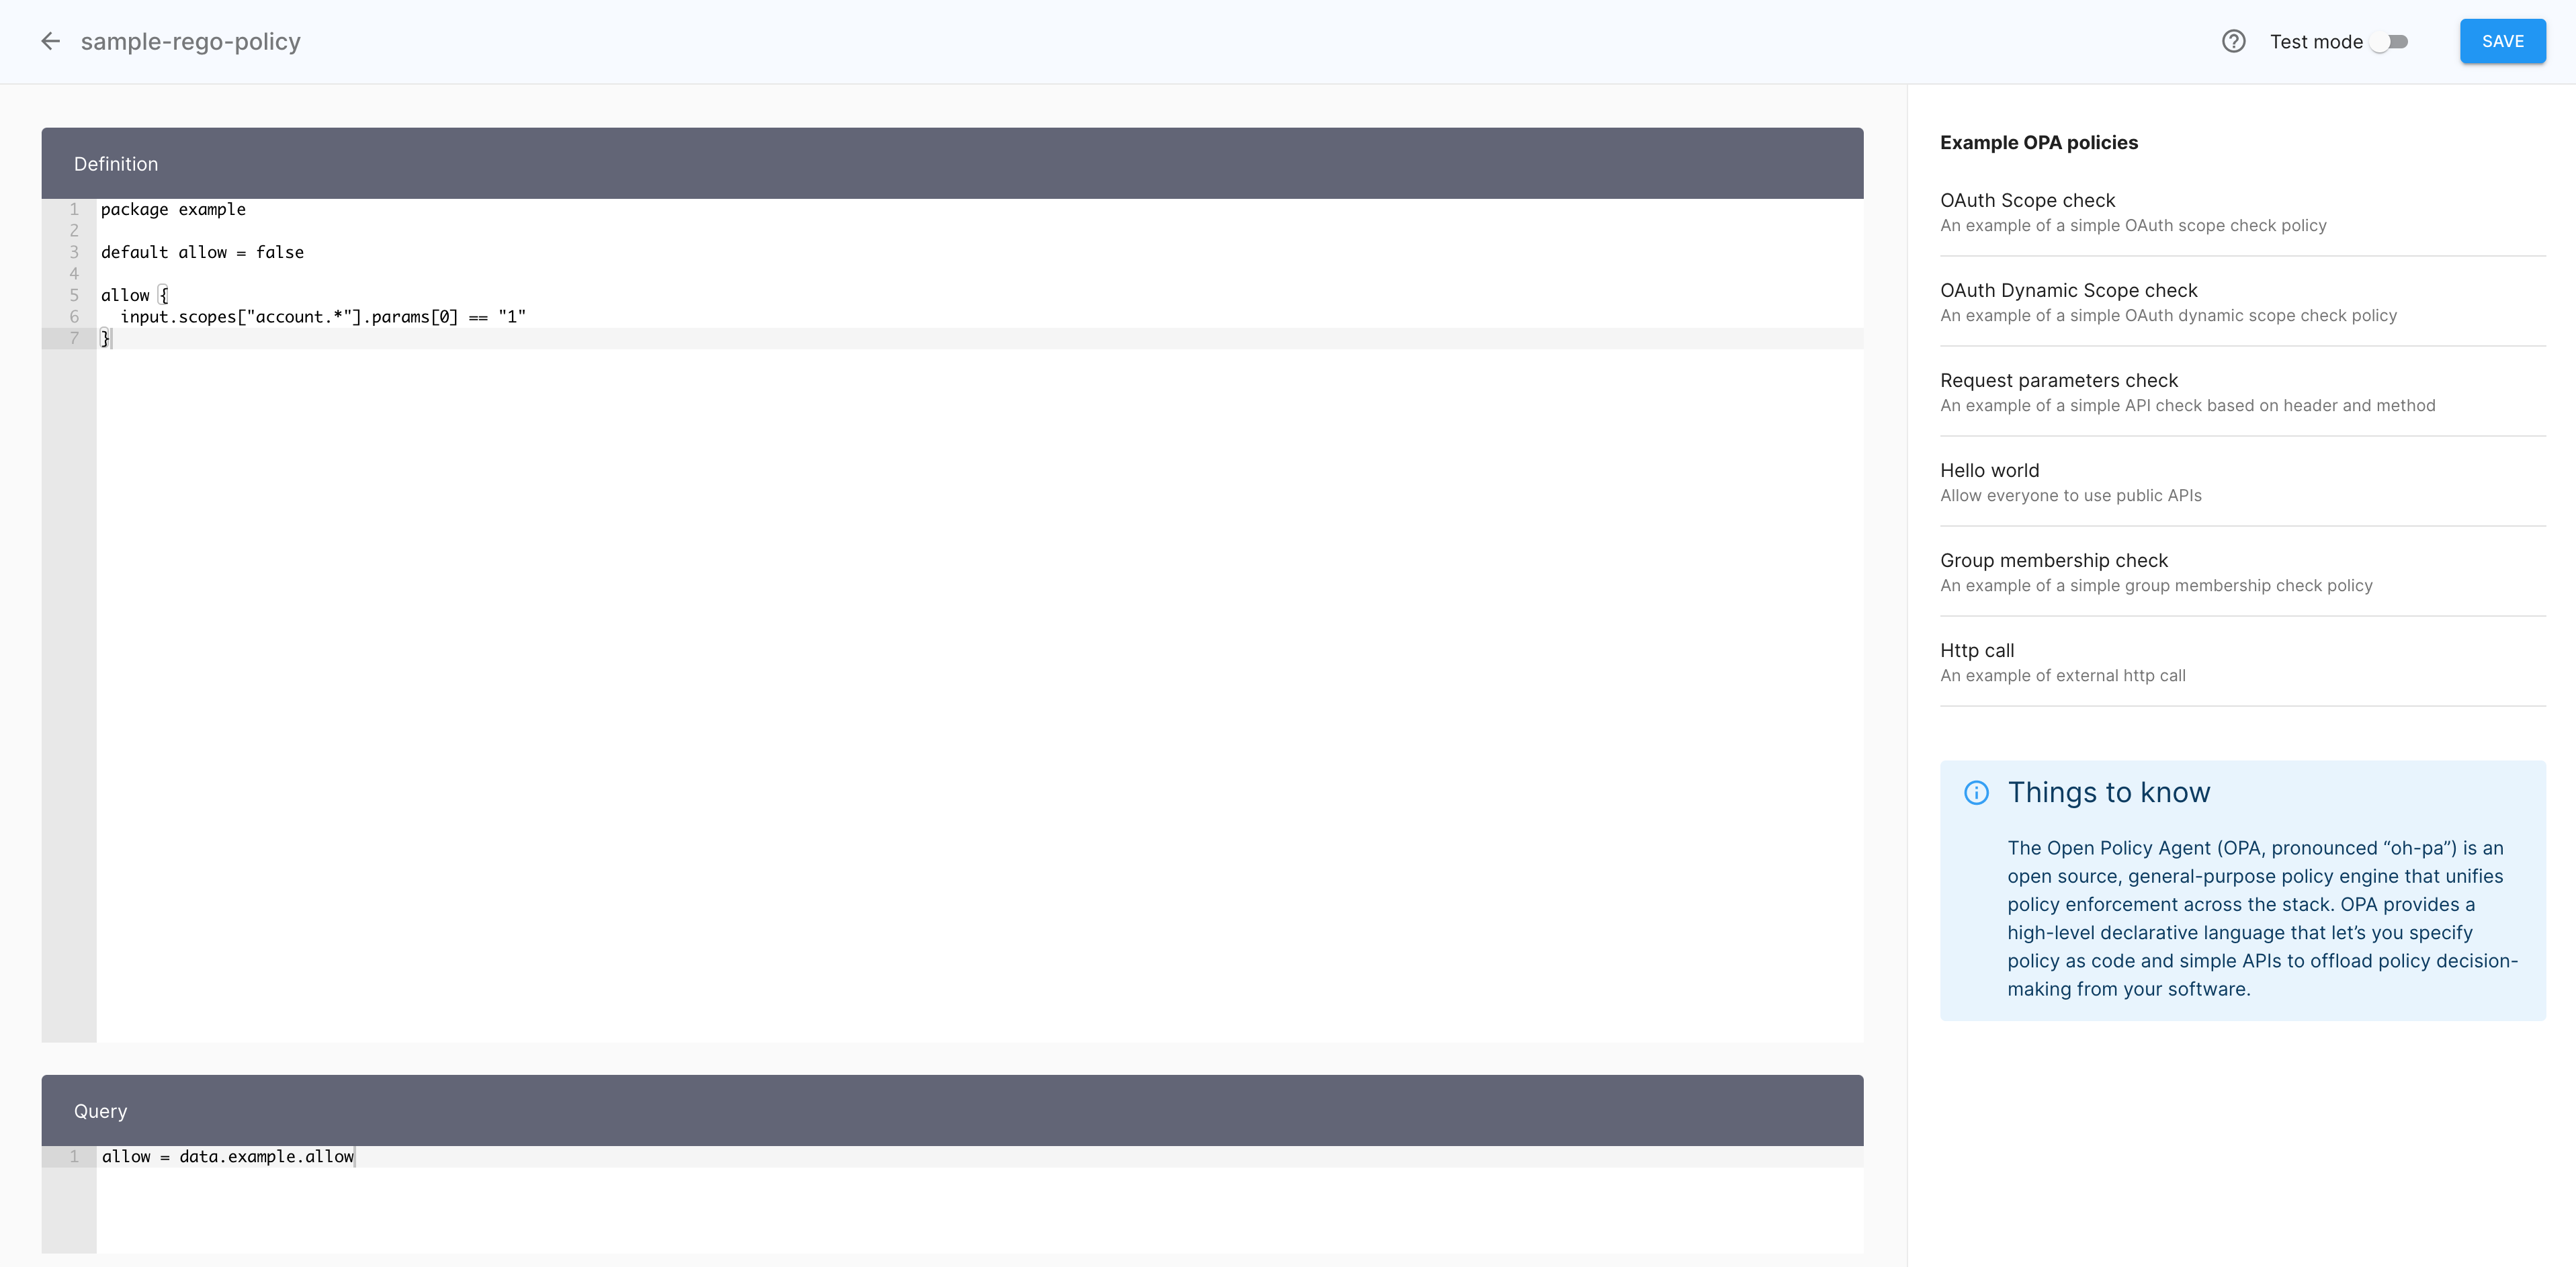
The policy editor opens and allows you to configure your policy in two ways:
- Entering your code manually (1)
- Selecting the predefined policy template OAuth Dynamic Scope check (2).
Note
For purposes of this article, the OAuth Dynamic Scope check template has been adopted.
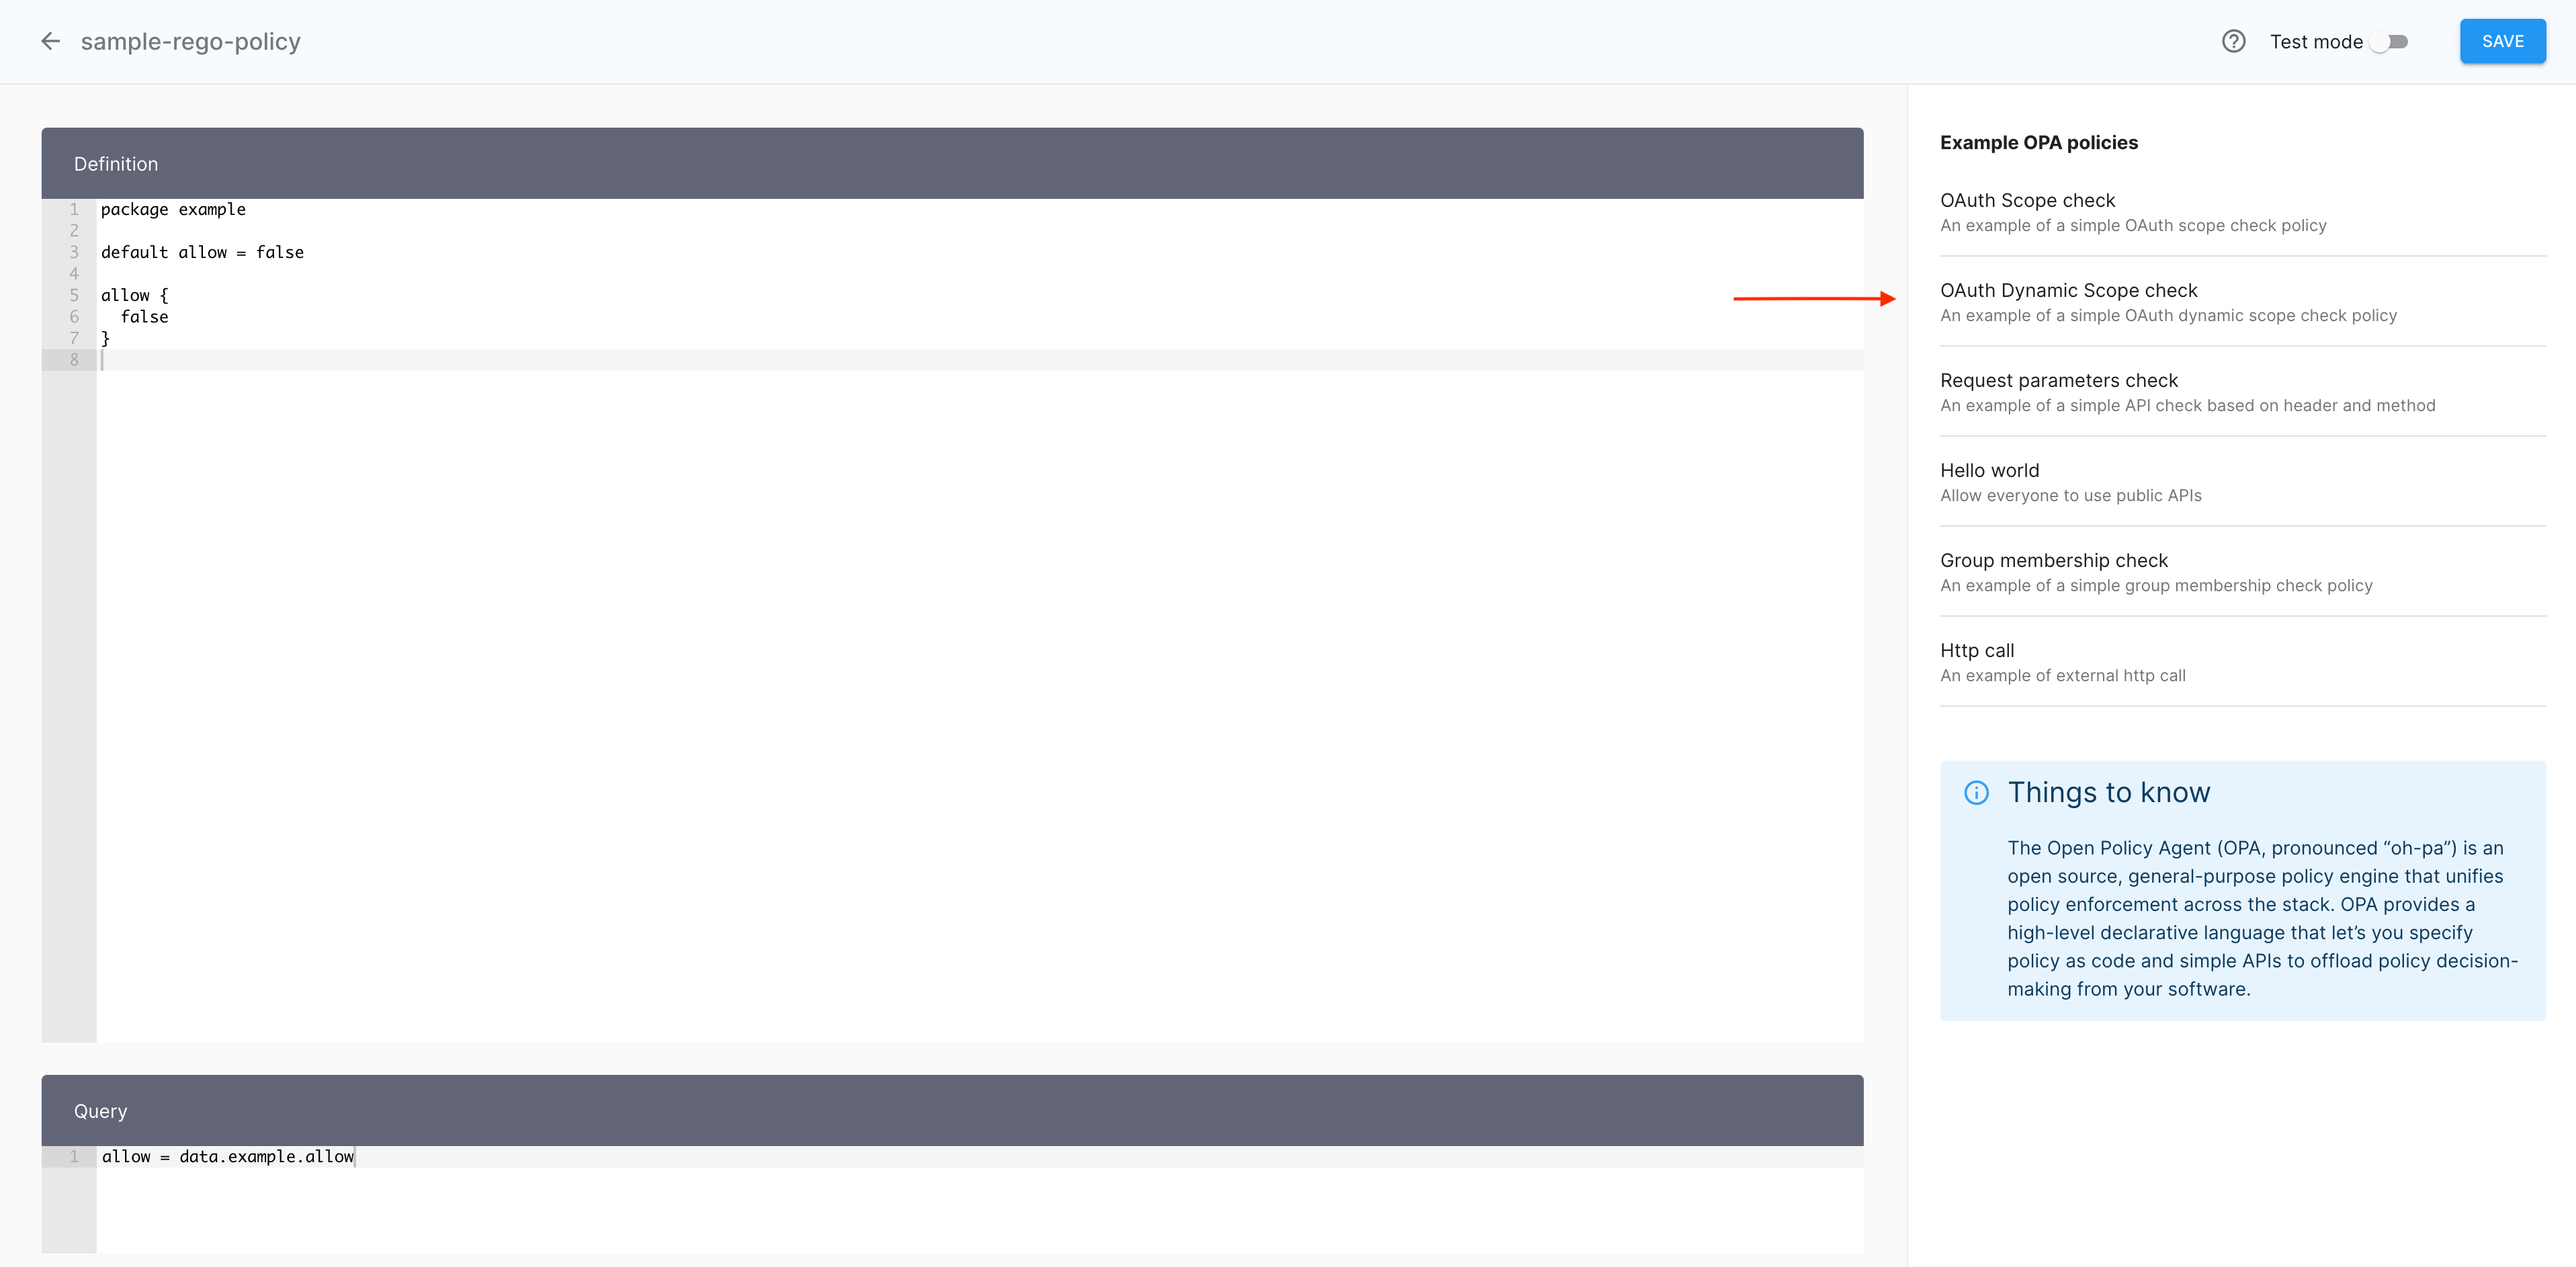
-
In the policy editor, select the predefined policy template OAuth Dynamic Scope check.
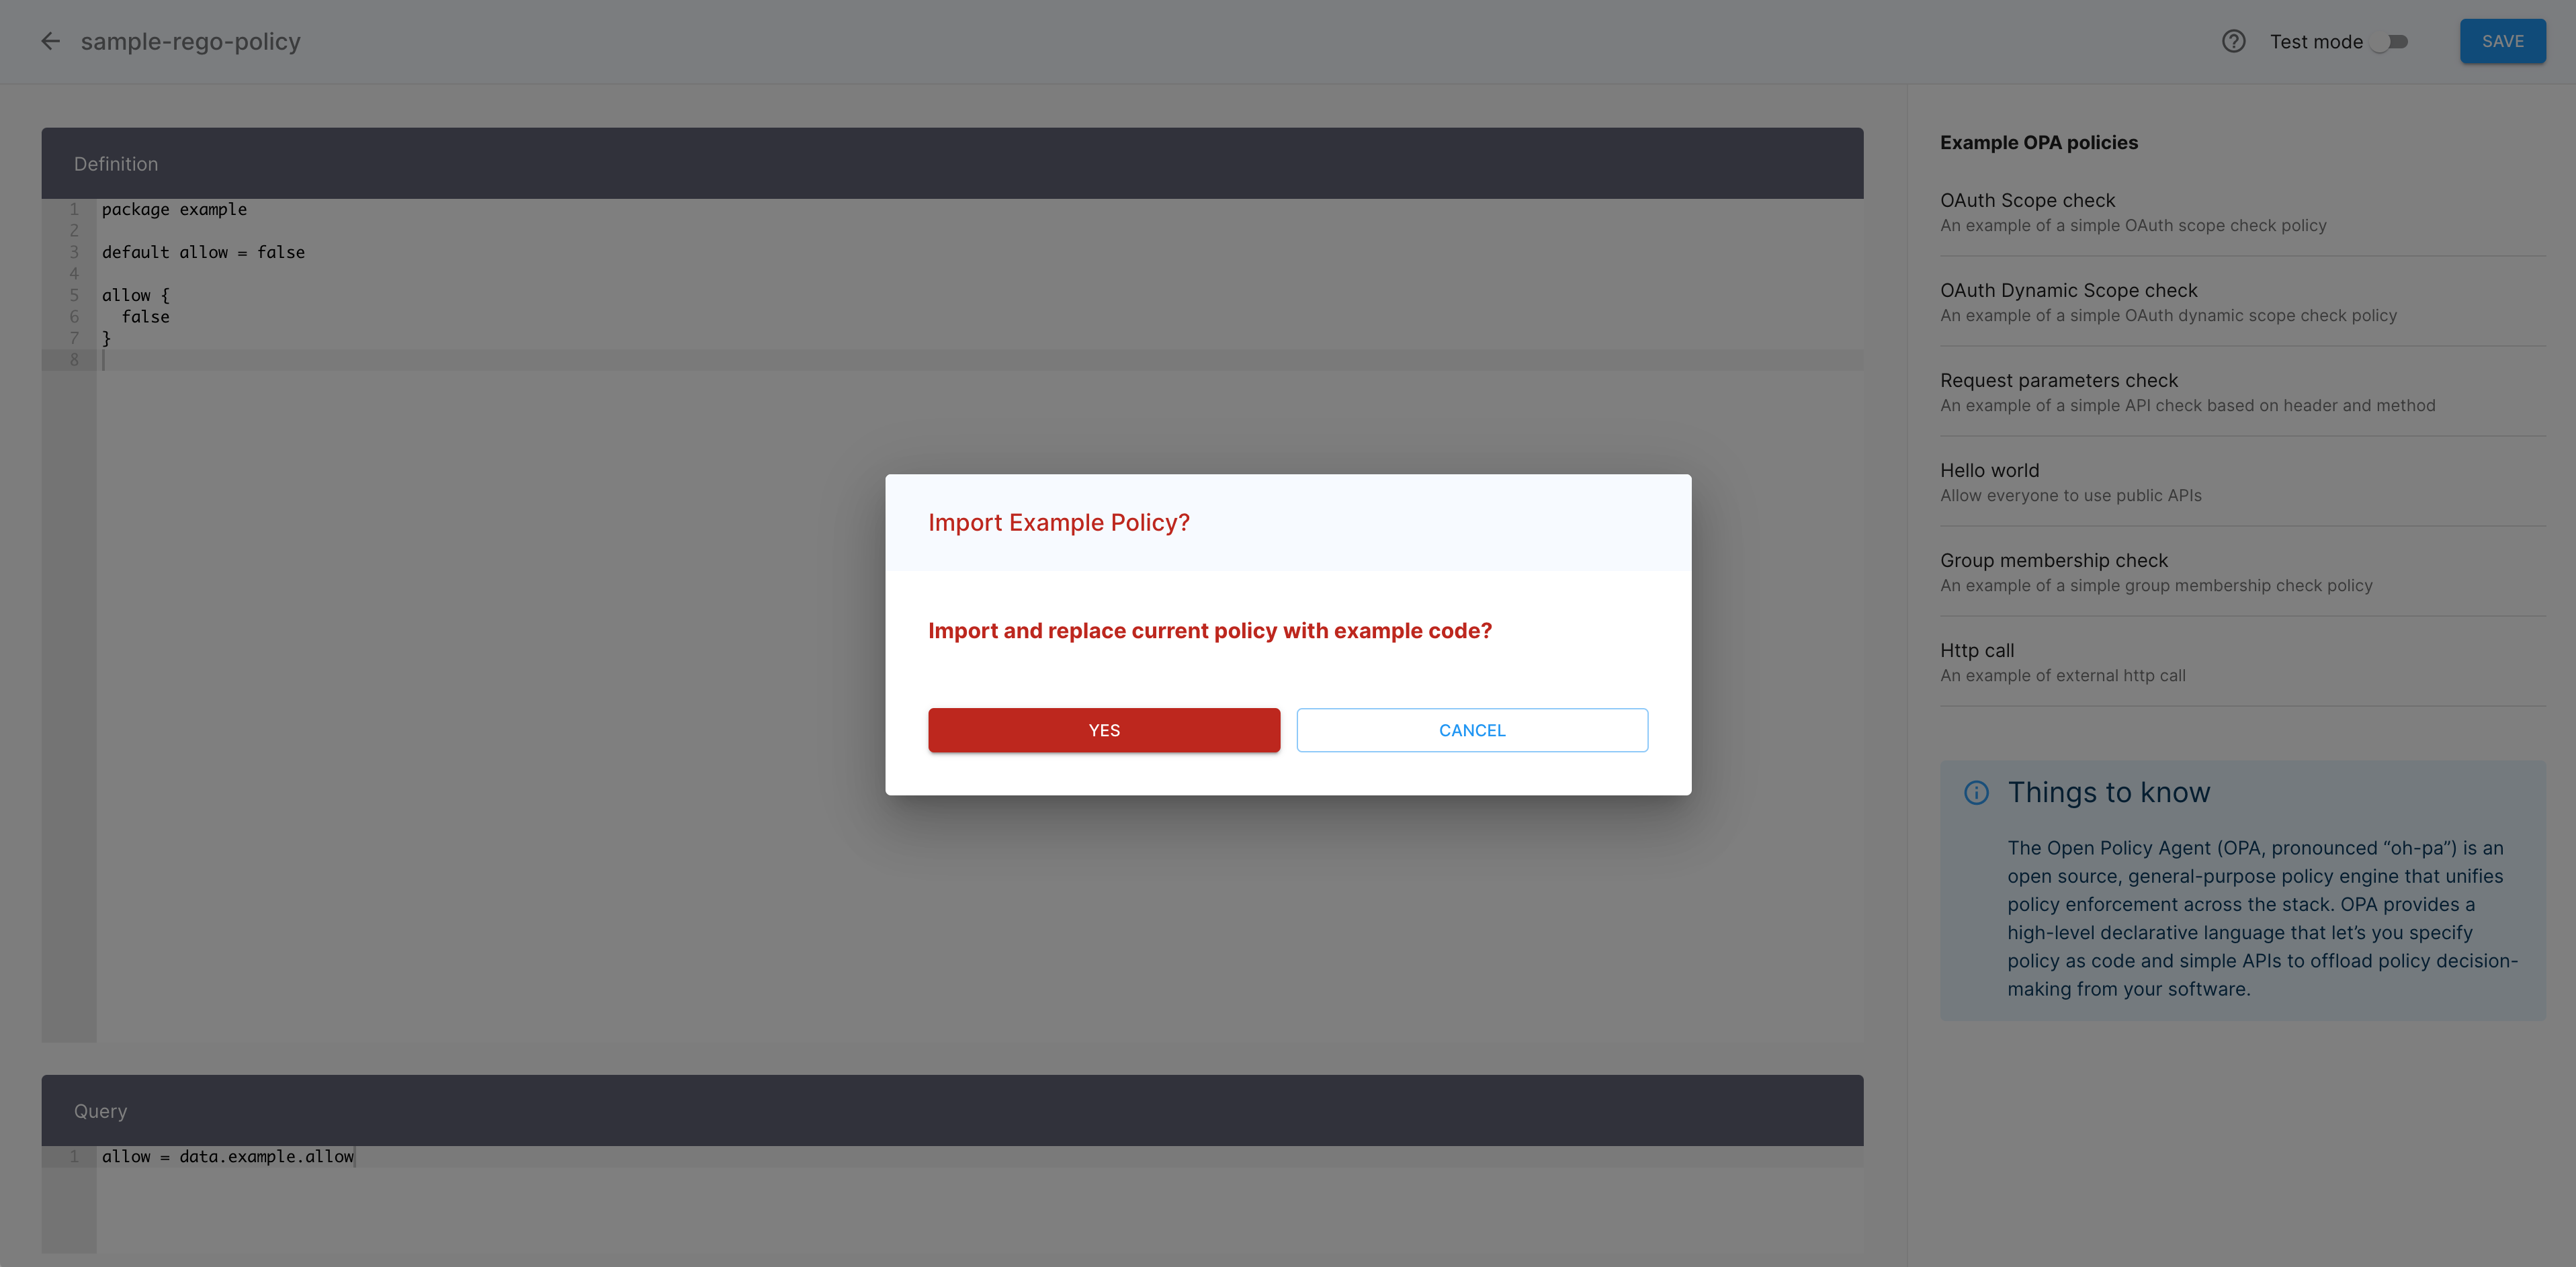
-
Select YES to confirm that you want to import the exemplary policy.
Result
The Definition view of the policy editor gets populated with a sample code using the dynamic scope syntax. Now is your turn to modify variables and parameters so that the policy addresses your specific scopes.
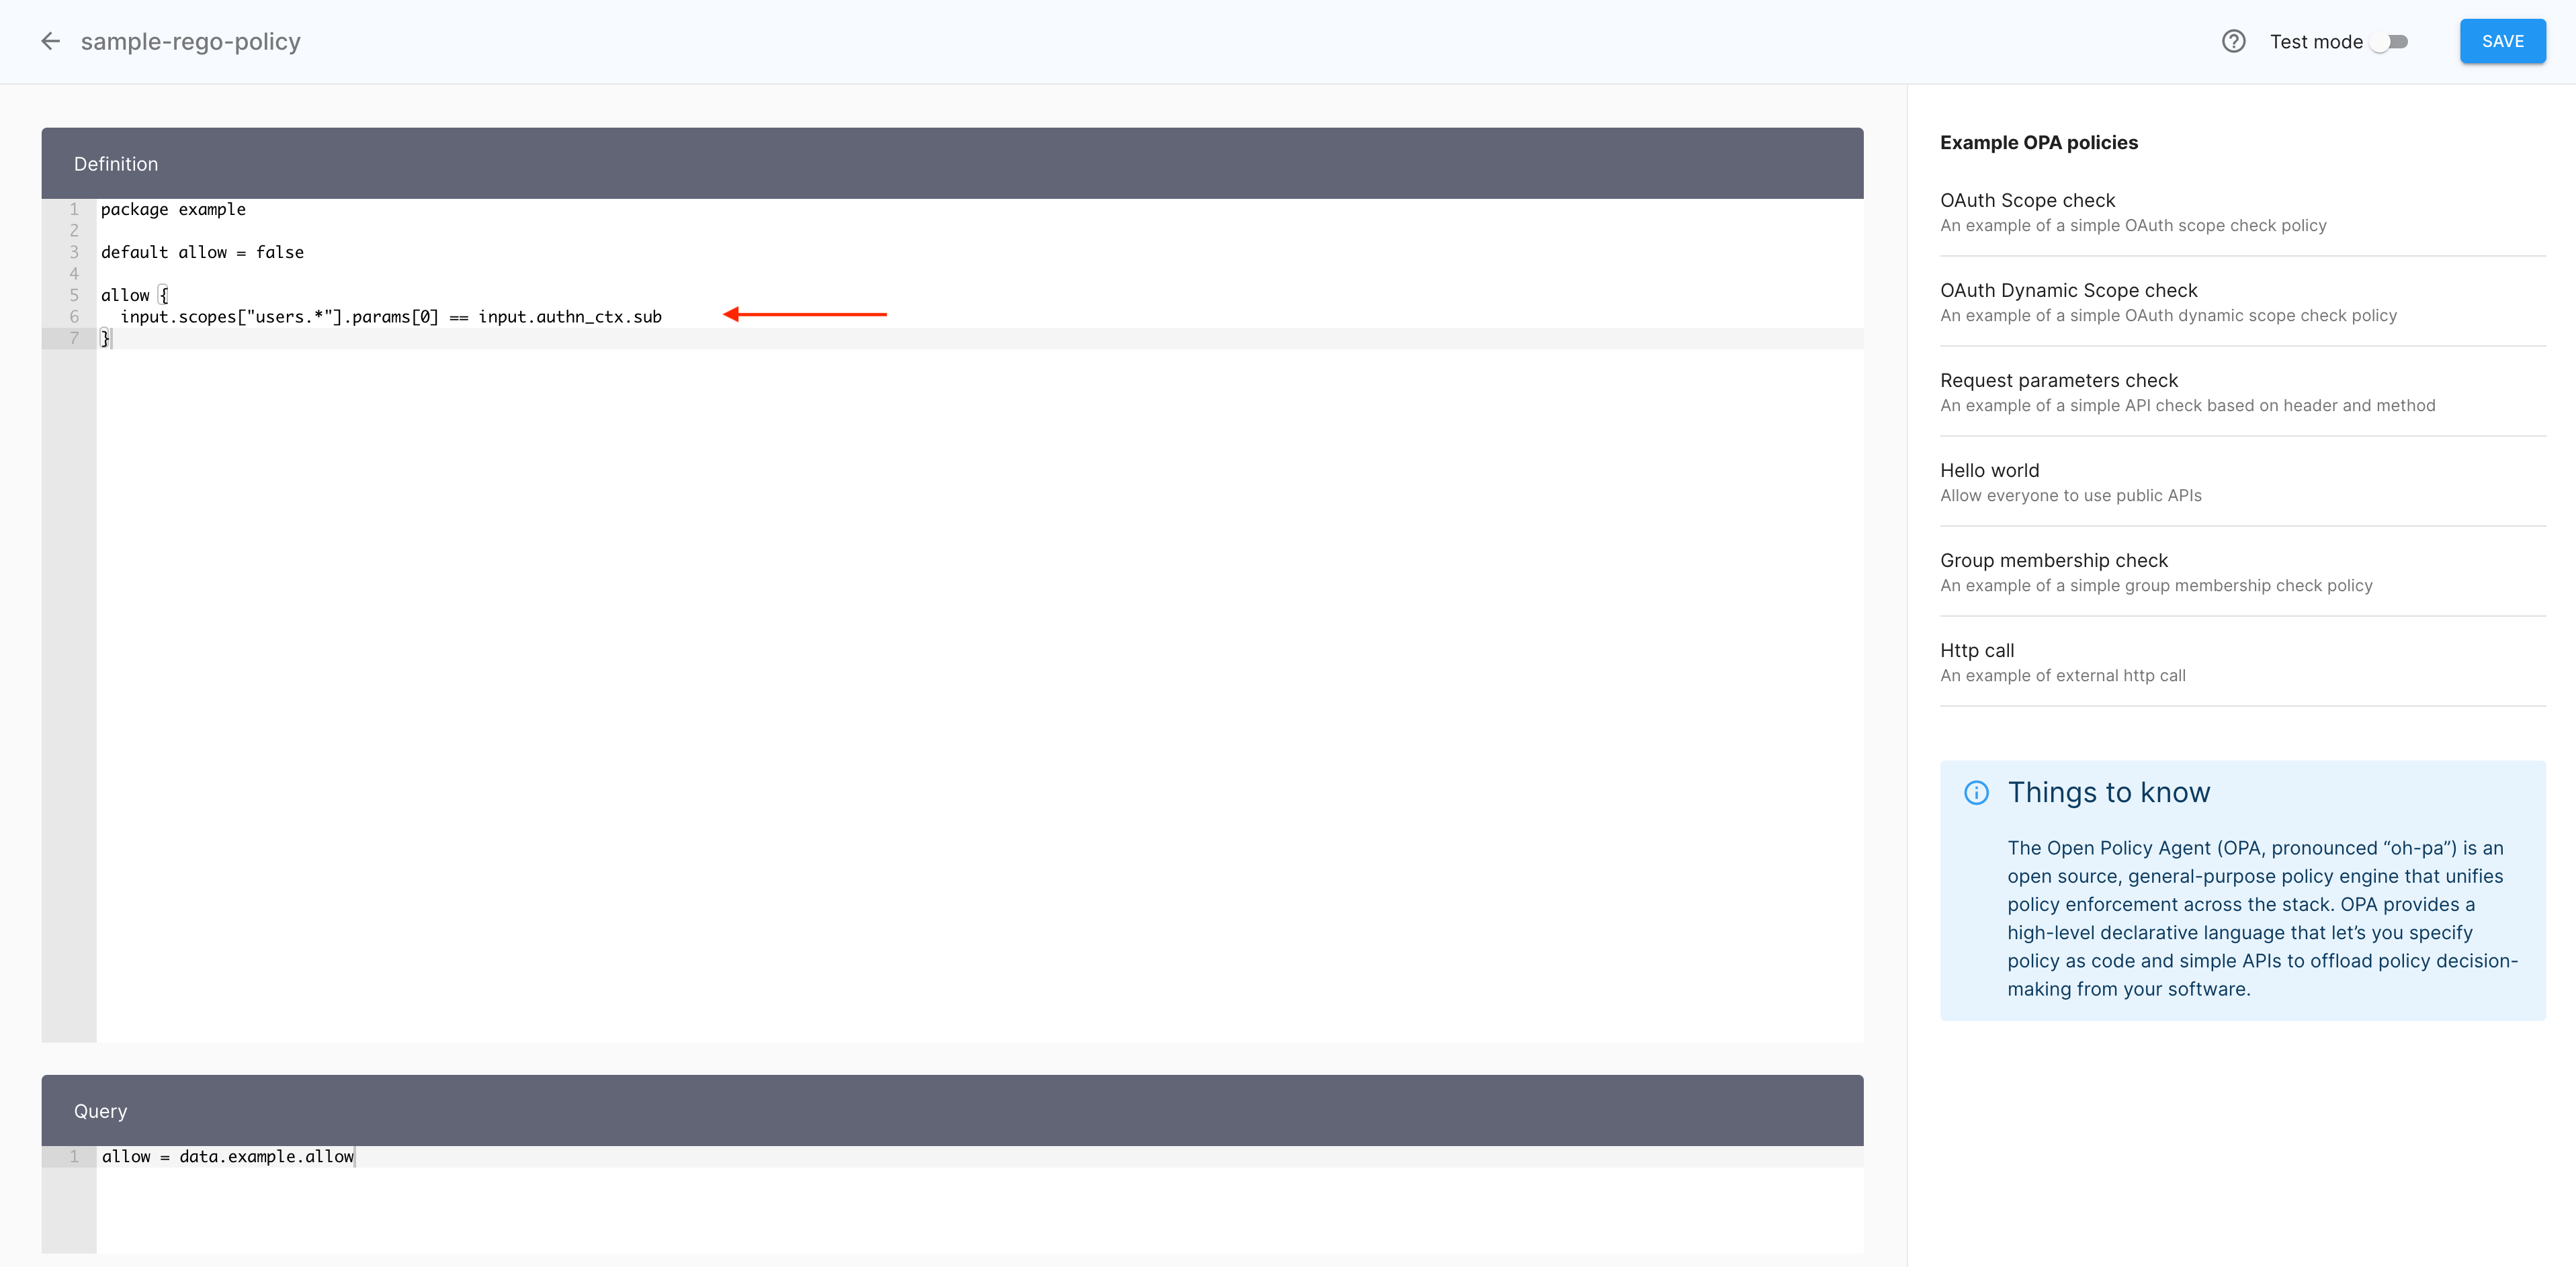
-
In the Definition view of the policy editor, modify the sample code to include your dynamic scope data.
-
Select SAVE to finalize your policy.

Result
Your Rego policy using a dynamic scope is ready.