Create Theme
Let’s assume you want to modify the Consent page and bind it to your workspace.
-
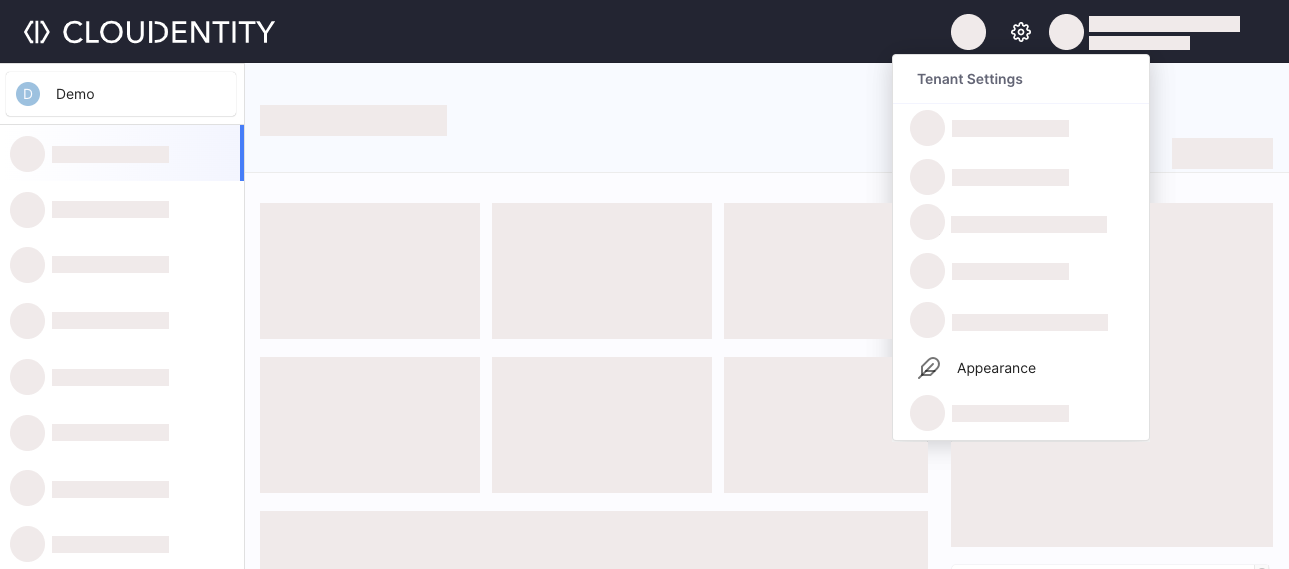
In your workspace, go to Tenant Settings » Appearance and select + CREATE THEME.

Don’t want to start from scratch?
If you wish, you can duplicate an already existing theme to avoid starting from the default Cloudentity branding.
To do so, just select the three dots next to the theme you want to duplicate and choose the Duplicate theme option.
-
Create a new theme.
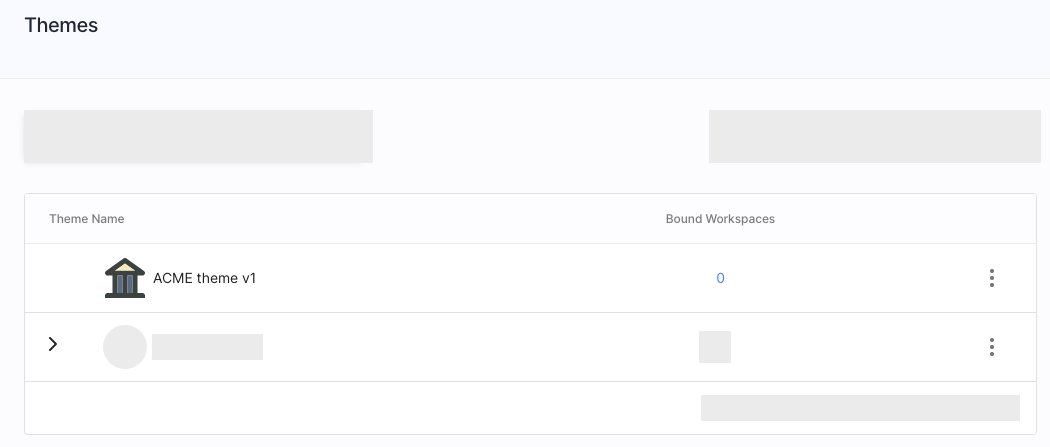
You can use the Logo URL field to provide an URL for a theme logo. This is not the logo that is applied to branded pages, just a theme logo that you can use to distinguish themes in the themes view. See example below.

You can change the name and the theme icon at any point by selecting the three dots next to your theme and Edit settings.
-
Select the three dots next to your theme and Edit HTML.
-
Modify the templates responsible for specific pages/messages. See the preview page to check if your changes bring the expected result.
Template group Description Pages Templates grouped by their UI location as seen by the end user. Messages Message templates - for messages customization visit themed messages Components Shared templates used as a part of other templates (direct preview is impossible for that reason). If you want to preview changes made in Components, check the affected template under Pages. -
Save. If you cannot save, check the Console for errors.
Bind Theme
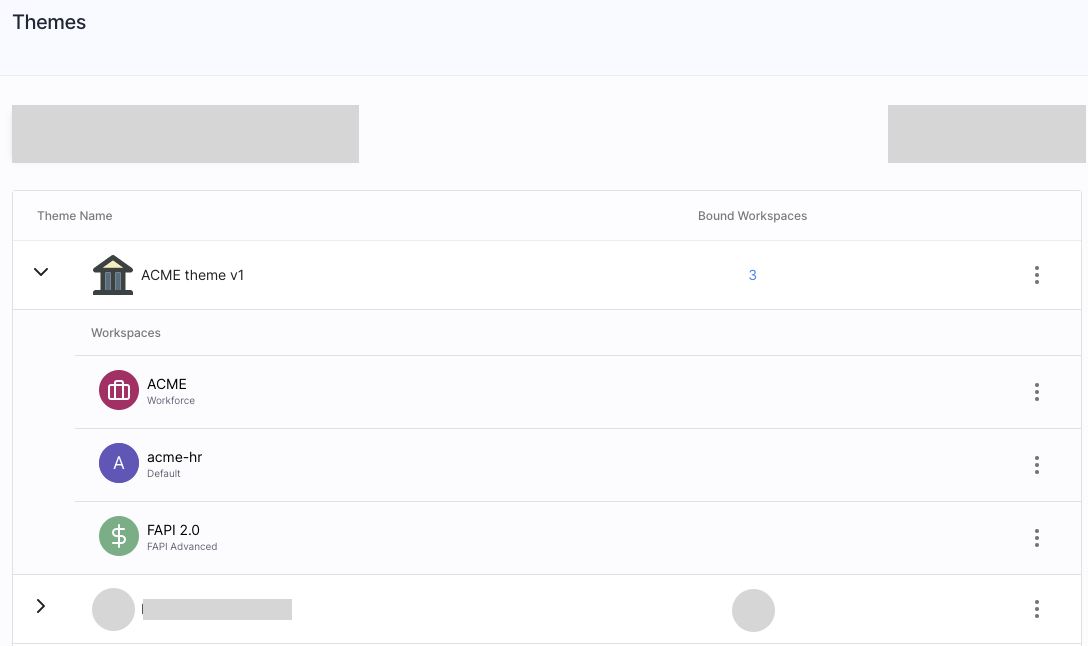
You can bind a theme to a workspace by clicking the three dots next to your theme in the Appearance Themes View and selecting Bind to Workspace.
A theme can be assigned to one or more workspaces. Each workspace can have only one theme assigned.

If you wish to unbind a theme from a workspace, expand the dropdown for your theme, and, next to the workspace of your choice, select the three dots » Bind to Theme and pick the theme you want to assign to this workspace. The workspace must have at least one theme assigned.