Prerequisites
- You have an Okta developer account.
Connect Okta SAML IDP
-
Go to Authentication » Providers » Create Connection.
-
Select the SAML template in Third-Party Providers section and click Next.

-
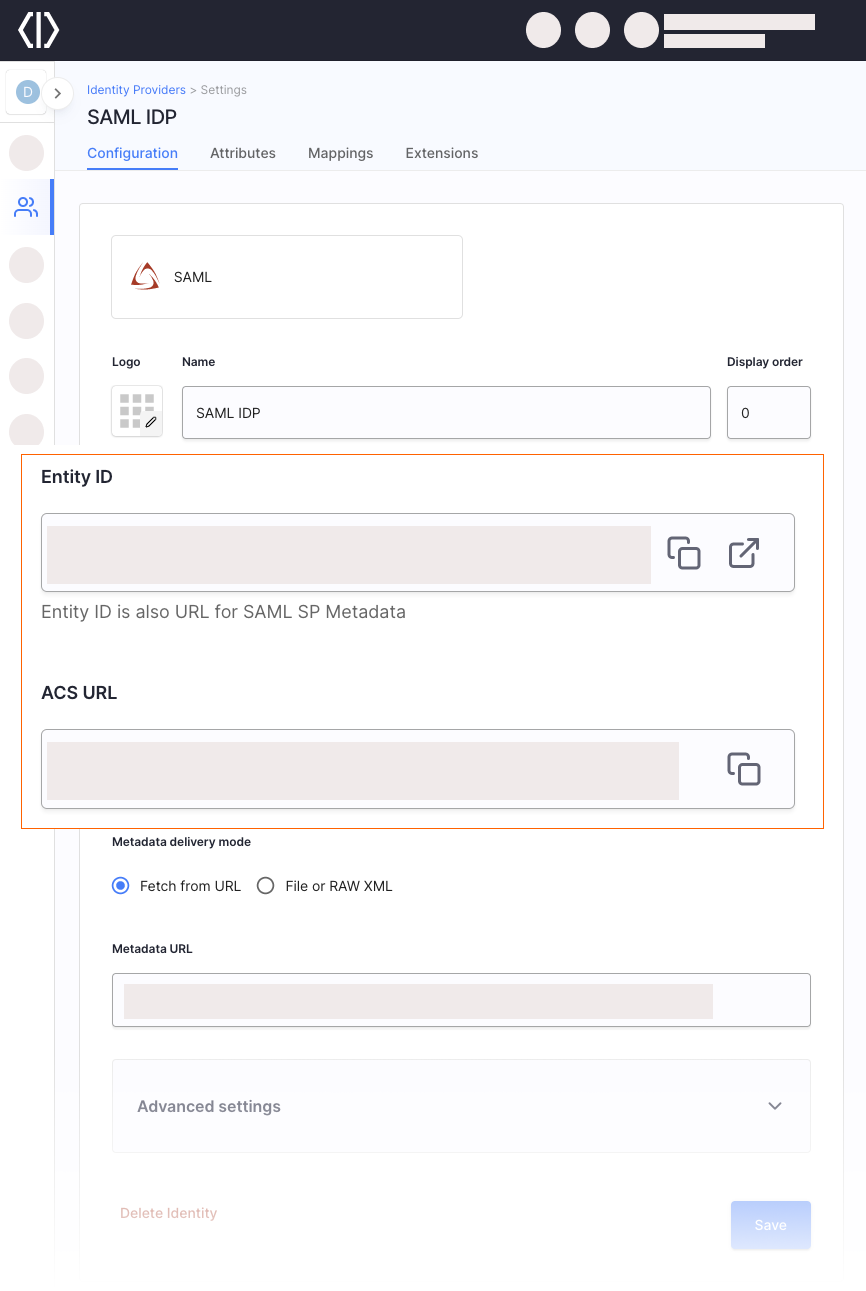
Provide a name for your SAML IDP – it is used to create the Entity ID.
-
Use the Entity ID (also a SAML SP Metadata URL) and ACS URL (Assertion Consumer Service URL) values to register Cloudentity as a Service Provider at your IDP.
For most up-to-date instructions, follow Microsoft documentation to add Azure AD SSO integration with Azure AD SAML Toolkit.
-
Go to Azure Active Directory.
-
Select Enterprise Applications » All Applications » New Application.
-
Search for Azure AD SAML Toolkit, select it from the list, and select Create.
-
Select Single sign-on from the Manage navigation tree.
-
Select SAML.
-
Select Edit in the Basic SAML Configuration and provide:
-
Provide the Entity ID from Cloudentity as the value of the Identifier (Entity ID)) field.
-
Provide the ACS URL from Cloudentity as the value of the Reply URL (Assertion Consumer Service URL).
-
Provide the ACS URL from Cloudentity as the value of the Sign on URL.
-
-
-
Copy the App Federation Metadata URL from the SAML Certificates menu.
-
Back in Cloudentity, provide the App Federation Metadata URL you copied from Azure as the value of the Metadata URL field.
-
Save.
Next Steps
-
In Azure, assign users to SAML Application you integrated with Azure.
-
Add SAML Assertion Schema Attributes Coming from Azure AD IDP.
-
Map SAML IDP Attributes to Authentication Context Attributes.
-
Define Outgoing SAML Assertion Attributes Sent to Service Providers
-
If the Azure AD SAML IDP you connected enables users to sign into OAuth-based client applications, be sure to map the authentication context parameters (mapped from SAML IDP Assertion Schema Attributes) to Token Claims as well.