About Keycloak as an IDP
Keycloak is supported by Cloudentity via the generic SAML connector and generic OIDC connector in Cloudentity. This article shows how to connect Keycloak using the SAML Generic Connector
Keycloak and OIDC
Keycloak applications can also use the OIDC protocol, you can use the OIDC IDP to bind Keycloak apps via OIDC.
Prerequisites
-
To configure the connector, you need to retrieve the metadata from your SAML IDP applicaiton. This can be obtained by clicking on the metadata from the targeted realm setting in Keycloak.
-
A SAML Identity Provider in Keycloak with the following fields populated:
Parameter Description Service Provider Entity ID URL of the realm in Keycloak, for example https://localhost:8443/auth/realms/demo.Single Sign-on Service URL SAML SSO URL of the realm in Keycloak, for example https://localhost:8443/auth/realms/demo/protocol/samlNameID Policy Format select Unspecified -
Obtain the IdP certificate from your Keycloak realm
- Inside the SAML metadata in your realm, copy the
ds:X509Certificatevalue into a text file, prepend it with-----BEGIN CERTIFICATE-----and append-----END CERTIFICATE-----at the end, save the file and keep it open.
- Inside the SAML metadata in your realm, copy the
-
Keep Keycloak admin console open
Connect Keycloak IDP
Basic configuration
-
In your workspace, go to Authentication » Providers > Create Connection.
-
Select the SAML template and click Next.
-
Add the
Single Sign-on Service URLvalue from Keycloak in Sign in URL. -
Copy the X509 certificate file content into IDP certificate.
-
Select unspecified in Name ID format.
-
Optionally, enable Authentication context caching.
Tip
You can enable the authentication context caching if you want Cloudentity to store the user’s authentication data. If you do, specify the cache Time To Live as well. Learn more by reading Stateful authorization with Cloudentity.
-
Optional: enable Identity Provider (IdP) Discovery and provide Email domains.
-
Expand Advanced Settings and select Password-based authentication in Authentication Method Reference. Then save the changes.
-
Select Save.
Result
Your new SAML identity provider is created and listed in the Consumer Identity Providers view.
Entity issuer and Redirect URL (or Assertion Consumer Service (ACS)) are generated in Cloudentity. Use these values to finish the configuration on the SAML application side.
-
Back in Keycloak, create a SAML client application.
-
Put in Entity issuer from your workspace Keycloak IdP into Client ID.
-
Select SAML in Client Protocol.
-
Give a name in Name.
-
These options need to be enabled: Enabled, Include AuthnStatement, Sign Documents, Sign Assertions. For testing purposes, do not enable Client Signature Required.
-
Select username in Name ID Format.
-
Put the workspace Keycloak IdP Redirect URL into Valid Redirect URIs and Master SAML Processing URL.
-
Save the changes.
Result
Your new IDP connection is created configured. Users can now authenticate via the SAML-compliant IDP.
Attributes of your IDP correspond to the contents of the assertion (the XML received from the IDP).
Example
Here’s a SAML Response containing the
<saml2:AttributeStatement>tag and attributes issued by IDP (in this case, a singleusernameattribute with the valueJoe):<?xml version="1.0" encoding="UTF-8"?> <saml2:Assertion ID="id1214053367877977596315632" IssueInstant="2022-01-07T09:14:27.545Z" Version="2.0" xmlns:saml2="urn:oasis:names:tc:SAML:2.0:assertion"> <saml2:Issuer Format="urn:oasis:names:tc:SAML:2.0:nameid-format:entity">http://www.okta.com/exk3ip7ehfTC60ReG5d7</saml2:Issuer> <saml2:Subject> <saml2:NameID Format="urn:oasis:names:tc:SAML:1.1:nameid-format:unspecified">test@mail.com</saml2:NameID> <saml2:SubjectConfirmation Method="urn:oasis:names:tc:SAML:2.0:cm:bearer"> <saml2:SubjectConfirmationData NotOnOrAfter="2022-01-07T09:19:27.545Z" Recipient="https://example.com/login"> </saml2:SubjectConfirmation> </saml2:Subject> <saml2:Conditions NotBefore="2022-01-07T09:09:27.545Z" NotOnOrAfter="2022-01-07T09:19:27.545Z"> <saml2:AudienceRestriction> <saml2:Audience>c7bhamiqs5kro24r4peg</saml2:Audience> </saml2:AudienceRestriction> </saml2:Conditions> <saml2:AuthnStatement AuthnInstant="2022-01-07T09:14:27.545Z" SessionIndex="id1641546867544.1585510482"> <saml2:AuthnContext> <saml2:AuthnContextClassRef>urn:oasis:names:tc:SAML:2.0:ac:classes:PasswordProtectedTransport</saml2:AuthnContextClassRef> </saml2:AuthnContext> </saml2:AuthnStatement> <saml2:AttributeStatement> <saml2:Attribute Name="username" NameFormat="urn:oasis:names:tc:SAML:2.0:attrname-format:unspecified"> <saml2:AttributeValue xmlns:xs="http://www.w3.org/2001/XMLSchema" xmlns:xsi="http://www.w3.org/2001/XMLSchema-instance" xsi:type="xs:string">Joe </saml2:AttributeValue> </saml2:Attribute> </saml2:AttributeStatement> </saml2:Assertion>
Map IDP Attributes to Authentication Context
If you’ve added custom attributes for an IDP, you need to make sure they are mapped to the {{< product-name acp >}} authentication context. You can do it either from the IDP configuration page (as explained here) or use Data Lineage instead.
Default OIDC/SAML attributes are mapped out of the box.
-
Go to {{% nav-paths/idps %}} and select an IDP from the list.
-
Open the Mappings page. A standard attribute mapping for this IDP appears.
-
Select Add mapping and map any custom IDP attributes to an existing authentication context attribute.
Note
If you need to create new authentication context attributes, read the Managing Authentication Context.
-
Optionally, you can enrich authentication context before issuing the token to the client. Attributes returned by the script do not need to be separately mapped to the authentication context.
-
Save your changes. Your mapped custom attributes should now be shared in the ID token issued to your client application, given that the target application requests them (you can check this in Data Lineage).
Connect Extensions to your IDP
-
Go to {{% nav-paths/idps %}} » YOUR_IDP » Extensions.
-
Assign a Post Authentication script to the IDP. This script will be executed upon user authentication via this IDP.
-
Connect your application to the IDP in the Post Authentication application field. Users will be redirected to this application upon authentication via this IDP.
Feature flag
Post Authentication applications must be explicitly enabled in your tenant using the
custom_appsfeature flag.
Test your IDP
Prerequisites
- Your IDP is enabled for user authentication.
- Demo workspace is created with the Demo Portal connected.
Test
-
Open the Demo Portal (Data lineage -> Demo Portal -> Launch).
-
Select LOGIN TO DEMO APP.
-
Select your configured IDP and, next, authenticate in IDP.
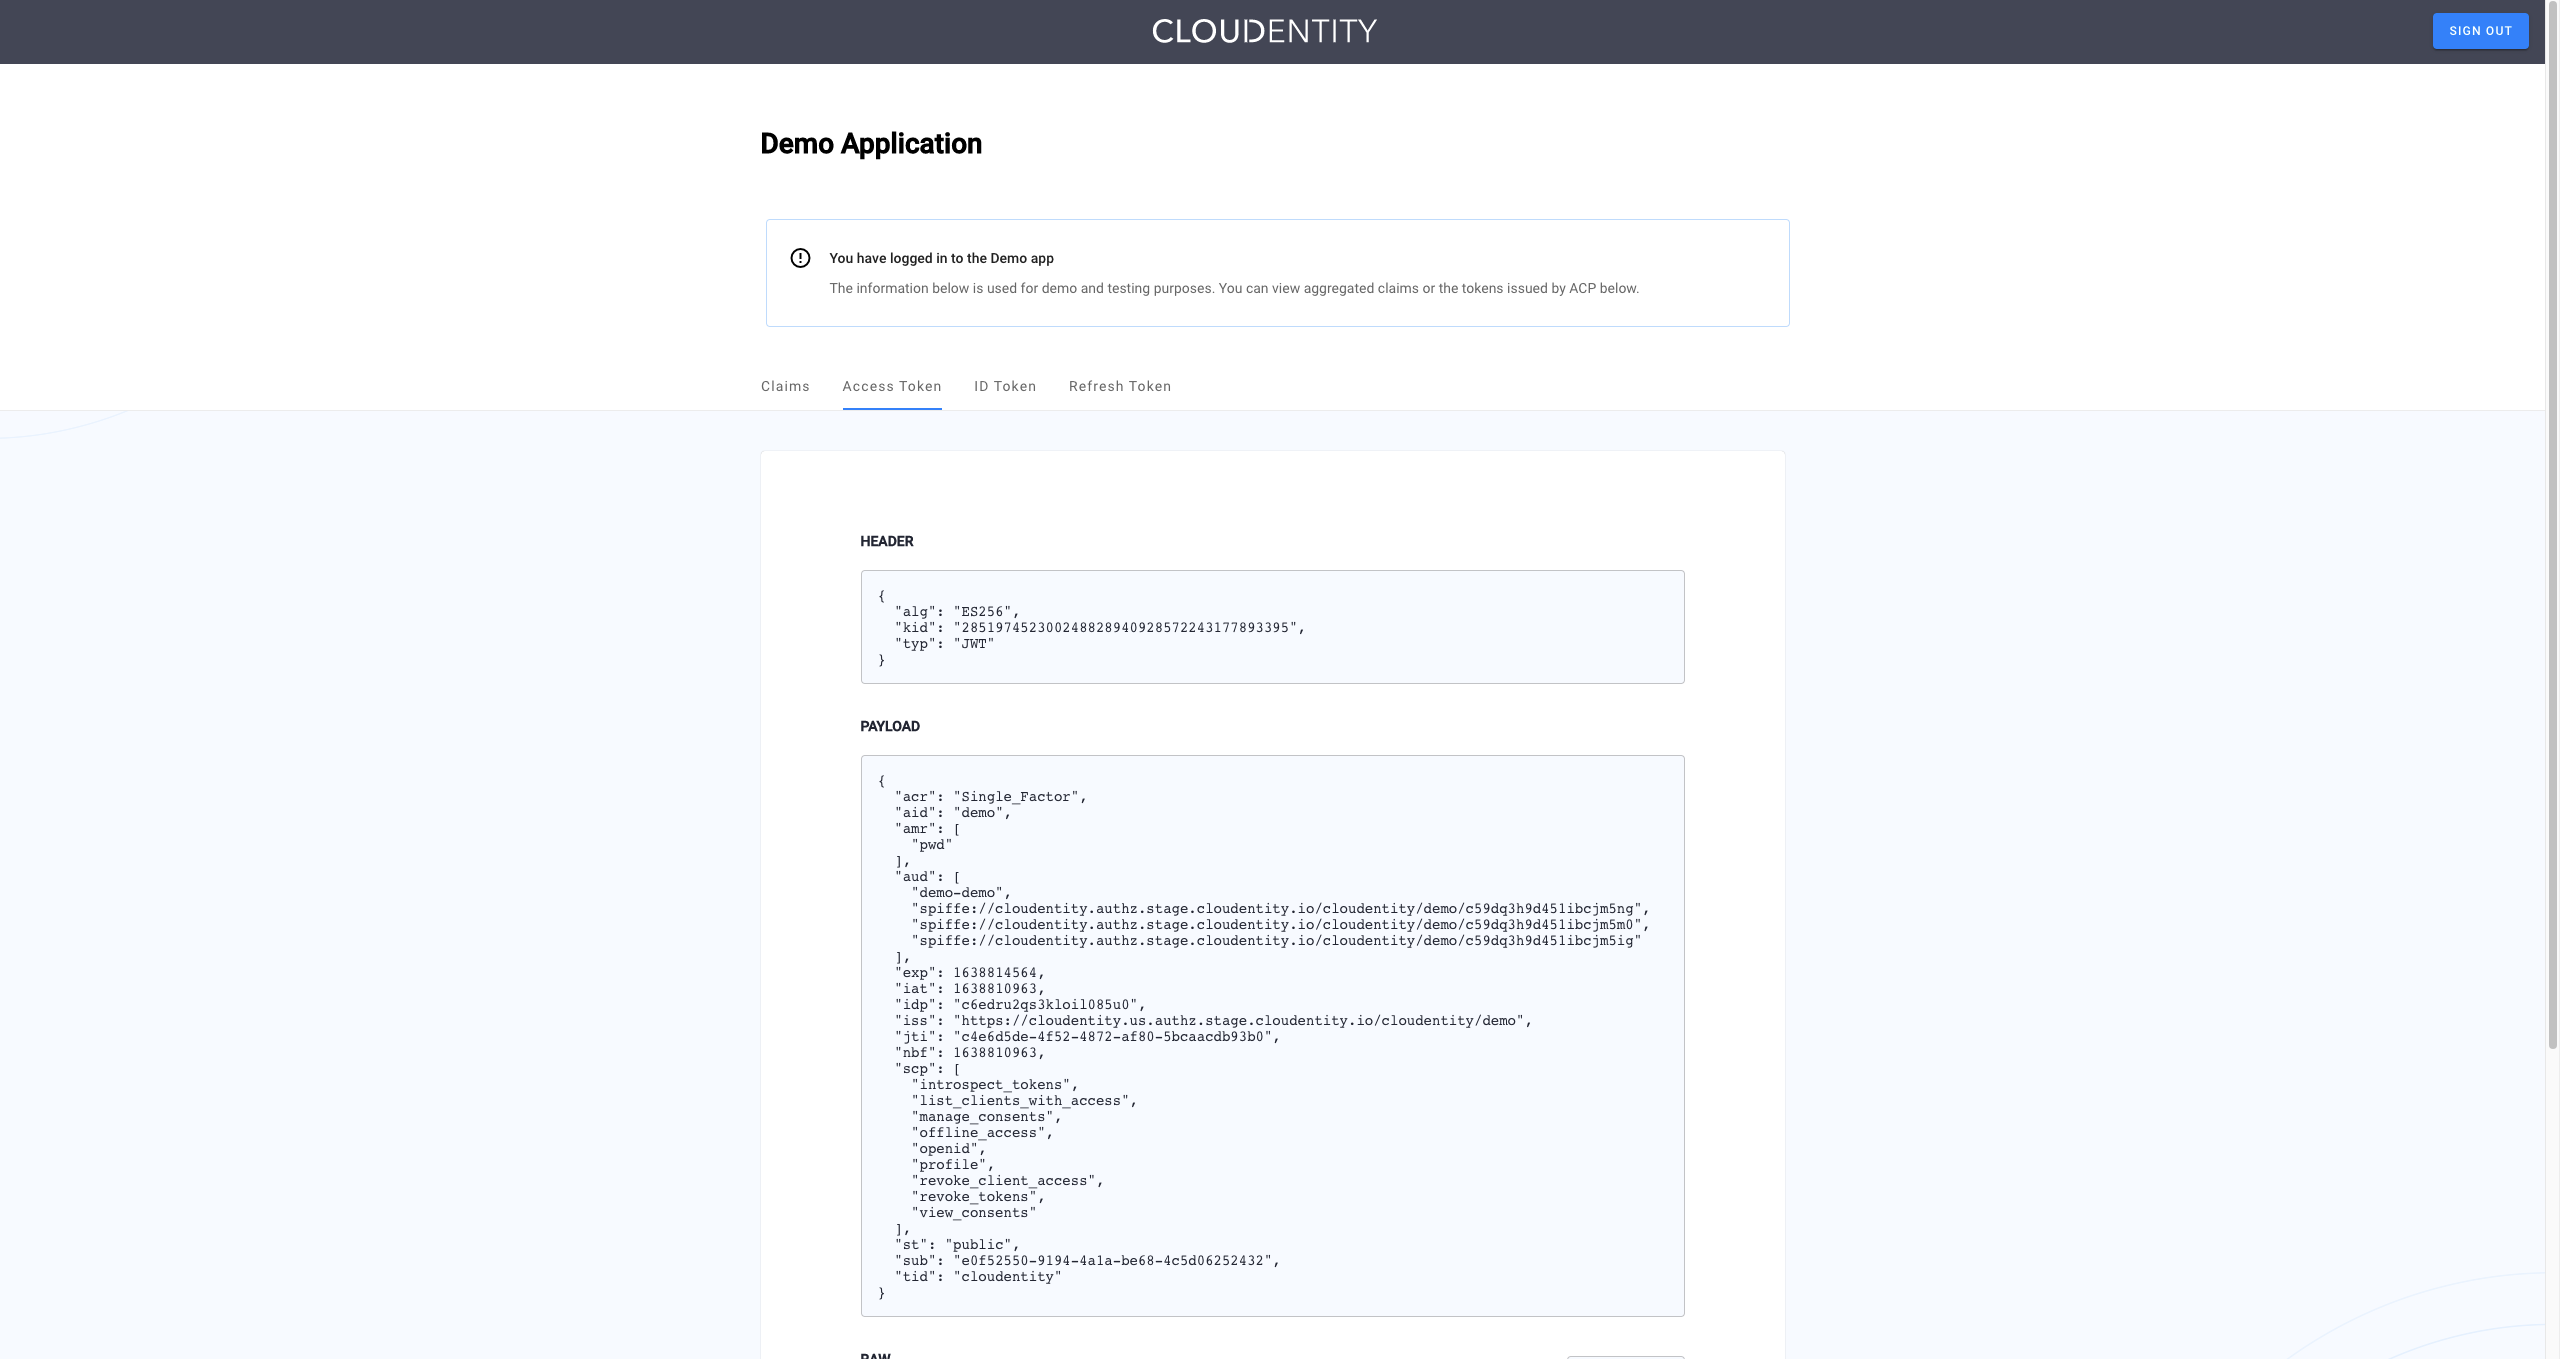
Result
Cloudentity displays the consent page that lists data scopes to be shared with the application. When you proceed to the application (ALLOW ACCESS), the PII data coming from Azure AD is delivered through the access token and the ID token generated by Cloudentity.
Read more
For information on granting and managing Cloudentity consents, see Cloudentity OAuth consents.