About Integration with External Datastore IDPs
Cloudentity makes it possible for you to build a custom integration with an external datastore IDP. Such integration enables you to bring your own user data or user credentials store and use the Resource Owner Password OAuth grant flow as the means to authenticate your users. Additionally, it is also possible for Cloudentity to extend the identity context of the user using the external sources of user data.
For the integration to work, your external datastore service must expose an /authenticate endpoint
implemented according to the Swagger specification
provided by Cloudentity.
Once the user tries to log in to the
application, calls this endpoint to send provided credentials to
authenticate the user.
Note
It is possible to have exactly one external datastore IDP or static (sandbox) IDP enabled for a workspace, but you can create more of them. Enabling one of the IDPs results in disabling the one that was enabled so far.
Basic Access Authentication
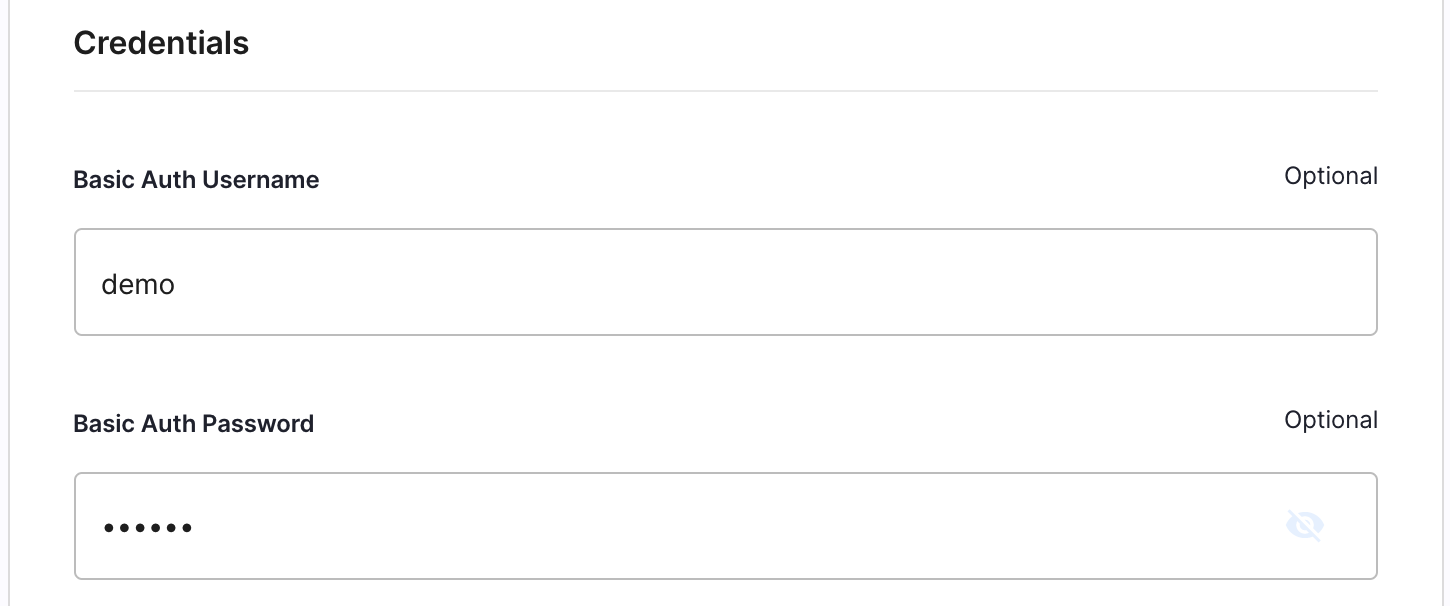
Cloudentity integration with external datastores makes it possible to use Basic access authentication. It is a simple authentication scheme that is built into the HTTP protocol. To use it, provide your Basic Auth Username and Basic Auth Password that Cloudentity will base-64-encode and use them when sending a request to your authentication endpoint.
Prerequisites
- Your service exposes an endpoint to which Cloudentity can send requests to authenticate your users.
Connect External IDP
-
go to Authentication » Providers » Create Connection.
-
Select External IDP > Next.
-
Fill in all necessary fields to configure your external IDP.
-
Provide a display Name for your IDP.
-
Provide an External datastore service URL.
Note
Cloudentity uses this path to construct the URL of your
/authenticateendpoint. -
If you wish, enable the Authentication Context Caching.
Tip
Enable the authentication context caching, if you want to have the user’s data cached in Cloudentity and avoid re-authenticating within one user’s session. To learn more, see the stateful authorization with Cloudentity documentation.
-
If you wish, provide the credentials for Basic access authentication.
-
-
Select Save.
Result
Your external datastore IDP is available for your users. They can use it to, for example, login to your Cloudentity Admin Portal, Demo application, and more.