About OIDC Connector
OIDC is an interoperable authentication protocol based on the OAuth 2.0 family of specifications. All OIDC-compliant Identity Providers can be connected to Cloudentity for user authentication purposes, in accordance with the Bring Your Own Identity philosophy that Cloudentity follows. For more information about OIDC itself, you can read the OIDC specification.
Some IDPs, such as Okta, have their own dedicated connection templates in Cloudentity, which you’re strongly recommended to use whenever possible. Use the generic OIDC connector only to bind OIDC-compliant IDPs which do not have a dedicated connection template in Cloudentity.
The generic OIDC connector can be used, for example, to connect bank IDPs which require Private Key JWT authentication.
Prerequisites
-
Your IDP must implement the OIDC specification.
-
You must have an OAuth application registered with your IDP.
-
Create an OAuth application with your IDP. Follow the IDP documentation for help.
Redirect URL for your application
When prompted for the redirect URL, use the Redirect URL from Cloudentity as explained in step 2 under Connect IDP. Use this Redirect URL in your application configuration.
-
Configure your application to
- Use the authorization code grant flow
- Request the following scopes:
openid,email, andprofile.
-
Connect IDP
-
In your workspace, go to Authentication » Providers > Create Connection.
Result
A list of identity provider templates is displayed.
-
Select the OpenID Connect template and click Next.
Result
The Register OpenID Connect form opens. You can now use the redirect URL to complet registering an OAuth application with your IDP.
-
In the Register OpenID Connect form, enter the Issuer URL, Client ID, and client authentication data.
Parameter Description Issuer URL URL where Cloudentity can find the OpenID configuration of the IDP. Use the bare URL of the issuer, for example https://accounts.google.com. Do not append/.well-known/openid-configuration.Client ID Client ID of the OAuth application registered with your IDP Authentication method Select how your IDP client application should authenticate with Cloudentity. In case of Financial-grade IDPs (for example bank IDPs), Private Key JWT Client Authentication is required. Client secret If your IDP client uses the Client Secret flow to authenticate with Cloudentity, add the secret of your OAuth application registered with your IDP. You need to get the secret on the IDP side - check the vendor documentation for details. Client private key If your IDP client authenticates with a private key JWT, enter the client private key. You need to get the private key on the IDP side - check the vendor documentation for details. -
Optionally, enable Authentication context caching.
Tip
You can enable the authentication context caching if you wish to store the user’s authentication context locally. If you do, specify the cache Time To Live as well. Learn more by reading Stateful authorization with Cloudentity.
-
Select Save.
Result
Your new IDP connection is created. Users can now authenticate via the OIDC-compliant IDP.
Configure Advanced Settings
To configure your new IDP advanced settings
-
From the Authentication » Providers > YOUR_IDENTITY_PROVIDER > Configuration page, select Advanced settings at the bottom.
-
In the Scopes field, add scopes to be returned in the IDP response after user authentication.
Note
Since multiple clients can use the same IDP for user authentication, you may need to further restrict specific client’s ability to request a given scope. For more information, read about Configuring applications in Cloudentity.
-
In the Authentication Method Reference you can select an authentication method to be written into the
amrobject returned by the IDP. Theamrobject is written if it doesn’t exist. If it exists, its values are replaced with the selected item. -
Optionally, enable the Get user info option.
Note
If you enable the Get user info option, the connector calls the OIDC userinfo endpoint to retrieve additional user attributes.
-
Select Save.
Add custom OIDC IDP attributes
If your IDP returns custom claims outside of the standard OIDC scope, make sure to add them to the IDP connector so that they can be recognized and mapped to the authentication context. Some IDPs (for example Cognito) may require you to set custom attribute permissions first.
-
Go to {{% nav-paths/idps %}} and select an IDP from the list.
-
Open the Attributes page. A standard list of OIDC attributes returned by this IDP appears.
-
Select Add attribute.
-
In Source, select the data source for the custom attribute
Source Description Access token Get data from the access token received from the IDP ID token Get data from the ID token received from the IDP User info Get data data returned by the OIDC user info endpoint (note that this must be explicitly enabled on the IDP connector) -
Fill in the rest of the form.
Option Description Claim name Name of your custom attribute matching the incoming IDP claim Display name User-friendly name for the custom attribute Data type Data type matching that of the incoming IDP claim Claim names with a . character
If the incoming attribute has a
.character in the name, the dot must be explicitly escaped using\.when defining the IDP attribute. For example, claim namehttps://example.com/groupsmust be entered ashttps://example\.com/groups. -
Save your changes and proceed to mapping the attributes to the authentication context.
Map IDP Attributes to Authentication Context
If you’ve added custom attributes for an IDP, you need to make sure they are mapped to the {{< product-name acp >}} authentication context. You can do it either from the IDP configuration page (as explained here) or use Data Lineage instead.
Default OIDC/SAML attributes are mapped out of the box.
-
Go to {{% nav-paths/idps %}} and select an IDP from the list.
-
Open the Mappings page. A standard attribute mapping for this IDP appears.
-
Select Add mapping and map any custom IDP attributes to an existing authentication context attribute.
Note
If you need to create new authentication context attributes, read the Managing Authentication Context.
-
Optionally, you can enrich authentication context before issuing the token to the client. Attributes returned by the script do not need to be separately mapped to the authentication context.
-
Save your changes. Your mapped custom attributes should now be shared in the ID token issued to your client application, given that the target application requests them (you can check this in Data Lineage).
Connect Extensions to your IDP
-
Go to {{% nav-paths/idps %}} » YOUR_IDP » Extensions.
-
Assign a Post Authentication script to the IDP. This script will be executed upon user authentication via this IDP.
-
Connect your application to the IDP in the Post Authentication application field. Users will be redirected to this application upon authentication via this IDP.
Feature flag
Post Authentication applications must be explicitly enabled in your tenant using the
custom_appsfeature flag.
Test IDP
Prerequisite
Your provider is configured as a user-authentication method by your administrator. Demo workspace is available.
Test
-
Open the user portal.
-
Select LOGIN TO DEMO APP.
-
Select your configured IDP and, next, authenticate in IDP.
Result
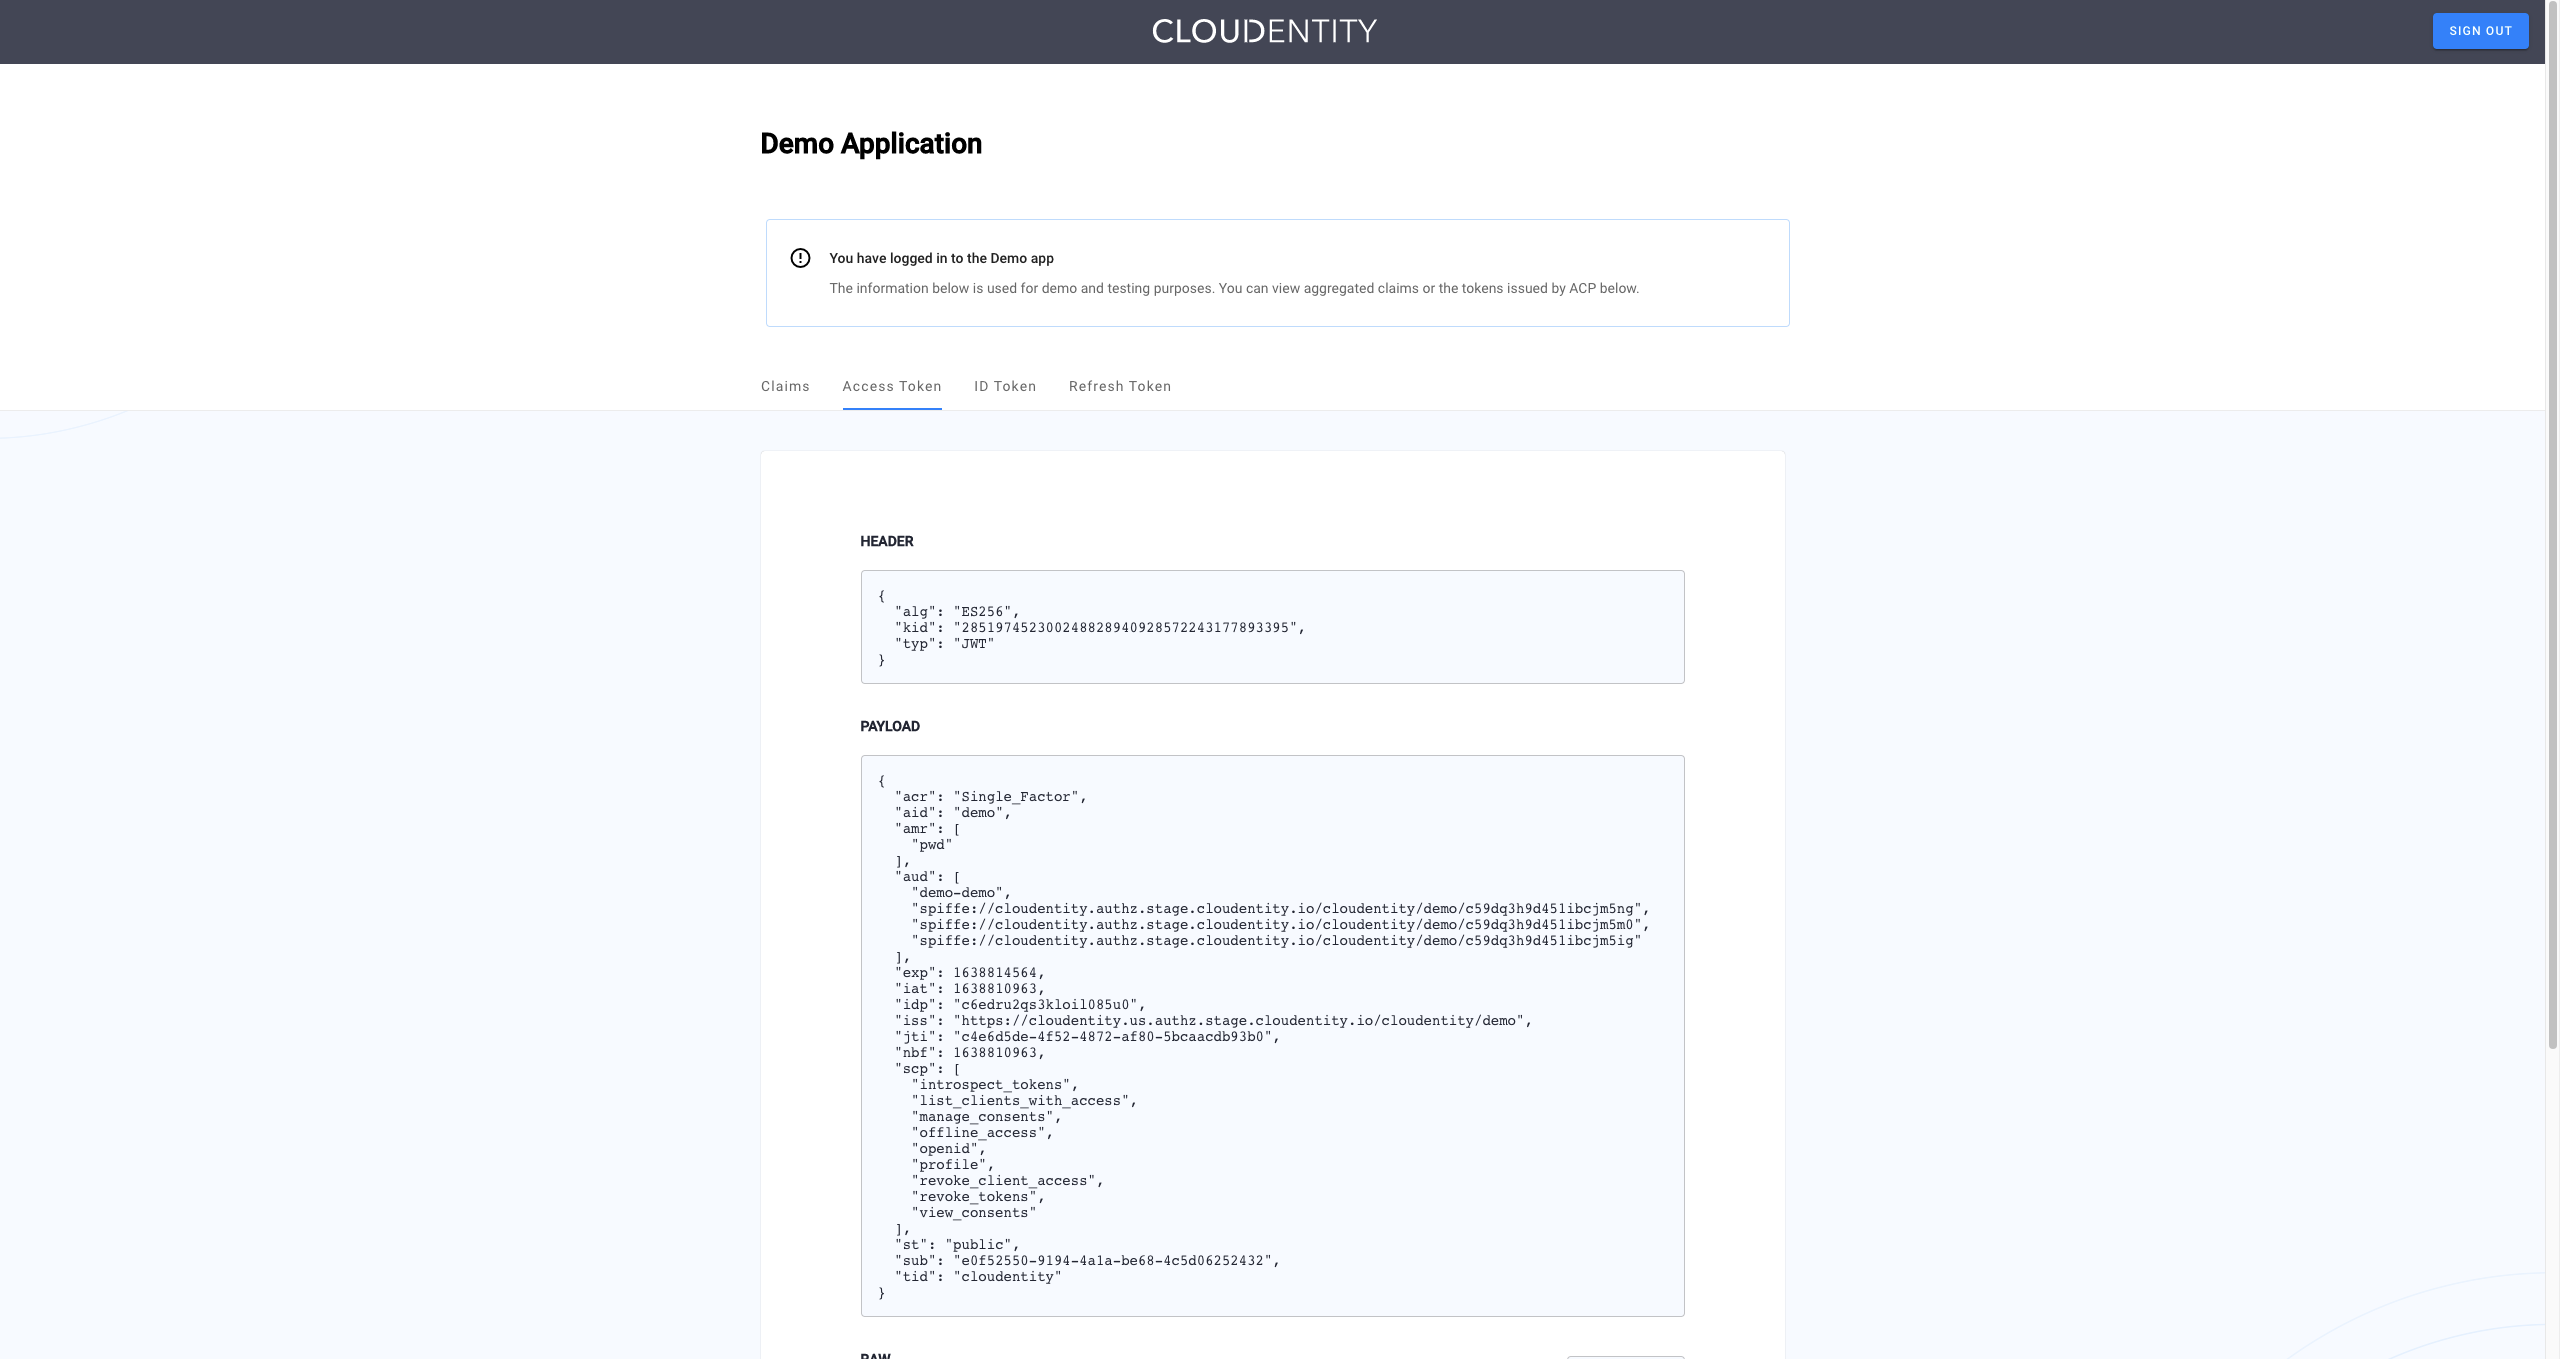
Cloudentity displays the consent page that lists data scopes to be shared with the application. When you proceed to the application (ALLOW ACCESS), the PII data coming from IDP is delivered through the access token and the ID token generated by Cloudentity.
Read More
For information on granting and managing Cloudentity consents, see Cloudentity OAuth consents.