In this Article
- You’ll find out why Cloudentity API can make your life easier, what are its distinctive capabilities, and how it can address Cloudentity use cases that are of the developer’s interest.
- You’ll configure your Cloudentity Admin and/or Cloudentity System workspace, so that you can start making API calls.
- You will learn how to acquire an access token, which is required to make API calls to Cloudentity endpoints.
- You’ll have a chance to create a new authorization server.
- You’ll connect a static identity provider (IDP) to your new authZ server.
- You’ll find out how to modify the configuration of your new IDP.
Cloudentity APIs in a Nutshell
Cloudentity API allows you to set up, configure, and use Cloudentity for a wide range of authorization purposes. With Cloudentity API, you can leverage Cloudentity features to their full potential by addressing technically-advanced use cases and customization scenarios. You can save time and make your work more efficient by using Cloudentity API to automate specific operations.
With Cloudentity API, you can, for example,
- Automate particular actions by using a script that executes API calls in a sequence
- Execute bulk actions, such as the configuration of multiple policies without working on them one-by-one
- Safely update interdependent policies with no risk of a misconfiguration error
- Implement advanced customization and contextual changes to default configurations
Cloudentity API Documentation
Check the Cloudentity API reference for all APIs grouped into categories (Admin, Developer, System, OAuth). For each category, find the API list provided with usage descriptions, sample requests and responses, path parameters, and request body schemas. In the Authentication section, there are all authentication measures required for working with Admin, Developer, OAuth2, and System APIs.
Prerequisites
- You have an Cloudentity account.
- You have administrator’s privileges for your account and you’re logged in.
- Access to the Admin & System workspaces - Reach out to
info@cloudentity.comif you are not a paid customer, to get these enabled.
Acquire Access Token
Cloudentity uses OAuth 2.0 access tokens to authenticate client applications. The authenticated client applications are allowed to access Cloudentity APIs.
To get the necessary access token(s), you need to set up
your administrator’s workspace and/or system’s
workspace, next, make a call to the
token endpoint. The token endpoint returns an access token that you
can use as a value of the Authorization header in your API calls (Create an authorization
server, Connect an IDP, Update IDP
configuration).
Preconfigure Admin Workspace
To be able to get an admin access token in Cloudentity, you have to set up your Admin workspace (included by default within your tenant) so that it allows specific flows and actions: You need to allow the client-credentials grant both for your Admin workspace and for an application within that workspace. With the client-credentials grant enabled, you’ll be able to get a client ID and a client secret, which are required as parameters in a request to the token endpoint.
To configure your Admin workspace, start with logging in to Cloudentity as an administrator. For instructions on how to proceed from that point, either see the video or follow steps 1-5.
Video Instruction
Step-by-step
-
Enable Client credentials as an allowed grant type by selecting OAuth » Authorization Server » Allowed grant types » Client credentials. Select Save changes at the bottom of the page.
-
In the same workspace, create an application. You can pick the Server Web Application type or the Service Application type to skip the configuration of Token Endpoint Authentication Method in the next step.
-
Go to the OAuth view of your application and
-
Add client_credentials to Grant Types.
-
If you selected an application type other than Server Web Application or Service Application, set Token Endpoint Authentication Method to Client Secret Post.
Result
The Overview page of your new application provides you with metadata required to call the token endpoint in the next step:
- Token endpoint
- Client ID
- Client secret
-
-
Optionally, if you’d like your application to request any additional data or perform any specific actions on top of what’s required for purposes of this guide, go to the Scopes view of your application and enable relevant scopes.
Read More
Scopes define what an application is able to do on behalf of the user or the resource owner. If a client application requests resources from the resource server and authenticates itself with Cloudentity, it may request a specific scope to indicate the access it needs. When Cloudentity responds to such a request, it provides access to resources only within the scope provided in the request to the token endpoint.
Note
-
If you want to work with system APIs, you need to create a client application in the System workspace. Additional information can be found in the Preconfigure System Workspace section.
-
Additional information about the API Endpoints, associations, required scopes, etc., can be found in the API documentation.
-
Preconfigure System Workspace
To be able to get a system access token in Cloudentity, you have to create a client application in your System workspace (included by default within your tenant).
The configuration and client for the System workspace will be nearly identical as what is required for the Admin workspace. The primary difference being the scopes available in the System client, providing finer-grained access controls for the tokens it generates.
Currently, the Admin APIs provide a much larger set of functionality than the System APIs. As the Cloudentity continues to evolve, more functionality is being directly added or migrated to the System APIs. So, it is advised that you use the System APIs whenever possible.
Managing Tenant Configuration is a prime example of functionality available via the System APIs. For example, to use the configuration API endpoints you would need the following:
-
A client application in the System workspace, created in the same fashion as the one detailed in the Admin workspace section.
-
In the Scopes view of your System client application:
-
Ensure that the Management > manage_configuration scope is selected
-
Save your changes - if it wasn’t already selected
-
-
That’s it! You should now be able to acquire a System access token with the correct permissions to make calls to the configuration API endpoints.
Note
The process would be similar for other System API Endpoints that require other scopes. You can either add scopes to your existing System client, or create a new System client, based on your specific needs.
You have the option to create System clients that only contain the scopes for System API endpoints necessary to implement the functionality a specific client application will provide.
For example, if you have two applications: one that handles ‘login requests’ and one that handles ‘tenant promotion’. Ideally, you would have two separate System clients for these apps. The ‘login app’ would not have the
manage_configurationscope and the ‘tenant promotion app’ would not have themanage_loginsscope.
Call Token Endpoint
With the application client ID and secret, you can proceed to requesting a token, which is for authenticating API calls for your tenant.
-
Identify information that you need to make the token call.
-
Token endpoint
- Copy the token endpoint available in the Overview page of your new application or
- Use the token endpoint path provided in the OAuth 2.0 token endpoint API
documentation,
for which you need
tidandaiddetailed as path parameters in this article.
-
Path parameters
aidstands for authorization server identifier and represents the workspace name.tidstands for tenant identifier. Tenant is your Cloudentity hosting entity granted you by default for your Cloudentity account. Your tenant ID is a string that you can find in your Cloudentity URL when you’re signed in: It’s visible as the initial part of the domain right before.authz.cloudentity.io(https://your-tenant-id.authz.cloudentity.io/).
-
Headers
accept: application/x-www-form-urlencoded(for enabling the proper format in the request body)
-
Request body parameters
grant_type=client_credentialsclient_idof your new application (check the Overview page of your new application)client_secretof your new application (check the Overview page of your new application)
-
-
In your terminal, enter the request with the parameters and the header properly configured. Execute it.
curl -X POST https://{tid}.authz.cloudentity.io/{tid}/{aid}/oauth2/token \
--header "Content-Type: application/x-www-form-urlencoded" \
--data-raw "grant_type=client_credentials&client_id={use-your-new-client-id-here}&client_secret={use-your-new-client-secret-here}"
Sample Expected Output
{
   "access_token": "eyJhbGciOiJFUzI1NiIsImtpZCI6Ijg0MzEwMzc3OTQwMTM3MTkxMzU4MDI2ODIyODA3MzQzODMwMDE4IiwidHlwIjoiSldUIn0.eyJhaWQiOiJhZG1pbiIsImFtciI6W10sImF1ZCI6WyJjM3JkODRyOTA3MmZnOXVnOGRsMCIsInNwaWZmZTovY2xvdWRlbnRpdHktZHdvamNpay9hZG1pbi9jMzBiYXFoam1sbDhxN3A2cHBpZyJdLCJleHAiOjE2MjY4NTg5NTgsImlhdCI6MTYyNjg1NTM1OCwiaWRwIjoiIiwiaXNzIjoiaHR0cHM6Ly9jbG91ZGVudGl0eS1kd29qY2lrLmF1dGh6LmNsb3VkZW50aXR5LmlvL2Nsb3VkZW50aXR5LWR3b2pjaWsvYWRtaW4iLCJqdGkiOiJkMjYzZjM0NC1hNzA1LTQzZDYtYmJmZi1jZjU3MzA5OTc5YzUiLCJuYmYiOjE2MjY4NTUzNTgsInNjcCI6WyJpbnRyb3NwZWN0X3Rva2VucyIsInJldm9rZV90b2tlbnMiXSwic3QiOiJwdWJsaWMiLCJzdWIiOiJjM3JkODRyOTA3MmZnOXVnOGRsMCIsInRpZCI6ImNsb3VkZW50aXR5LWR3b2pjaWsifQ.QjVSwpmDgl3tPMIinx6b3pCn4pRJAT1vStrX4bAY8mcoZcAMX7XyGr8R6SzsATwG21bBroLeSvwuGw9E_8_eGA",
   "expires_in": 1234,
   "scope": "introspect_tokens revoke_tokens",
   "token_type": "bearer"
}
Read More
For more details, see the OAuth 2.0 token endpoint API documentation.
Result
You have a token that you can use for authentication while making API calls within your tenant.
Remember
An access token has the time-to-live (TTL) parameter, which defines for how long you can use your token. When this time passes, the token expires. Trying to authenticate the client with an expired token results in an error of invalid authentication. If your token expires, you need to acquire a new access token by calling the token endpoint again.
Create Authorization Server
With your token in place, you can proceed to creating a new authorization server (workspace) (to be available in your Cloudentity portal as another workspace).
-
Navigate to the createAuthorizationServer API reference for details on what is required to make a call for adding another workspace within your tenant.
- Create-authorization-server endpoint
- Path parameter
tid - Header
Authorization: Bearer {bearer-token-string}(retrieved in Acquire an access token) - Header
Content-Type: application/json(for enabling the proper format in the request body) - Query parameter
with_demo_client(for enabling the demo application for the new workspace) - Request body parameters
-
In your terminal, enter the request with the parameters and the headers properly configured. Execute it.
curl --request POST 'https://{tid}.authz.cloudentity.io/api/admin/{tid}/servers' \
--header 'Authorization: Bearer {enter-bearer-token-here}' \
--header 'Content-Type: application/json' \
--data-raw '{
    "tenant_id": "enter-your-tid-here",
    "id": "enter-id-here",
    "profile": "enter-workspace-profile-here",
    "name": "enter-workspace-name-for-UI-here",
    "type": "regular",
    "color": "#EC5348",
    "secret": "enter-secret-as-string-of-characters",
    "rotated_secrets": [],
    "access_token_strategy": "jwt",
    "key_type": "ecdsa",
    "logo_uri": "",
    "issuer_url": "",
    "dynamic_client_registration": {
        "enabled": false,
        "initial_access_token": {
            "required": false
        },
        "payload": {
            "format": "json",
            "jws_payload": {
                "jwks": {
                    "keys": null
                },
                "jwks_uri": ""
            }
        }
    },
    "grant_types": [
        "client_credentials",
        "authorization_code"
    ],
    "token_endpoint_authn_methods": [
        "none",
        "client_secret_basic",
        "client_secret_post",
        "client_secret_jwt",
        "private_key_jwt",
        "tls_client_auth",
        "self_signed_tls_client_auth"
    ],
    "access_token_ttl": "1h0m0s",
    "refresh_token_ttl": "720h0m0s",
    "authorization_code_ttl": "10m0s",
    "id_token_ttl": "1h0m0s",
    "cookie_max_age": "1h0m0s",
    "jwks": {
        "keys": [ ]
    },
    "enforce_pkce": false,
    "enforce_pkce_for_public_clients": false,
    "root_cas": "",
    "read_client_certificate_from_header": true,
    "client_certificate_header": "X-SSL-CERT",
    "subject_identifier_types": [
        "public",
        "pairwise"
    ],
    "subject_identifier_algorithm_salt": "enter-identifier-as-string-of-characters",
    "enable_trust_anchor": false,
    "trust_anchor_configuration": {
        "jwks": {
            "keys": null
        },
        "jwks_uri": ""
    },
    "enable_quick_access": false,
    "enable_idp_discovery": false,
    "enable_legacy_clients_with_no_software_statement": false,
    "dynamic_scope_separator": ".",
    "backchannel_token_delivery_modes_supported": null,
    "backchannel_user_code_parameter_supported": false
}'
Expected Response Body
You are returned with JSON including multiple parameters of the newly-created workspace.
Result
Your new authorization server is visible in Cloudentity as another workspace within your tenant. Now, if you call the list-authorization-servers endpoint, you can see your new workspace and its definition in the response.
Read more
For more details, see the createAuthorizationServer API documentation.
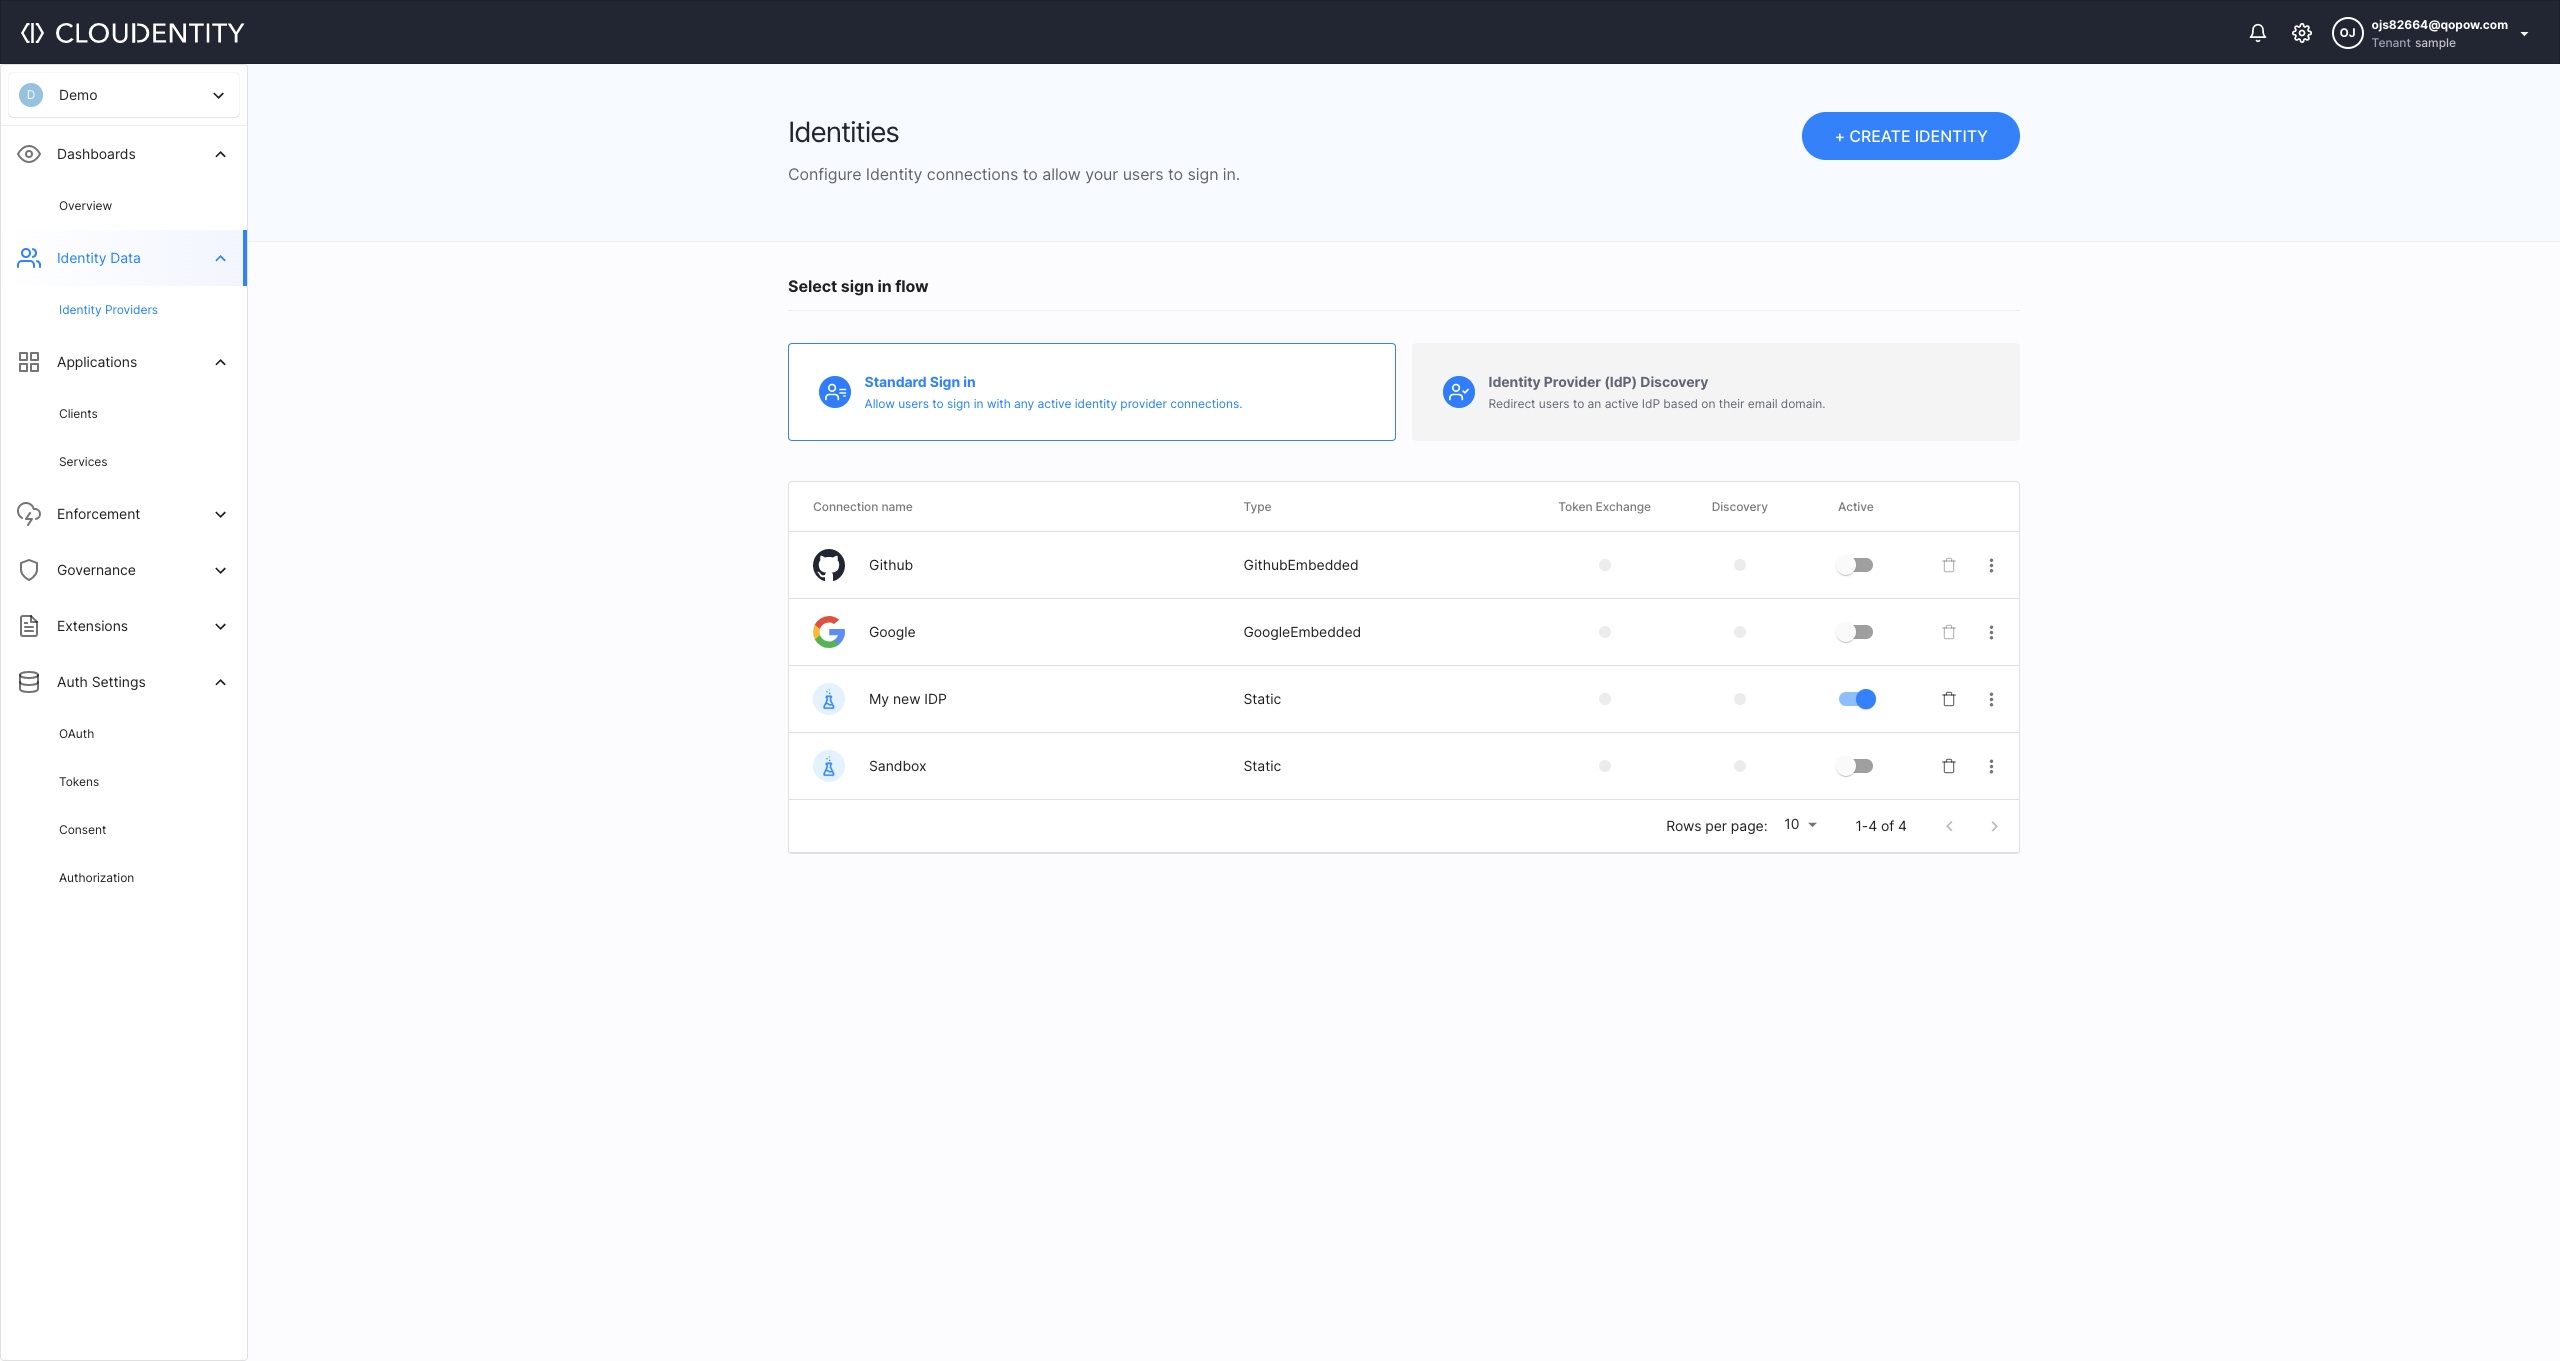
Connect IDP
With your new authorization server up and running, you can proceed to connecting a static identity provider (IDP) to the server.
The static (sandbox) IDP is a specific type of identity connection that allows you to configure mock users and their authentication context data for testing purposes. Check how to add the static IDP for your workspace in Connecting Sandbox IDP.
-
Navigate to the createStaticIDP API reference for details on what is required to make a call for adding another IDP within your new workspace.
- Create-static-IDP endpoint (
https://{tid}.authz.cloudentity.io/api/admin/{tid}/servers/{aid}/idps/static) - Path parameter: your
tid(unchanged) and theaidfor the new authorization server (idreturned from the create-authz-server call) - Header
Authorization: Bearer {bearer-token-string}(retrieved in Acquire an access token) - Header
Content-Type: application/json(for enabling the proper format in the request body) - Request body parameters
- Create-static-IDP endpoint (
-
In your terminal, enter the request with the parameters and the headers properly configured. Execute it.
curl --request POST 'https://{tid}.authz.cloudentity.io/api/admin/{tid}/servers/{aid}/idps/static' \
--header 'Content-Type: application/json' \
--header 'Authorization: Bearer {enter-bearer-token-here}' \
--data-raw '{
    "id": "enter-id-for-your-new-IDP-here",
    "tenant_id": "enter-your-tid-here",
    "authorization_server_id": "enter-your-aid-here",
    "client_id": null,
    "name": "enter-IDP-name-for-UI-here",
    "disabled": false,
    "method": "static",
    "attributes": null,
    "mappings": [
        {
            "source": ".",
            "target": ".",
            "type": "any",
            "allow_weak_decoding": false
        }
    ],
    "static_amr": [],
    "transformer": {
        "enabled": false,
        "script": ""
    },
    "config": {
        "enable_stateful_ctx": false,
        "stateful_ctx_duration": "0s"
    },
    "domains": [],
    "settings": {
        "hint": false
    },
    "credentials": {
        "users": [
            {
                "username": "enter-username-for-end-user-login",
                "password": "enter-password-for-end-user-login",
                "authentication_context": {
                    "name": "user1"
                }
            }
        ]
    }
}'
Sample Response
Result
Your new static IDP is visible in Cloudentity as an identity within your workspace.
Read More
For more details, see the createStaticIDP API documentation.
Update IDP Configuration
You can configure your new IDP using the updateStaticIDP API. To learn how to update the IDP configuration, see Enrich authN context for mock users, which shows how to configure your IDP to enrich the mock users identity (authentication) context.
Rate Limiting
Rate limiting is a strategy used for limiting network traffic. It puts a limit, for example, on how many API requests can be made to a specific endpoint/API group.
Cloudentity uses rate limiting to prevent the application from rapid configuration changes and aggressive polling. Rate limiting enhances the security of your Cloudentity instance as your Cloudentity APIs are protected from abuse and sustained artificial high load.
Each Cloudentity tenant has a peak requests amount configured per single burst. Additionally, the average limit is calculated as a rolling request amount average from the last hours to make user experience for standard Cloudentity users as smooth as possible without a need to worry about rate limits.
Between Cloudentity tenant’s, rate limits may differ. Rate limits are also used as the primary metric for licensing enforcement. Free tier tenants have limits lower than paid tier. If you find yourself hitting rate limits on a daily basis, consider switching to a paid license for your Cloudentity tenant.
Cloudentity APIs and Rate Limits
To tackle all of the security challenges mentioned in the section above, all Cloudentity’s APIs are a subject of rate limiting. Limits vary between different types of Cloudentity APIs (Admin APIs, Developer APIs, OAuth2 APIs, and more).
Exceeding the rate limit for your Cloudentity APIs, results in the HTTP 429 error
with the error message stating Too many requests. You can check the amount of
time that it takes before you start using a particular API by reviewing the value of the
retry-after request response header. To learn more about response headers that concern rate
limiting, see the HTTP response headers for rate limits
section.
Getting the 429 error
If you had triggered the
HTTP 429error, please, refrain from any additional requests until the time specified in theretry-afterresponse header elapses.
HTTP Response Headers for Rate Limits
| Header | Description |
|---|---|
| X-RateLimit-Limit | Limit is the maximum number of requests that could be permitted instantaneously for this key starting from an empty state. For example, if a rate limiter allows 10 requests per second per key, limit is always 10. |
| X-RateLimit-Remaining | Remaining is the maximum number of requests that could be permitted instantaneously for the given key in the current state. For example, if the rate limiter allows 10 requests per second and has already received 6 requests for this key during this second, Remaining is 4. |
| X-Ratelimit-Reset | ResetAfter is the time until the rate limiter returns to its initial state for a given key. For example, if a rate limiter manages requests per second and received one request 200ms ago, ResetAfter returns 800ms. You can also think of this as the time until the Limit and Remaining are equal. |
| Retry-After | The Retry-After response header is present in the response if the HTTP 429 error was triggered. It specifies the amount of time that should elapse before a next request for a given key is made`. | |
Tip
You can view the response headers in the Network tab in the developer tools for your browser. You can also check them by adding the
-v(verbose) flag to your CURL request.
Cloudentity Free Tier Rate Limits
The table below presents rate limits for the free tier of the Cloudentity SaaS solution:
| API group | Time period in minutes | Rate | Burst |
|---|---|---|---|
| Admin | 1 | 300 | 50 |
| Developer | 1 | 600 | 50 |
| Public | 1 | 3000 | 500 |
| OAuth2 | 1 | 3000 | 500 |
| OpenBanking | 1 | 600 | 100 |
| Web | 1 | 3000 | 1000 |
| System | 1 | 3000 | 100 |
| Audit events | 1 | 6000 | 2000 |
| Identity (Admin) | 1 | 300 | 50 |
| Identity (Self-service) | 1 | 300 | 50 |
Rate limits
Cloudentity reserves the right to change the rate limits for the free tier at any time without any prior notice. For most up-to-date information on rate limits, check the response headers for the rate-limited APIs.
OTP Rate Limits
For testing multi-factor authentication (MFA), Cloudentity users can use
the send test OTP message endpoint
that provides them with one time passwords. This endpoint is also rate limited to prevent email
spam and abuse. You can send one request to the /test enpoint per minute with the burst also set
to one.