Install Pyron Authorizer
Prerequisites
You need to have Docker and Docker Compose installed.
Create Pyron Authorizer
-
In the workspace, go to Authorization » Gateways.
-
Select Create GATEWAY.
-
Select Pyron API Gateway, enter the name and the description for your gateway, and select NEXT.
-
In the Gateway Management view, go to the QUICK START tab and follow the provided instruction to configure your gateway.
-
Select DOWNLOAD PACKAGE to download the zipped Pyron Authorizer package. Unzip the package locally and enter the extracted folder.
Note
The package includes a preconfigured Pyron gateway protecting two API groups: a sample Petstore and financial APIs.
Optional Pyron Authorizer Configuration
You can modify
PYRON_ACPRELOADINTERVAL, which represents the frequency of reloading policies from Cloudentity by the authorizer and defaults to 60 secondsPYRON_DISABLEANALYTICS, which can be changed from its default value (false) to true to turn off the analytics.
-
To run Pyron Authorizer, start Docker and execute commands:
cat credentials.txt | docker login acp.artifactory.cloudentity.com --username acp --password-stdinand next
docker-compose upResult
Pyron Authorizer funnels information about protected APIs to Cloudentity.
-
Back in the Cloudentity administrator portal (Gateway Management view > QUICK START tab), select CONNECT API GROUPS to connect APIs and enable enforcement policies.
Result
The predefined set of API groups is imported and displayed in the APIs tab of the Gateway Management view. The API groups are ready to be connected to services.
-
Connect Service
There are two ways to connect Pyron API groups to Cloudentity services: starting from the gateway to be connected or starting from the service that you want to connect.
From Gateway
-
From the list of authorizers, select your newly-created Pyron gateway and go to its APIs tab.
Result
A list of imported API groups opens.
-
From the list of API groups available, select an API group and, from its drop-down menu, pick a service to which you’d like to connect the API group.
Note
You can connect an API group to an existing service or a new one you create, both options available from the same service drop-down menu.
From Service
-
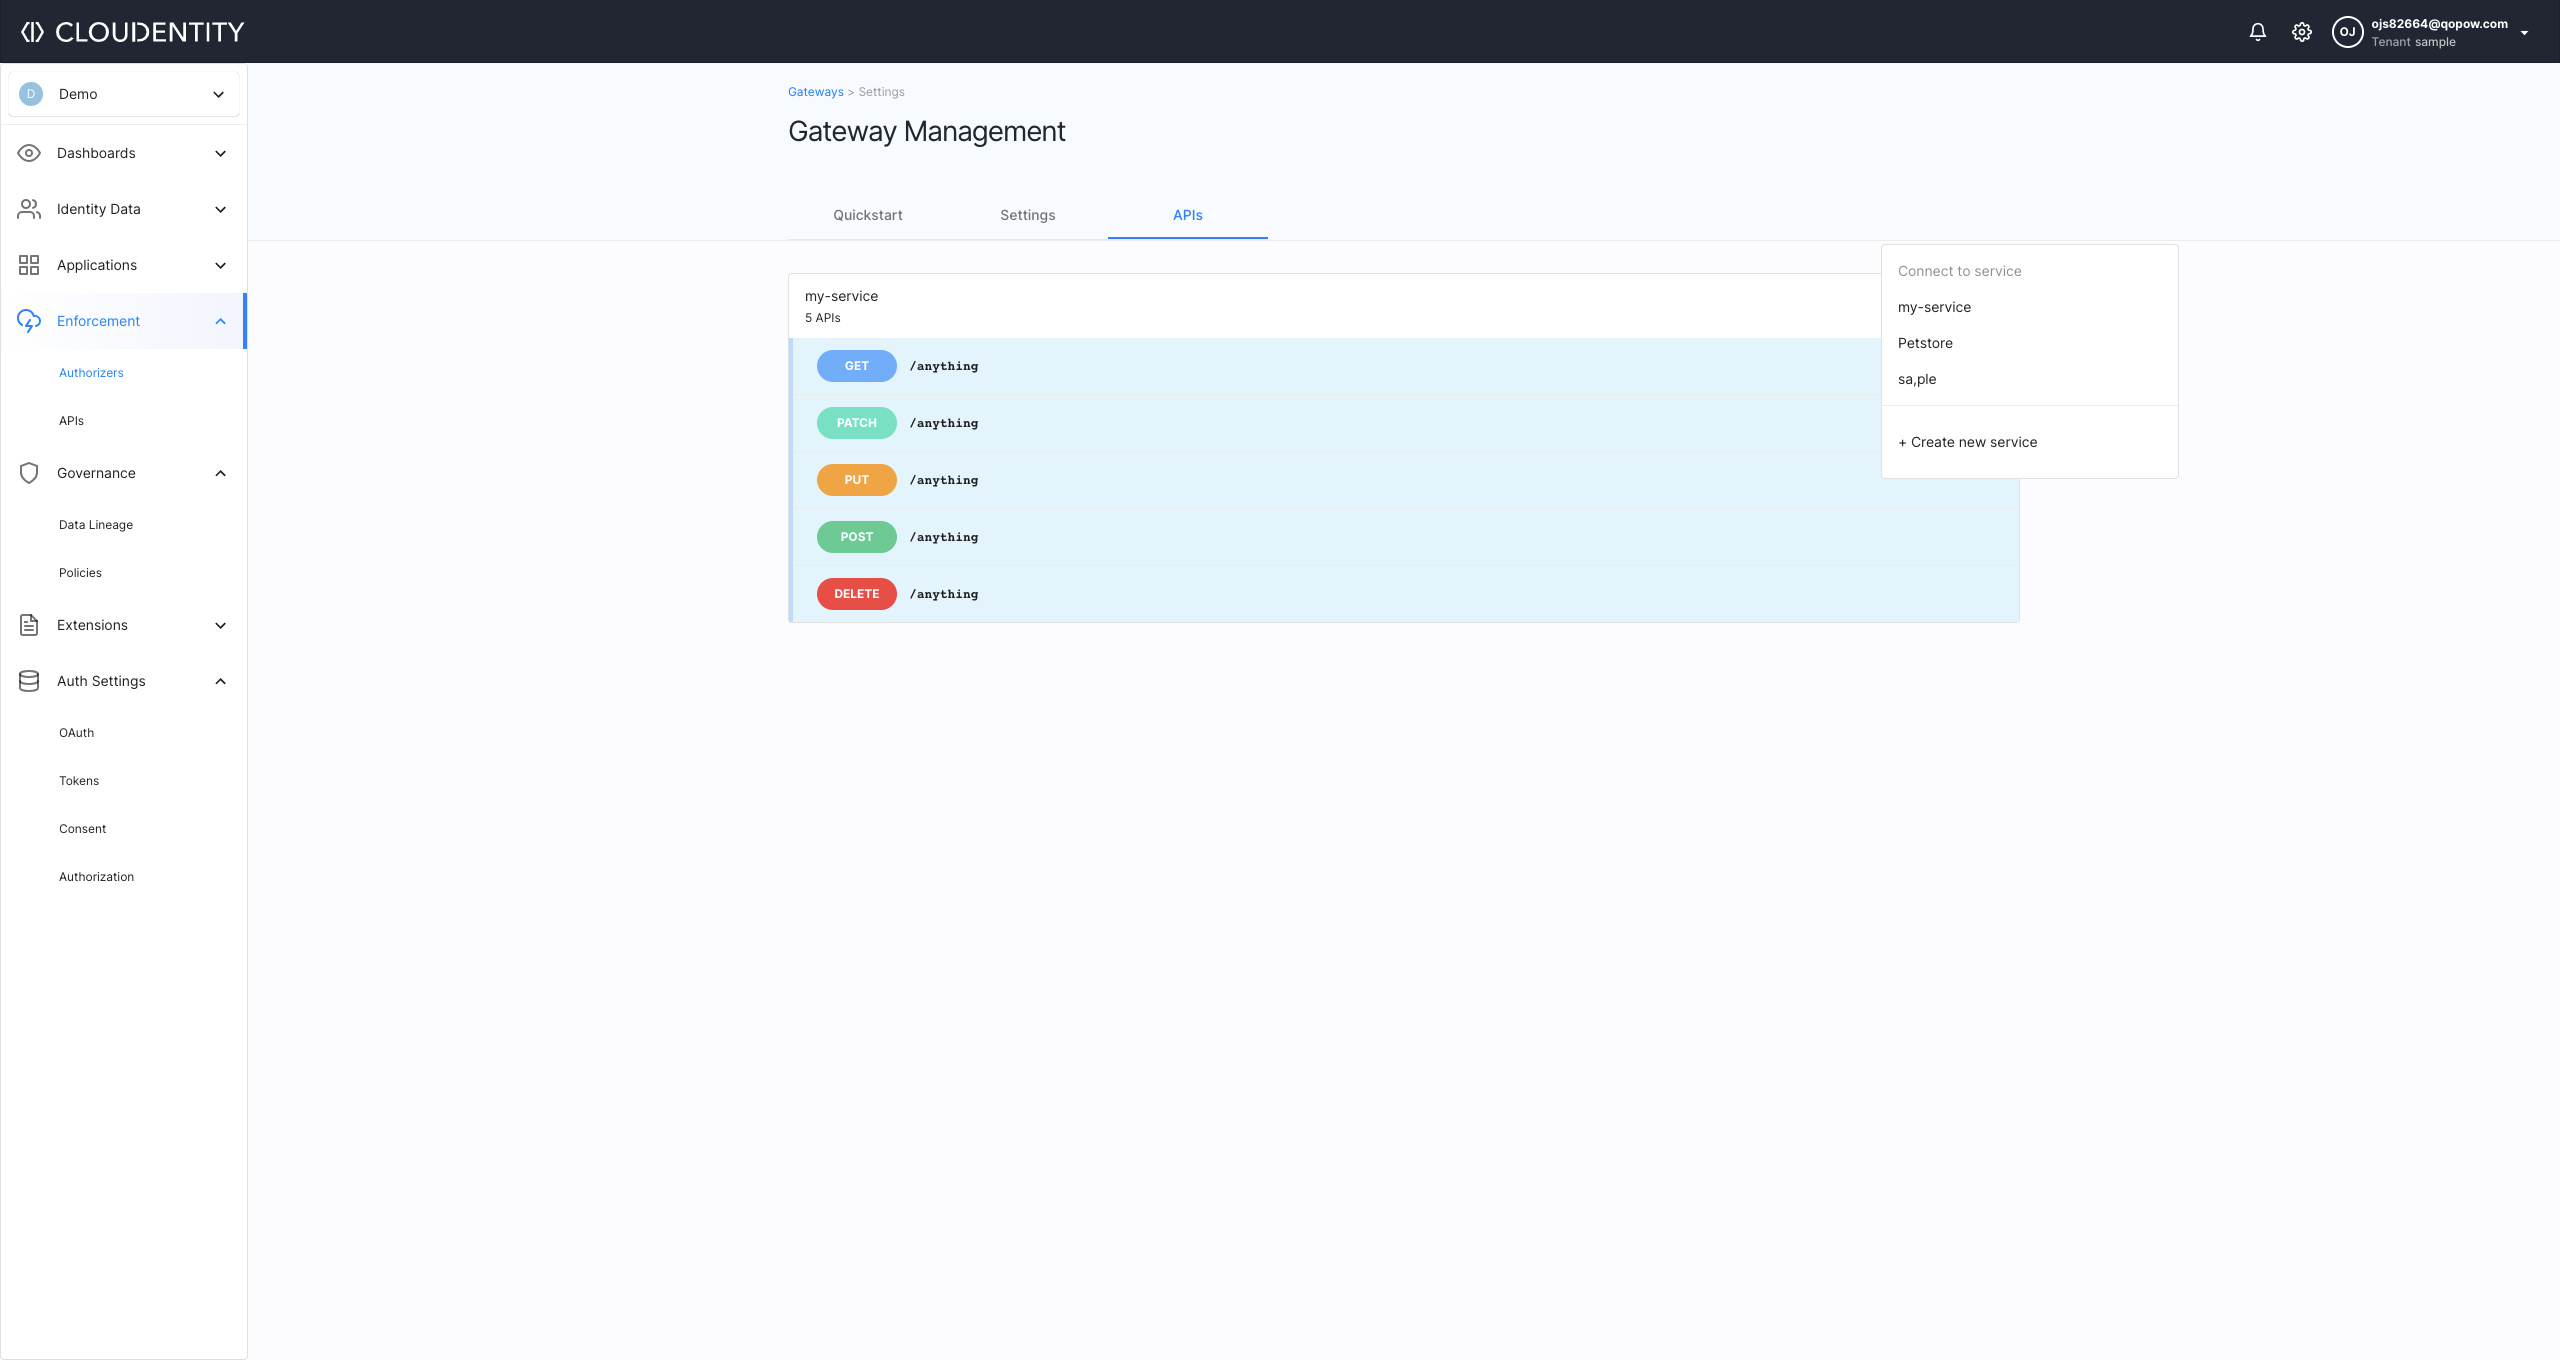
Go to Enforcement > APIs.
-
Pick a service that you want to connect and select ADD GATEWAY API for the selected service.
-
In the popup window, select an API gateway and an API group to be connected. Click CONNECT to proceed.
Result
Under Enforcement > APIs, you can see specific API groups integrated to services.
Apply Sample Policy
-
Go to Enforcement > APIs.
-
Select a service with no policy assigned (click on Unrestricted).
-
In the Edit API popup window, select a Policy from the dropdown list and click Save to proceed.
Result
You have successfully assigned a policy to your API.
Test Enforcement
Visit http://localhost:8080/pets/pet/1 in your browser.
- If your policy allows the access, you receive a sample response from the server.
- If your policy restricts the access, you receive a 403 error message.
Learn More
For detailed operating instructions on Pyron, see Pyron Documentation.
Configure Pyron Authorizer
Cloudentity’s Pyron Authorizer configuration is handled by setting environment variables. The variables and their values can be provided in two ways:
-
In the
docker-compose.ymlfile, for example:pyron-authorizer: container_name: pyron-authorizer image: docker.cloudentity.io/pyron-authorizer:2.0.0-2 env_file: .authorizer_env environment: - ACP_RELOAD_INTERVAL=5sYou can see that the
ACP_RELOAD_INTERVALvariable is set under theenvironmentobject. -
In a separate file that stores all of the environment variables for your authorizer’s deployment. See example for an
.authorizer_envfile below:ACP_ISSUER_URL={YOUR_ISSUER_URL} ACP_CLIENT_ID={YOUR_CLIENT_ID} ACP_CLIENT_SECRET={YOUR_CLIENT_SECRET}After you create your file with the variables, you need to point your authorizer’s deployment to your file path in the
docker-compose.ymlfile. See example below:pyron-authorizer: container_name: pyron-authorizer image: docker.cloudentity.io/pyron-authorizer:2.0.0-2 env_file: .authorizer_envYou can see that the
env_fileobject is pointing to your.authorizer_envfile with the variables..authorizer_env
The Pyron Gateway package that you download to set up your APIs and the authorizer already contains the
.authorizer_envfile. You can edit it or provide a different file with the variables. As the name of the file starts with the dot, the file is hidden by default. If you were, for example, to execute thelscommand, the file would not be listed. You need to use thels -ato be able to list the.authorizer_envfile. On macOS, you can also press SHIFT + CMD + . while browsing in Finder to show hidden files.
Configuration Reference
 # acp
acp:
    reload_interval: 1m0s # reload interval
    reload_timeout: 30s # reload configuration timeout
    issuer_url: https://localhost:8443/sample/system # issuer url
    client_id: bqesdrc4m4co2s81mpu0 # client id
    client_secret: LH6mAb6PNljvjYMIF-A5RP2bElA5a5bnQah8sG0fsLA # client secret
    tenant_id: "" # tenant id
    server_id: "" # server id
# http client
http_client:
    timeout: 10s # http client timeout
    retry_wait_min: 0s # minimum time to wait between retries
    retry_wait_max: 0s # maximum time to wait between retries
    retry_max: 0 # maximum number of retries
    root_ca: "" # root ca that this client should trust (defaults to system root ca)
    insecure_skip_verify: false # disable cert verification
    disable_follow_redirects: false # disable follow redirects
    disable_retry: true # disable retry
# metrics
metrics:
    enabled: false # enable metrics endpoint
    port: 9000 # metrics endpoint port
# analytics
analytics:
    enabled: true # when enabled, events are sent to audit log
    # event format
    event_format:
        include_policy_output: false # when enabled, policy evaluation output is sent to audit log
    # sampling
    sampling:
        probability: 1 # Probability of an event to be published (0.0-1.0)
        batch_inverval: 1s # Max duration to wait for a batch to publish
        batch_limit: 100 # Max number of events in a batch
        limit: 5 # Max number of batches per second to be published
        timeout: 5s # Timeout for a single batch to send
        workers: 8 # Number of sending workers
# cache
cache:
    ttl: 10s # ttl
    max_size: 100 # max size
# logging config
logging:
    level: info # log level severity
# token echange config
token_exchange:
    enabled: false # enable token exchange
    # cache
    cache:
        ttl: 1m0s # ttl
        max_size: 1000 # max size
    # inject config (supported only for istio authorizer)
    inject:
        mode: "" # Defines what token should be sent to the target service when token is exchanged
        # headers config
        headers:
            exchanged_token: "" # Defines the name of the header that contains an exchanged token.
            original_token: "" # Defines the name of the header that contains an original token.
            strip_bearer: false # Allows to strip the bearer prefix in headers
# enforcement config
enforcement:
    allow_unknown: false # allow requests with no matching rule
# http server
http_server:
    port: 8442 # http port
    dangerous_disable_tls: true # diables TLS
    # certificate configuration
    certificate:
        password: "" # key passphrase
        cert_path: "" # path to the certificate PEM file
        key_path: "" # path to the key PEM file
        cert: "" # base64 encoded cert PEM
        key: "" # base64 encoded key PEM
        generated_key_type: ecdsa # type for generated key if cert and key are not provided (rsa or ecda)
    client_auth_type: 0 # client auth type