About Device Flow
Device Flow enables devices with limited input capabilities to obtain access tokens. For optimal user experience, when the device flow is used to enable access to services and APIs, end users have a possibility to provide their consent using a secondary device and its user agent (browser).
For more information on the device flow, see the Device Flow Authorization Basics article.
Prerequisites
Admin access to the Cloudentity platform.
Enable and Configure Device Flow for a Workspace
-
In your workspace, select OAuth » Authorization Server and enable the Device Authorization.
-
In the Device Authorization section, configure:
-
Request time-to-live period
It defines for how long the device authorization request is valid. When the device displays the user code and the verification URI to the end user, the request to Cloudentity can expire before the user utilizes their code.
-
User code length
It determines the length of the code provided to the end user for verification. The minimal length is 6 characters, the maximal length is 12.
-
User code character set
Character Set Available Characters Digits Set 0123456789 Base20 Set BCDFGHJKLMNPQRSTVWXZ The Base20 Set consists only of consonants to avoid randomly creating words.
-
Device Flow Walkthrough Using Cloudentity APIs
-
In the same workspace where the Device Authorization is enabled, create a client application with the Grant Types set to
urn:ietf:params:oauth:grant-type:device_code. -
To initiate the Device Authorization flow, call the OAuth 2.0 Device Authorization API with:
-
Content-Type header set to
application/x-www-form-urlencoded -
acceptheader set toapplication/json -
client_idrequired parameter included in the request body with the value set to the client identifier of the client application created in the 1st step. -
scopeoptional, but recommended parameter to limit the requested scopes to the absolutely necessary ones.
See CURL example below where the
{tid}variable stands for your tenant identifier and the{aid}variable stands for your authorization server (workspace) identifier:curl -k -X POST "https://{tid}.authz.cloudentity.io/{tid}/{aid}/device/authorization" \ -H "accept: application/json" \ -H "Content-Type: application/x-www-form-urlencoded" \ -d "client_id=c9lut6qi8emttpd266sg&scope=email"Expected output with extra line breaks added for readability purposes:
{
   "device_code":"jF5hu9fdvYrFWreYySzj9rlCxUMiyVcA4QrrAsXwm9k=",
   "user_code":"BJDBDJDB",
   "verification_uri":"https://{tid}.authz.stage.cloudentity.io/{tid}/{aid}/device",
   "verification_uri_complete":"https://{tid}.authz.stage.cloudentity.io/{tid}/{aid}/device?user_code=BJDBDJDB",
   "expires_in":1800,
   "interval":5
}
Verification URI
For later use, you can copy either the verification URI or its complete version.
-
-
To simulate the device continuously polling the Cloudentity authorization server to check if the user has provided their consent, make a request to the Cloudentity OAuth 2.0 token endpoint
Your request must include:
-
Content-Type header set to
application/x-www-form-urlencoded -
grant_typerequest body parameter set tourn:ietf:params:oauth:grant-type:device_code -
device_coderequest body parameter set to the value of thedevice_coderesponse parameter you got in the 2nd step after calling the/device/authorizationendpoint. -
client_idrequest body parameter set to the client identifier of the client application you created in the first step. -
All neccessary parameters for the client authentication method set for the client application created in the first step.
Below, you can see an example of a CURL request when the client application has the client authentication method set to
client_secret_basic:curl -k -X POST "https://{tid}.authz.stage.cloudentity.io/{tid}/{aid}/oauth2/token" \ -H "Content-Type: application/x-www-form-urlencoded" \ -d "grant_type=urn%3Aietf%3Aparams%3Aoauth%3Agrant-type%3Adevice_code&device_code=vtu3KEZJciDv4KfOifxHf3nZY_squrix4CLkyYneQNU=&client_id=c9lut6qi8emttpd266sg&client_secret=Xi2ifd3fO5Cn24ek0GsjHktJOl3i0YhmMNN7KkcsCBY"Tip
You can find the token endpoint URL in your client application settings ready to be copied and pasted.
Expected output:
{
   "error": "authorization_pending",
   "error_description": "The authorization request is still pending as the end-user hasn't yet been authenticated.",
   "status_code": 400
}
If too many requests are made over a short interval of time, Cloudentity may respond with the
slow_downerror:{ "error": "slow_down", "error_description": "The authorization request is still pending and polling should continue, but the interval MUST be increased by 5 seconds for this and all subsequent requests.", "status_code": 400 } -
-
In your browser, navigate to the verification URI you got in the second step.
-
Enter the code and select NEXT.
Verification URI complete
If you copied the
verification_uri_completeparameter value, the user code is already entered.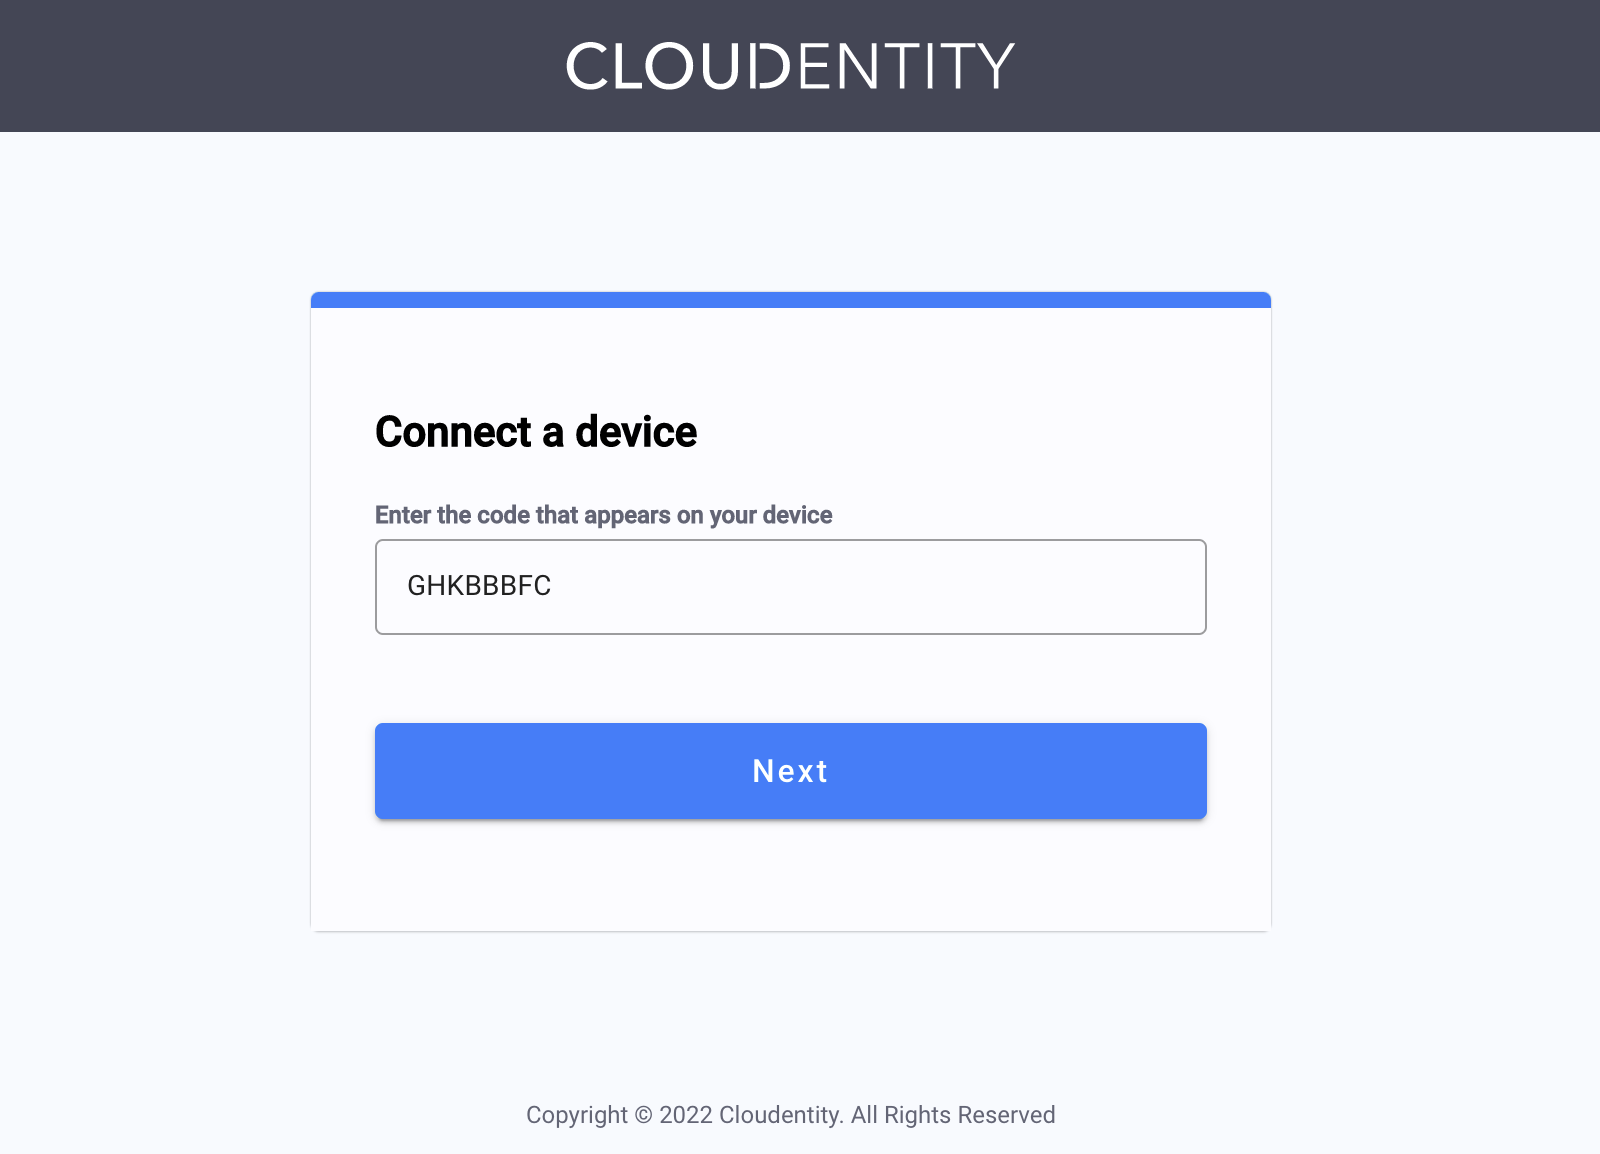
-
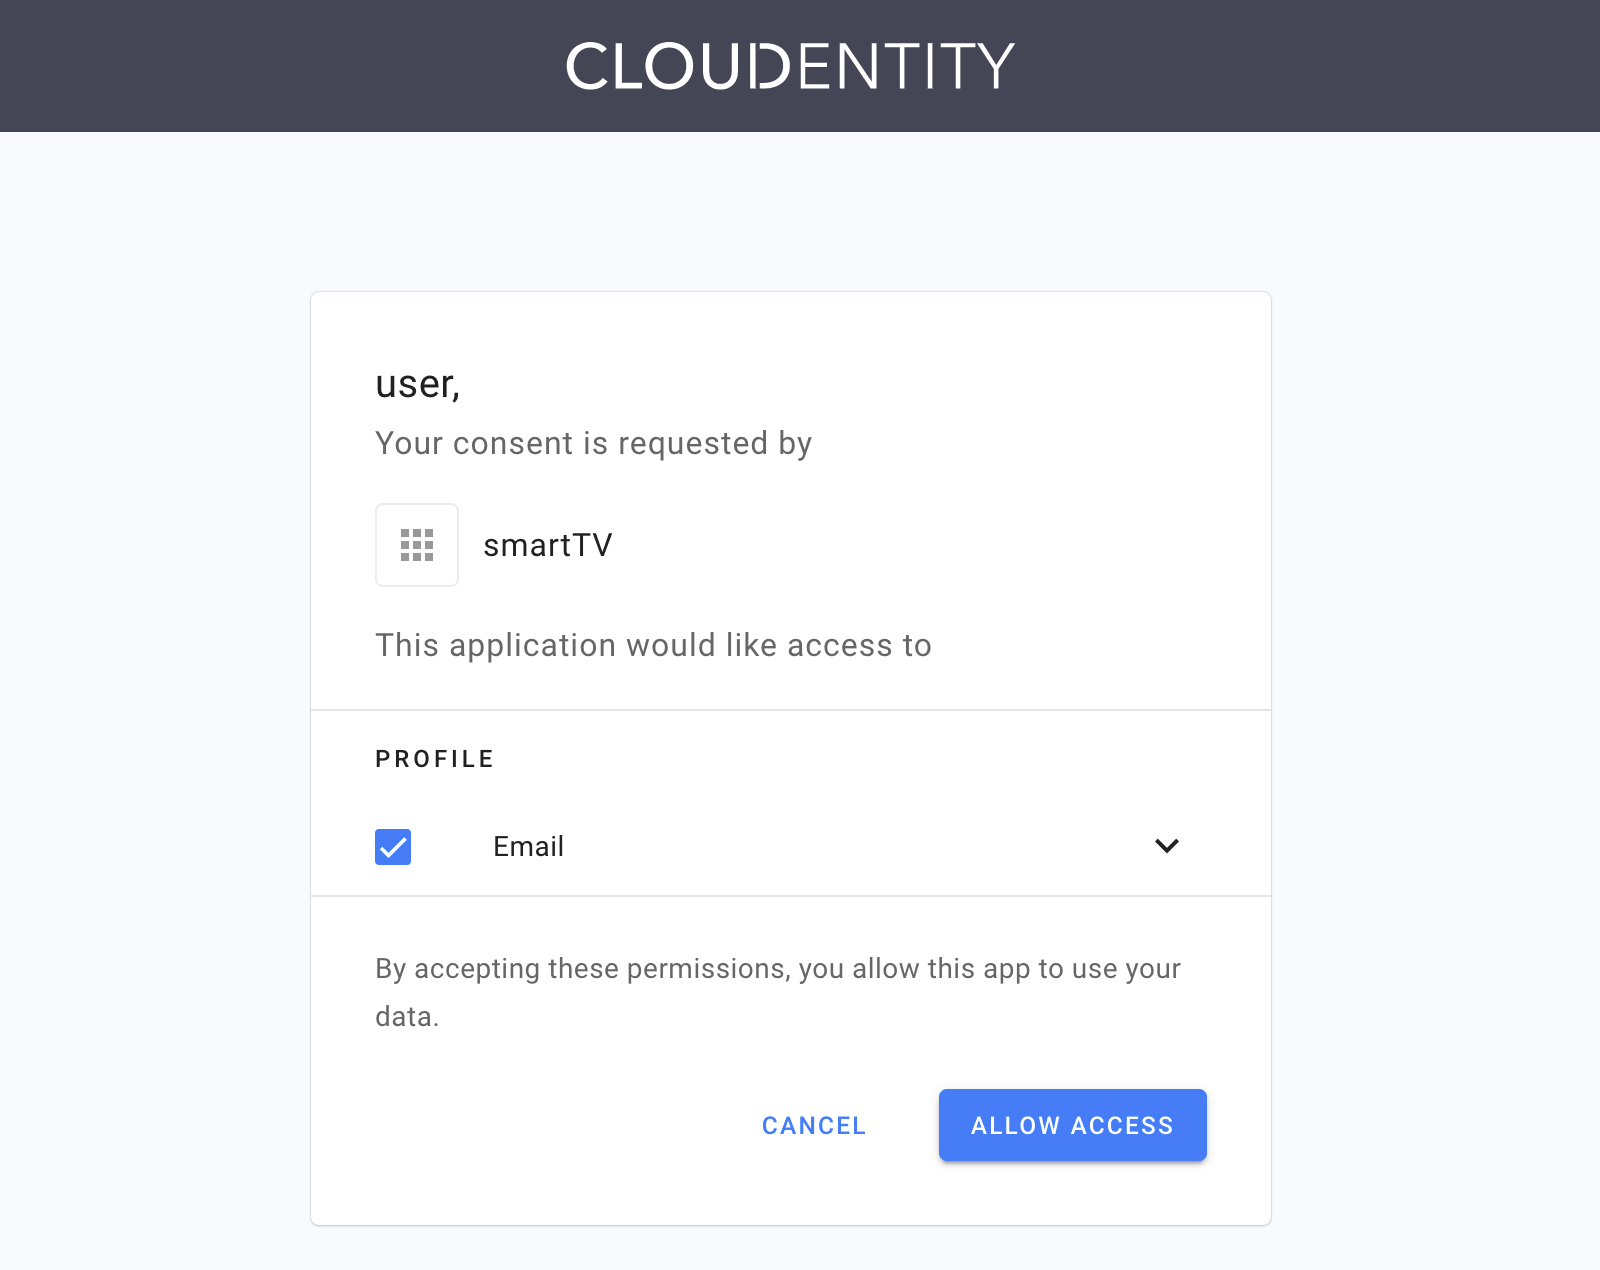
Authenticate with an identity source.
-
Review the authorization screen and select ALLOW ACCESS.
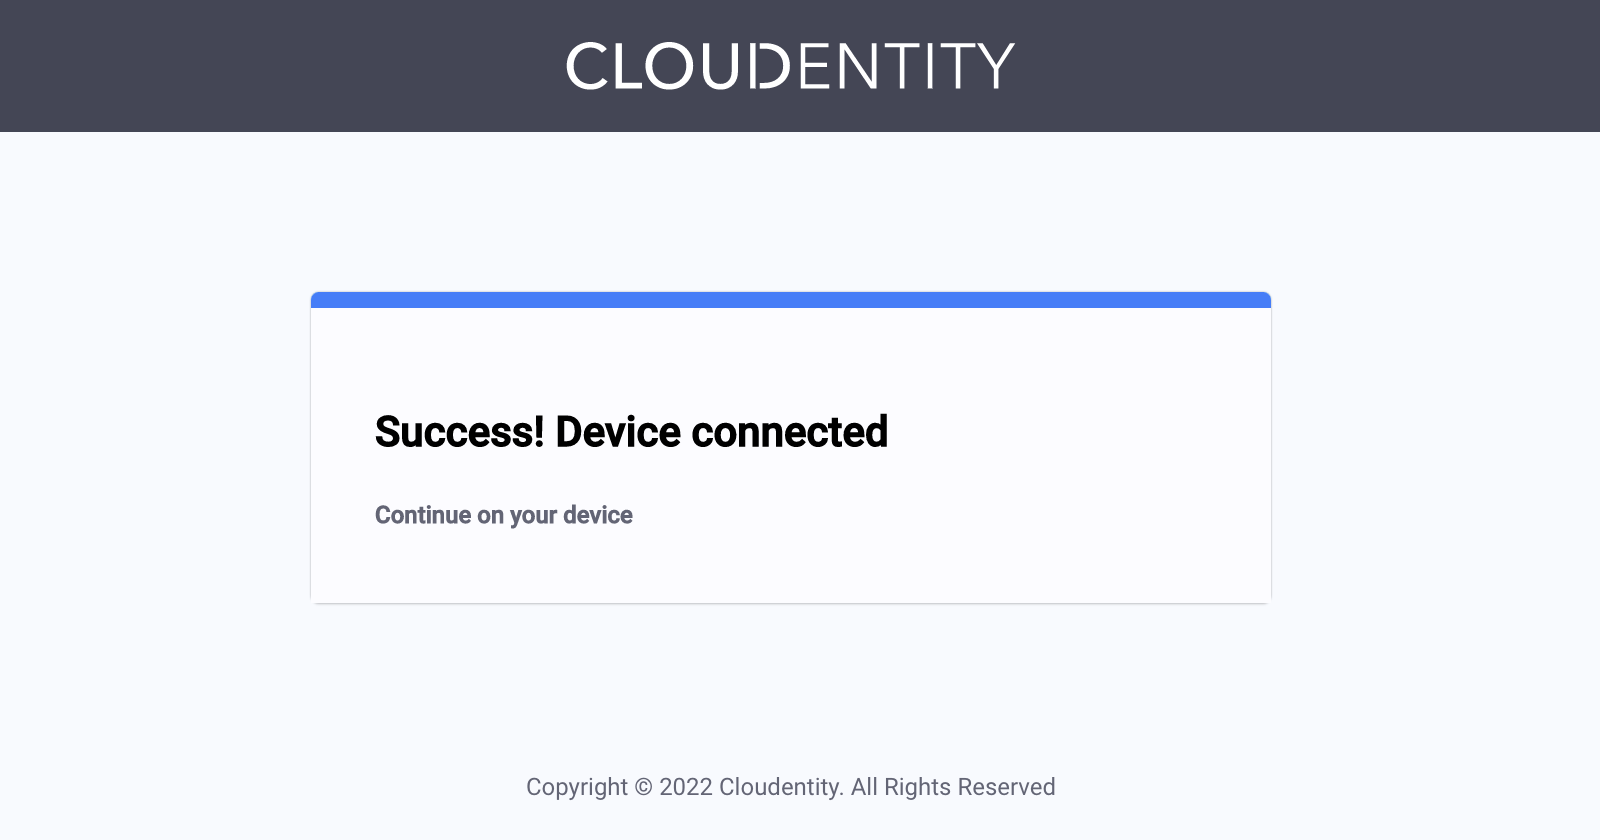
Result
Once you allowed access, the device is connected and the next attempt to get the token from the Cloudentity platform will end in success provided that all other requirements are met.
The step of providing a consent is skipped, when the client requests a scope that has already been granted to the requesting client application.
-
Request the token once again as showed in the third step.
If all the requirements were met, for example, you have successfully connected the device, provided the authorization, the request meets all client authentication method requirements, the Cloudentity platform responds with an access token.
ID Tokens and Refresh Tokens
Cloudentity can also mint and provide ID tokens and refresh tokens in the response to the
/tokenendpoint as a part to the Device Flow.