Enabling CIBA in a Nutshell
CIBA, an extension to OIDC, is an authentication flow in which the relying party (client application) can initiate a flow to authenticate the user without the user’s interaction from the consumption device (redirects through the user’s browser). This so called out-of-band flow enhances the user experience by streamlining the process of giving consents. The client requesting the authentication and the authentication device that performs the authentication are two separate entities, which is what makes CIBA a decoupled flow.
Read More
For more information on CIBA, see Cloudentity Client-initiated Backchannel Authentication grant flow overview.
To be able to use CIBA in Cloudentity, you have to allow the CIBA grant flow both for a selected workspace and for an application within that workspace. With the CIBA grant flow enabled for the workspace, you get a client ID, a client secret, and a token endpoint for your CIBA authentication service.
Prerequisites
-
Cloudentity tenant and administrator’s privileges for this tenant
-
At least one workspace (authorization server) and one application in this workspace
Tip
Check how to
-
Create a new workspace in Adding a new workspace in Cloudentity
-
Add an application in Creating and configuring applications in Cloudentity.
-
Enable CIBA
For instructions on how to nable CIBA in Cloudentity, either see the video or follow step-by-step guide.
Video Guide
Configure Workspace Settings
-
From Workspace Directory, enter a workspace that you want the CIBA support for.
-
Select OAuth » Authorization Server from the sidebar of the selected workspace and go the General view.
-
Navigate to the Allowed grant types section and select the CIBA checkbox.
Result
Selecting the checkbox adds another field for the CIBA configuration: Token delivery modes supported. Check details on token delivery modes in CIBA modes.
-
Use the drop-down list to populate the Token delivery modes supported field with at least one value out of the two available: ping and poll.
-
Select Save changes at the bottom of the page.
Result
After enabling CIBA in the Authorization view and saving the changes, another view, CIBA, shows in your workspace settings.
-
Navigate to the CIBA view to set up CIBA Authentication Service. Select EXTERNAL to provide URL to the external CIBA authentication service.
CIBA Simulator
Instead of selecting EXTERNAL, you can select SIMULATOR if you do not want to specify the URL and still like to play with CIBA.
-
For EXTERNAL, fill in Authentication service URL, Basic Auth Username, and Basic Auth Password.
Enabling EXTERNAL Services
EXTERNAL authentication services require the integration with Cloudentity to enable the use of the CIBA grant flow. Check CIBA integration patterns to learn CIBA-Cloudentity integration patterns, which you can use to integrate your authentication device with Cloudentity.
Basic Authentication
Basic authentication is a mechanism that Cloudentity uses for authenticating to external services that expose their API when integrated with Cloudentity. For more details on the Cloudentity basic authentication, see Cloudentity basic authentication.
-
Select Save changes at the bottom of the page.
Configure Client Settings
-
In the same workspace, select Applications from the sidebar and proceed to the application that you want to enable CIBA for.
-
Go to the OAuth view of the application and navigate to the Grant Types section.
-
Add urn:openid:params:grant to the allowed grant types using the drop-down list.
Result
Enabling urn:openid:params:grant adds another field for the CIBA configuration: Token delivery mode. Check details on token delivery modes in CIBA modes.
-
Use the drop-down list to populate the Token delivery mode field with at least one value out of the two available: ping and poll.
Result
Enabling ping adds another field for the CIBA configuration: Client notification endpoint.
-
If you choose to use the ping mode, fill in the Client notification endpoint field by specifying the endpoint to which Cloudentity can post a notification after a successful or failed end-user authentication.
-
Select Save changes at the bottom of the page.
Result
You have enabled CIBA for your application.
Integrate Authentication Services
In the CIBA grant flow, authentication device uses the authentication service to communicate with the authorization server, in this case Cloudentity. The authentication service must be able to communicate with Cloudentity using its own and Cloudentity’s APIs. If you want to enable CIBA for your users, you need to implement an authentication service that exposes APIs compliant with the Swagger specification provided by Cloudentity.
The authentication service (AS) you implement is responsible for a couple of steps of the CIBA grant flow:
-
AS verifies if the end-user has the authentication device configured and ready to authenticate themselves and grant their authorization to the consumption device.
-
AS receives requests from Cloudentity and based on them it communicates either with the authentication device or Cloudentity.
-
AS may be responsible for communication with the Cloudentity. The authentication service may, for example, request additional consent data from Cloudentity. to be able to display a consent that provides all necessary information for the end-user to make a conscious decision.
-
AS is responsible for communication with the authentication device. It passes consent details to the authentication device, starts the authentication process for the authentication device, gets the results and, in the end, provides the authentication and authorization results to Cloudentity.
Cloudentity Basic Authentication
Cloudentity integration with authentication services makes it possible to use Basic access authentication as a means to authenticate Cloudentity. It is a simple authentication scheme that is built into the HTTP protocol. To use it, provide your Basic Auth Username and Basic Auth Password in CIBA configuration that Cloudentity base-64-encodes and uses when sending a request to your exposed APIs.
About Integration Patterns
To integrate with Cloudentity, there are two different integration patterns. Depending on whether you want to use your authentication service as in a regular CIBA grant flow or as in an Open Banking compliant CIBA grant flow, you must choose an appropriate integration pattern. Both integration patterns are for the PING CIBA mode, but they can be easily adjusted to the POLL mode.
To be able to integrate with Cloudentity CIBA, you must also use an appropriate login_hint
parameter. There are three different ways of providing the user’s identifier as described in the
Client-initiated Backchannel Authentication grant flow OIDC specification:
-
login_hint -
login_hint_token -
id_token_hint
Regular CIBA Grant Flow
To be able to use a regular CIBA grant flow with Cloudentity, your integration should be compliant with the guidelines and integration patterns provided by Cloudentity.
{"login_hint": "John Doe"} Cloudentity->>AS: POST /user/verify
{ "user_identifier": "John Doe" } AS-->> Cloudentity: OK {"valid": true} Cloudentity-->>CD: OK {"auth_req_id": "123-456-789"} note over Cloudentity, AS: 5th step is asynchronous and may happen
before the response is returned to the consumption device Cloudentity-)AS: POST /authentication/start
{ "login_id": "987-654-321", "user_identifier": "John Doe" "state":"c4ic2vn2brr5gsvq5so0"} AS -->> AS: User authentication and authorization process AS->>Cloudentity: POST /api/system/{tid}/scope-grants/{login}/accept
{ scopes: ["openid"] } Cloudentity-->>AS: OK Cloudentity->>CD: POST /notify-callback
{"auth_req_id": "123-456-789"} CD->>Cloudentity: POST /oauth2/token
{"auth_req_id": "123-456-789"} Cloudentity-->>CD: Token response
-
A consumption device sends a request to the Cloudentity Backchannel Authentication endpoint.
The request contains the
login_hintparameter. It serves as a hint to Cloudentity regarding the end-user for whom the authentication is requested. -
Cloudentity sends a
POSTrequest to the /user/verify authentication service endpoint.This step is to verify if the user has their authentication configured and ready to be used to authenticate them.
The request from Cloudentity contains the
user_identifierparameter that is derived from thelogin_hintprovided to Cloudentity in the first step by the consumption device.user/verify Endpoint Implementation
The
user/verifyAPI must be implemented according to the swagger specification provided by Cloudentity. -
The authentication service responds with the 200 response status.
The response contains the
validparameter. If the user is allowed to use the authentication device, the value for thevalidparameter is set totrue. If they are not, the value is set tofalseand Cloudentity notifies the consumption device with an error and the flow is stopped. -
Cloudentity responds to the consumption device with the 200 status.
The response contains the
auth_req_idparameter that stands for an identifier of the authentication request made by the client. -
Cloudentity sends a
POSTrequest to the /authentication/start authentication service endpoint.By sending the request, Cloudentity starts the actual authentication process. The request contains the
login_id,user_identifier, and thestateparameters.As this is an asynchronous step, it may happen before the response from the previous step reaches the consumption device.
authentication/start Endpoint Implementation
The
authentication/startAPI must be implemented according to the swagger specification provided by Cloudentity. -
Authentication service performs steps necessary for the user to authenticate themselves and to authorize the consumption device.
-
Authentication service sends a
POSTrequest to the accept scope grant request Cloudentity API.The request contains an
openidscope.The authentication service also provides a list of scopes to be granted based on the request scopes provided by Cloudentity.
Tip
If the user denies the authorization, the request should be sent to the reject scope grant request Cloudentity API.
-
Cloudentity responds to the authentication service with the 200 status.
-
Cloudentity sends a
POSTrequest to the consumptions device registerednotify-callbackendpoint.The request contains the
auth_req_idparameter. It references the identifier of the same authentication request that was used in the 5th step. -
With the
auth_req_id, the consumption device is able to request token by calling the OAuth 2.0 token endpoint.Note
The request must contain the authentication request identifier (
auth_req_id). -
Cloudentity responds with a token.
Result
The consumption device is now able to make requests to protected APIs.
Open Banking Compliant CIBA Grant Flow
Open Banking compliant CIBA grant flow differs from the regular flow in some of the steps that you need to take to integrate with Cloudentity in an Open Banking ecosystem compliant way. One of the biggest differences is that the consumption device can be a third-party application that is registered within the financial institution that uses the authentication service compliant with Cloudentity guidelines for CIBA grant flow integration.
Cloudentity has built-in compliance with both the Open Banking UK and the Open Banking Brasil directives. Depending on the consent type and whether you want to provide services within the OB UK or OB BR directive, you must use different APIs. The integration pattern provided in this article is based for account access consent for Open Banking UK, but it can be easily adjusted for the needs of payment consents or for the needs of Open Banking Brasil consents.
{"login_hint": "John Doe", "openbanking_intent_id": "456-789-123"} Cloudentity->>AS: POST /user/verify
{ "user_identifier": "John Doe" } AS-->> Cloudentity: OK {"valid": true} Cloudentity-->>CD: OK {"auth_req_id": "123-456-789"} note over Cloudentity, AS: The 7th step is asynchronous and may happen
before the response is returned to the consumption device Cloudentity-)AS: POST /authentication/start
{ "login_id": "987-654-321", "user_identifier": "John Doe",
"openbanking_intent_id": "567-789-123" } note over CD, AS: At this point, the authentication service may request additional consent data from the CD/TPP. AS -->> AS: User authentication and authorization process AS->>Cloudentity: POST /system/{loginID}/openbanking-account-access/consent/accept
{ scopes: ["openid"] } Cloudentity-->>AS: OK Cloudentity->>CD: POST /notify-callback
{"auth_req_id": "123-456-789"} CD->>Cloudentity: POST /oauth2/token
{"auth_req_id": "123-456-789"} Cloudentity-->>CD: Token response
-
A consumption device sends a
POSTrequest to the Cloudentity account access consent endpoint.Consent Types
The example illustrates how to make an Open Banking UK compliant account access consent. If you wish, you can change the type of the consent and, for example, make a
POSTrequest that would be destined for the Open Banking Brasil payments. -
Cloudentity responds with the 200 status and returns a
consent_id -
A consumption device sends a request to the Cloudentity Backchannel Authentication endpoint.
-
The request contains the
login_hintparameter. It serves as a hint to Cloudentity regarding the end-user for whom the authentication is requested. -
The request should also include the
openbanking_intent_idparameter, which value is the same as the value of theconsent_idparameter from the first step.openbanking_intent_id for OB Brasil
To be Open Banking Brasil compliant, the consumption device should pass the
openbanking_intent_idparameter as a dynamic scope. -
The request should also define the requested scopes including the
openidscope.
-
-
Cloudentity sends a
POSTrequest to the /user/verify authentication service endpoint.This step is to verify if the user has their authentication configured and ready to be used to authenticate them.
The request from Cloudentity contains the
user_identifierparameter that is derived from the CIBA authentication request provided to Cloudentity in the first step by the consumption device.user/verify Endpoint Implementation
The
user/verifyAPI must be implemented according to the Swagger specification provided by Cloudentity. -
The authentication service responds with the 200 response status.
The response contains the
validparameter. If the user is allowed to use the authentication device, the value for thevalidparameter is set totrue. If they are not, the value is set tofalseand Cloudentity notifies the consumption device with an error and the flow is stopped. -
Cloudentity responds to the consumption device with the 200 status.
The response contains the
auth_req_idparameter that stands for an identifier of the authentication request made by the client. -
Cloudentity sends a
POSTrequest to the /authentication/start authentication service endpoint.By sending the request, Cloudentity starts the actual authentication process. The request contains the
login_id,user_identifier, and theopenbanking_intent_idparameters among other parameters. It should also provide requested scopes that can be, later on, used.As this is an asynchronous step, it may happen before the response from the previous step reaches the consumption device.
authentication/start Endpoint Implementation
The
/authentication/startAPI must be implemented according to the swagger specification provided by Cloudentity. -
Authorization service performs steps necessary for the user to authenticate themselves and to authorize the consumption device.
Additional Consent Data
Before the authentication device displays the consent, the authentication service may request additional consent data from Cloudentity. It may happen, for example, by making a
GETrequest to the Cloudentity get account access consent endpoint.Such practice can be useful, for example, for payment consents, where the consent must provide payment details necessary for the end-user to take a conscious decision on their payment consent.
-
Authorization service sends a
POSTrequest to the accept account-access consent Cloudentity API.The request contains an
openidscope and requested scopes from the 7th scope.Tip
If the user denies the authorization, the request should be sent to the reject account access consent Cloudentity API.
-
Cloudentity responds to the authentication service with the 200 status.
-
Cloudentity sends a
POSTrequest to the consumptions device registerednotify-callbackendpoint.The request contains the
auth_req_idparameter. It references the identifier of the same authentication request that was used in the 5th step. -
With the
auth_req_id, the consumption device is able to request token by calling the OAuth 2.0 token endpoint.Note
The request must contain the authentication request identifier (
auth_req_id). -
Cloudentity responds with a token.
Authenticate with Authentication Device Simulator
The AD Simulator gives you a possibility to test the POLL mode of the CIBA grant flow.
Using Cloudentity’s OIDC Client-initiated Backchannel Authentication flow API
you can initiate the flow and provide the dummy user from whom you can get an authorization consent
for your client application. After getting users' consent, you are able to request tokens using the
auth_req_id (authentication request ID) parameter.
Prerequisites
-
You have CIBA grant flow working in the POLL mode enabled both for your workspace and a client application.
-
Your client application has the
openidscope enabled. -
You have chosen the Simulator as your authentication device for your workspace.
Tip
To choose the Simulator as your authentication device, go to OAuth » Authorization Server, and then, in the CIBA tab select SIMULATOR, and save the changes.
Using CIBA AD Simulator
-
In your workspace, go to OAuth » Authorization Server » CIBA and click the link to the CIBA SIMULATOR in the description.
Tip
You can also construct the URL yourself by adding the
/cibasimulatorpath right after your authorization server (workspace) URL.For example, the URL could look like the following:
https://yourTenantID.authz.cloudentity.io/yourTenantID/yourAuthorizationServerID/cibasimulatorIt is best that you leave the browser’s tab with the Simulator open, as you will need it later.
Result
CIBA Authentication Device Simulator is opened.
-
In your workspace, go to Applications and select the application for which you have enabled CIBA and the poll mode.
-
Copy your client ID and the client secret and save them, for example, in your notepad.
Tip
You can also export both parameters as environment variables for later convenience. To do so, for example, execute the following commands in your terminal:
export CLIENT_ID=c5de6f02btuqr6t52dpg export CLIENT_SECRET=POJVN-1YrsIrEpZEh7oAiAETP_NKYnvKm3jAsFnXYP8 -
Send a
POSTrequest to the Cloudentity’s OIDC Client-initiated Backchannel Authentication flow API endpoint.curl -k -X POST https://{tid}.authz.cloudentity.io/{tid}/{aid}/backchannel/authentication -u "$CLIENT_ID:$CLIENT_SECRET" -d "scope=openid&login_hint=John"How to Prepare Your CURL Request
The
tidpath parameter stands for your tenant identifier.The
aidpath parameter stands for your authorization server’s (workspace) identifier.The request example uses the client secret basic client authentication method. You can either enable it in your client applications settings or use a different method and adjust your request.
If you had not exported your client id and secret, provide both parameters as the value for the
$CLIENT_ID:$CLIENT_SECRETquery parameter. If you had exported both environment variables, you do need to do this.The
login_hintparameter stands for CIBA’s login hint. As the Simulator simplifies the CIBA grant flow, you can provide any String of your choice. For the Simulator, it is used like it was your user’s name.Result
curl -v -k -X POST https://{tid}.authz.cloudentity.io/{tid}/{aid}/backchannel/authentication -u "c5de6f02btuqr6t52dpg:POJVN-1YrsIrEpZEh7oAiAETP_NKYnvKm3jAsFnXYP8" -d "scope=openid&login_hint=John" {"auth_req_id":"1z2kPW10iV3wnMUzX4v8INi1htW1z2kPUYygShDP282bMviD7qgVP0","expires_in":120,"interval":5} -
Copy the value of the
auth_req_idfrom the response and save it.Tip
You can, again, export your variable as shown in the tip of the third step.
-
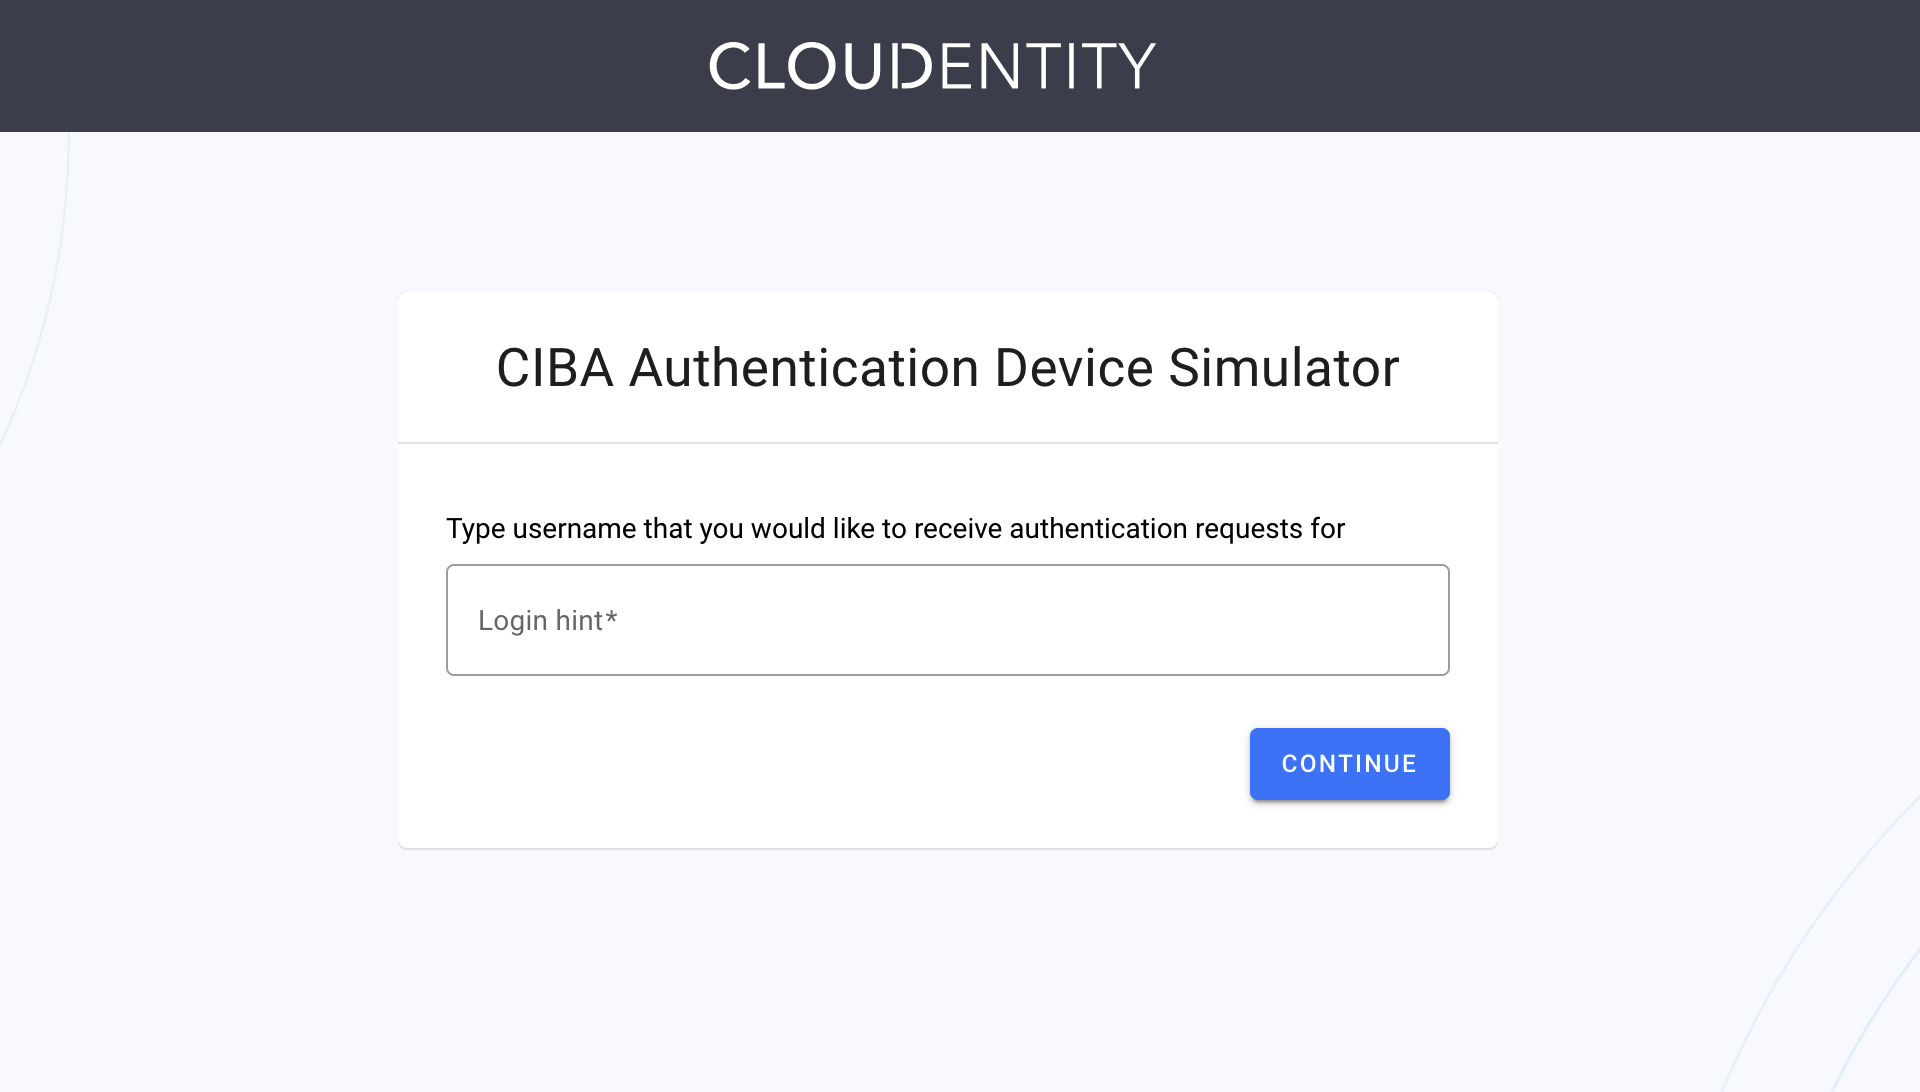
In your browser, navigate to the tab where you have opened the AD Simulator.
-
Provide the same login hint as you did for the value of the
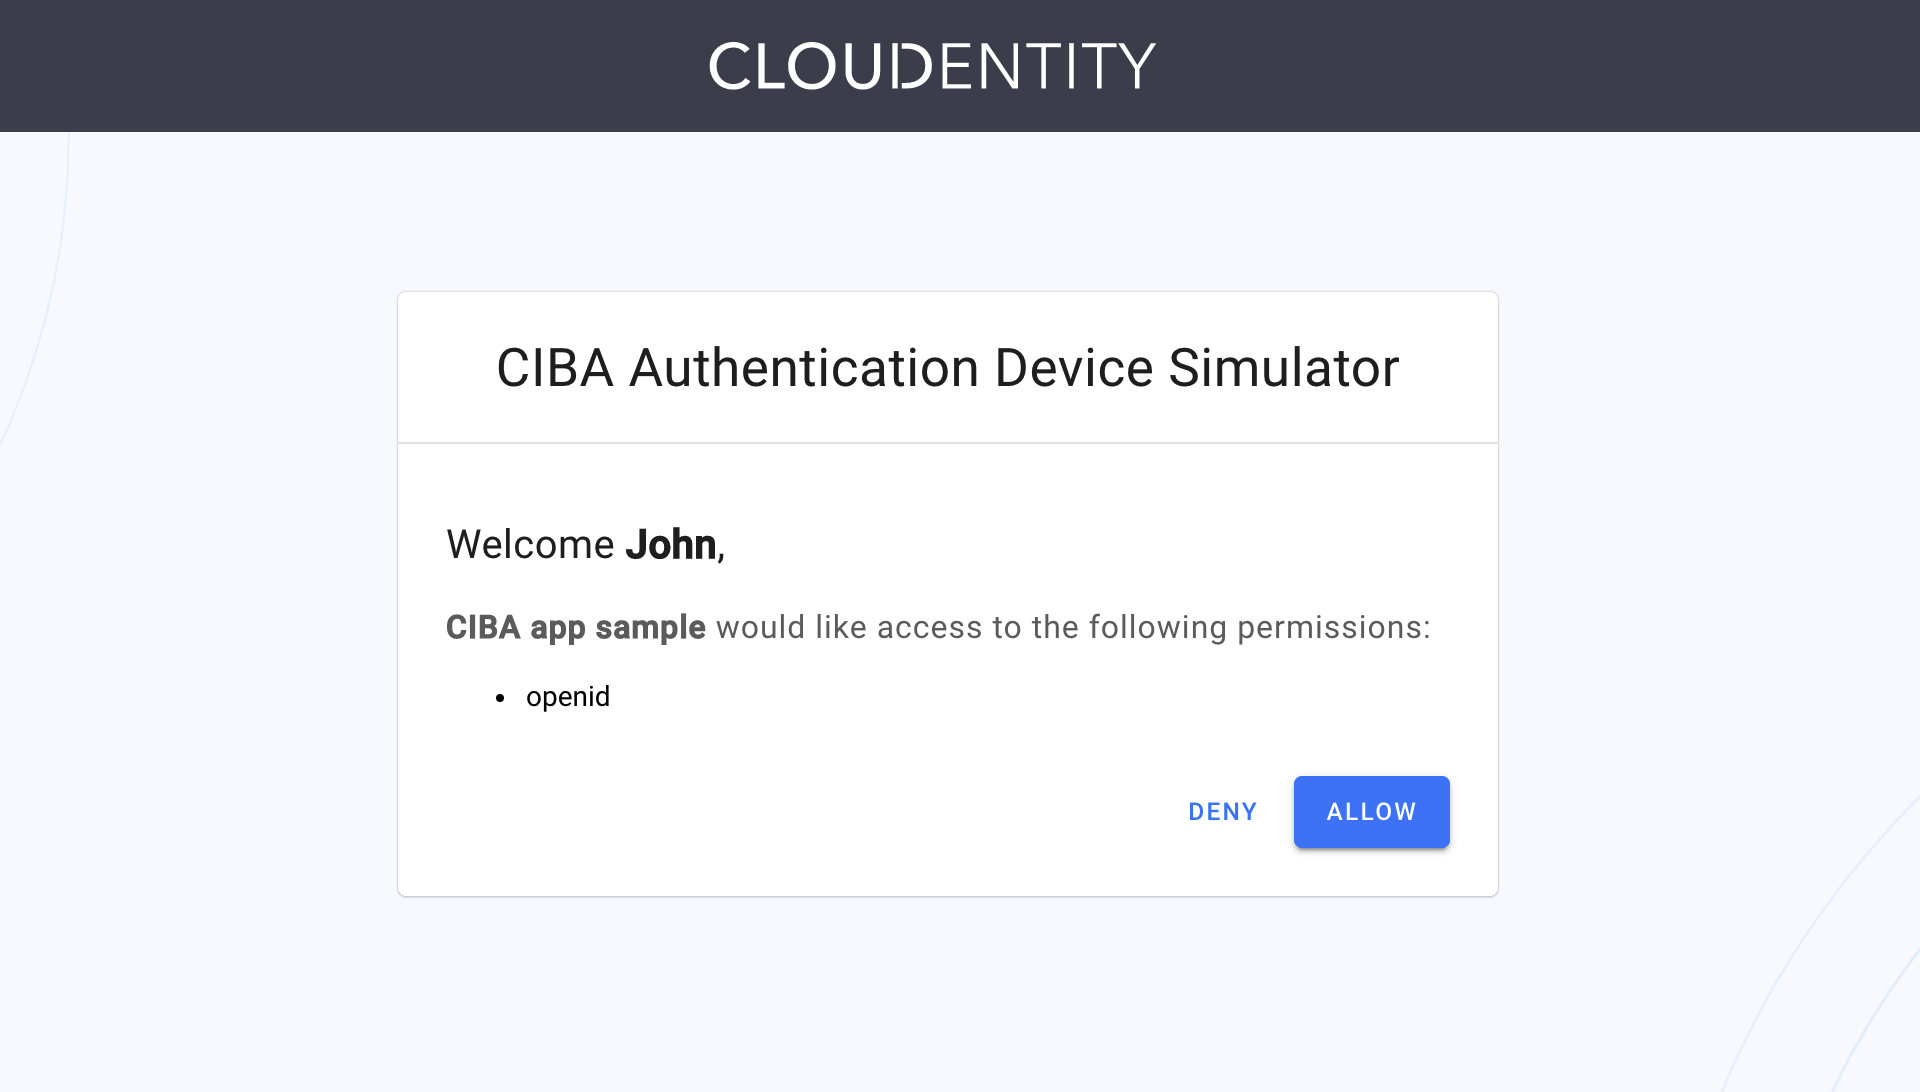
login_hintparameter in the fourth step of the procedure. Select CONTINUE.Result
The Simulator provides you with a consent screen, where you can deny or allow the access for the client application.
Tip
If you received the message similar to the following:
No authentication requests found for John. Your client must submit ciba backchannel authentication request.It might mean that your
auth_request_idparameter has expired. You need to make the request to the Cloudentity’s OIDC Client-initiated Backchannel Authentication flow API endpoint once again. -
Select Allow.
Your client application is authorized. You can now request a token.
-
In your terminal, send a CURL request to the token endpoint for your workspace.
curl -k https://{tid}.authz.cloudentity.io/{tid}/{aid}/oauth2/token -d "grant_type=urn:openid:params:grant-type:ciba&auth_req_id=$AUTH_REQ_ID" -u "$CLIENT_ID:$CLIENT_SECRET"How to prepare your CURL request
The
tidpath parameter stands for your tenant identifier.The
aidpath parameter stands for your authorization server’s (workspace) identifier.The request example uses the client secret basic client authentication method. You can either enable it in your client applications settings or use a different method and adjust your request.
When requesting a token, the
grant_typeparameter is required. Set it’s value tourn:openid:params:grant-type:ciba.If you had not exported your authentication request ID, provide the value that you had received in the response to your
POSTcall to the Cloudentity’s OIDC Client-initiated Backchannel Authentication flow API endpoint. If you had exported yourauth_req_idvariable, your request is almost ready.If you had not exported your client id and secret, provide both parameters as the value for the
$CLIENT_ID:$CLIENT_SECRETquery parameter. If you had exported both environment variables, your request is ready to be sent.Result
You receive an access token and an ID token as the response to your call to the token endpoint. You can now use it to make requests to protected APIs.