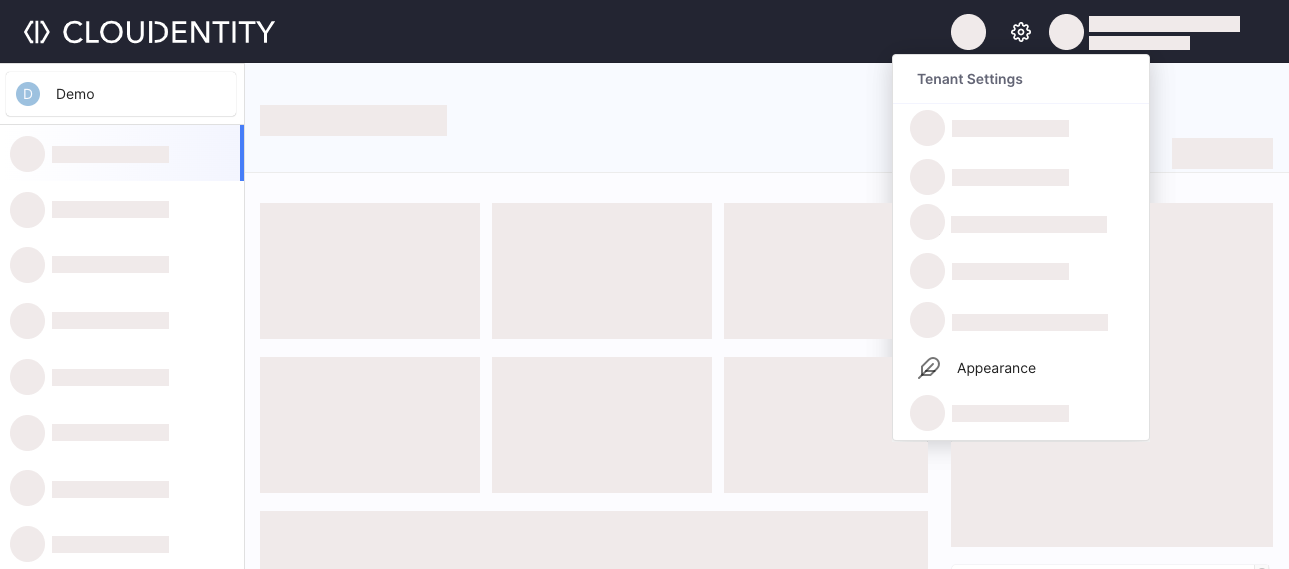
Change Logo, Fonts, and Colors
-
In your workspace, go to Tenant Settings

-
Select Appearance and next to the Default theme, select the three dots and View Editor.
- Select Primary color and Header color
- Provide the logo to be displayed in GUI by entering Company logo URL
- Select Logo size by picking one of the available options (Small, Medium, Large)
- Define the font type by entering Font URL
- Get back to the default settings with the Reset to default button.
Once you change, for example, a logo - it is applied to all Cloudentity platform pages unless those pages are applied with any custom theme (advanced branding).
Check Preview
While applying your custom settings, check the Preview area to see how your modifications are rendered in the mock Cloudentity GUI. Preview shows three Cloudentity GUIs: Consent, User portal, and Developer portal. Switch between them with the Preview navigation in the top right corner (< and >).
-
Select Save to apply your new GUI configuration.