Connect SAML IDP
-
Go to Authentication » Providers » Create Connection.
-
Select the SAML template in Third-Party Providers section and click Next.

-
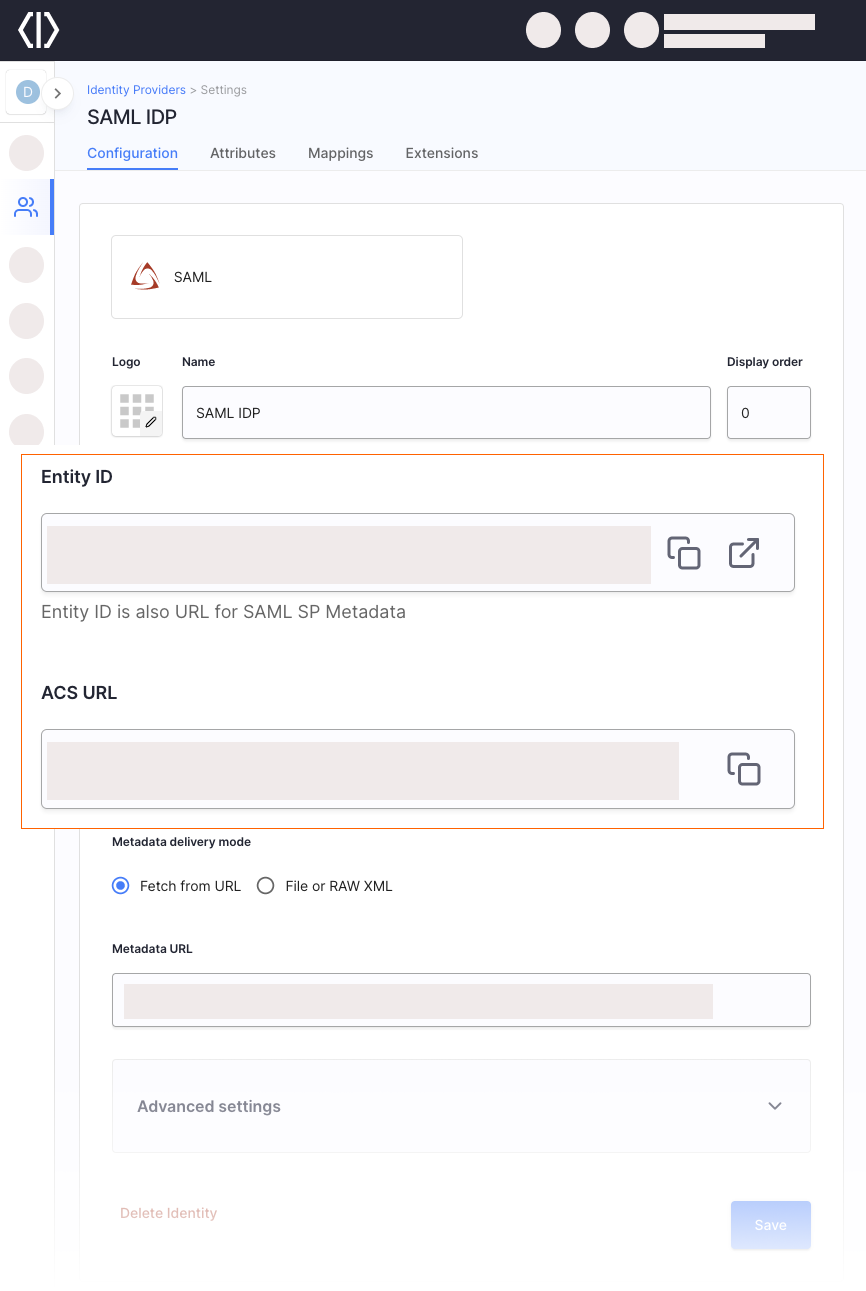
Provide a name for your SAML IDP – it is used to create the Entity ID.
-
Use the Entity ID (also a SAML SP Metadata URL) and ACS URL (Assertion Consumer Service URL) values to register Cloudentity as a Service Provider at your IDP.
-
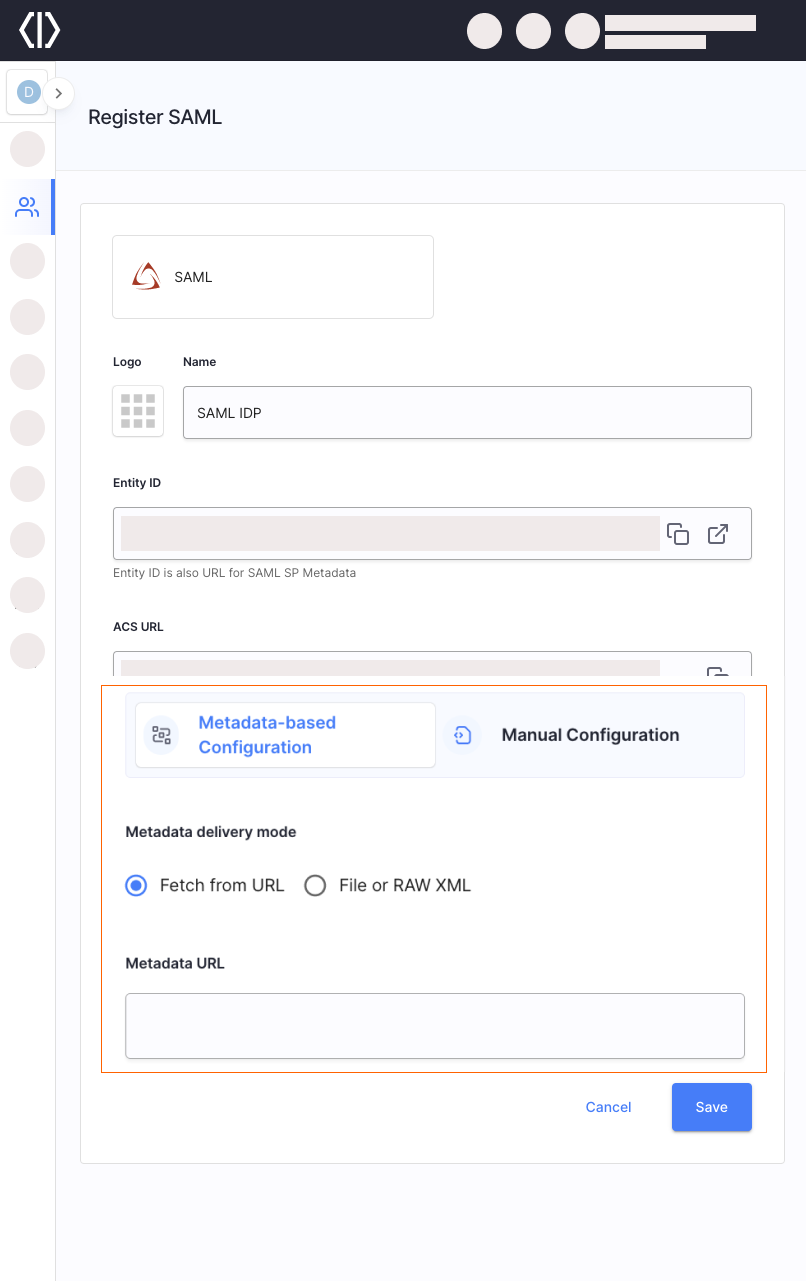
Add Identity Provider Metadata.
You can choose between two ways of configuring the SAML Identity Provider. For manual configuration, see the Manual SAML Identity Provider Configuration section.
IDP metadata can be fetched from URL or uploaded as a file or raw XML.
-
Select Save.
Manual SAML IDP Configuration
-
Manual Configuration
-
Sign-in URL - URL pointing to your SAML IDP application’s SSO endpoint. It points to the sign-in page for your application that performs the service provider initiated single sign on. Enter an initial dummy value to pass the form validation if you don’t have this app registered yet in your IDP.
-
IDP certificate - X509 public certificate of your SAML IDP application used to validate the signature of the incoming SAML assertion. It is stored on Cloudentity side and used whenever the SAML response arrives.
-
Identifier source - defines how the user identifier is extracted from the SAML assertion received from the IDP.
If you select Subject as the identifier source, the identifier is retrieved from
SAMLResponse <Subject>.If you choose Attribute, you need to enter a user attribute name into the Identifier attribute field.
If you select the attribute as the identifier source, the identifier is retrieved from
SAMLResponse <AttributeStatement>. Any attribute fromSAMLResponse <AttributeStatement>can be used for that purpose.
-
Next Steps
-
Map SAML IDP Attributes to Authentication Context Attributes.
-
Define Outgoing SAML Assertion Attributes Sent to Service Providers
-
If the SAML IDP enables users to sign into OAuth-based client applications, be sure to map the authentication context parameters (mapped from SAML IDP Assertion Schema Attributes) to Token Claims as well.