Workspace Overview
Cloudentity offers multi tenancy at different feature levels and within a single Cloudentity tenant, we provide the capability to create mutiple authorization servers. In a nutshell, this concept represents multi tenancy within a tenant to host independent OAuth/OIDC authorization servers. A tenant can create any number of workspaces to model different usecases and to solve varying requirements for organizations that requires different set of applications with varying OAuth profile requirements. For example, organization may choose to create a workspace exclusively for sharing applications with selected audience, workspace for external data sharing apps with stricter OAuth compliance etc. There are countless usecases to use the built in multitenancy feature of workspaces and let’s see how to create a workspace in Cloudentity.
Add Workspace
Note
During the first time visit to Cloudentity tenant admin portal, the admin will be taken through the guided process of creating a workspace automatically.
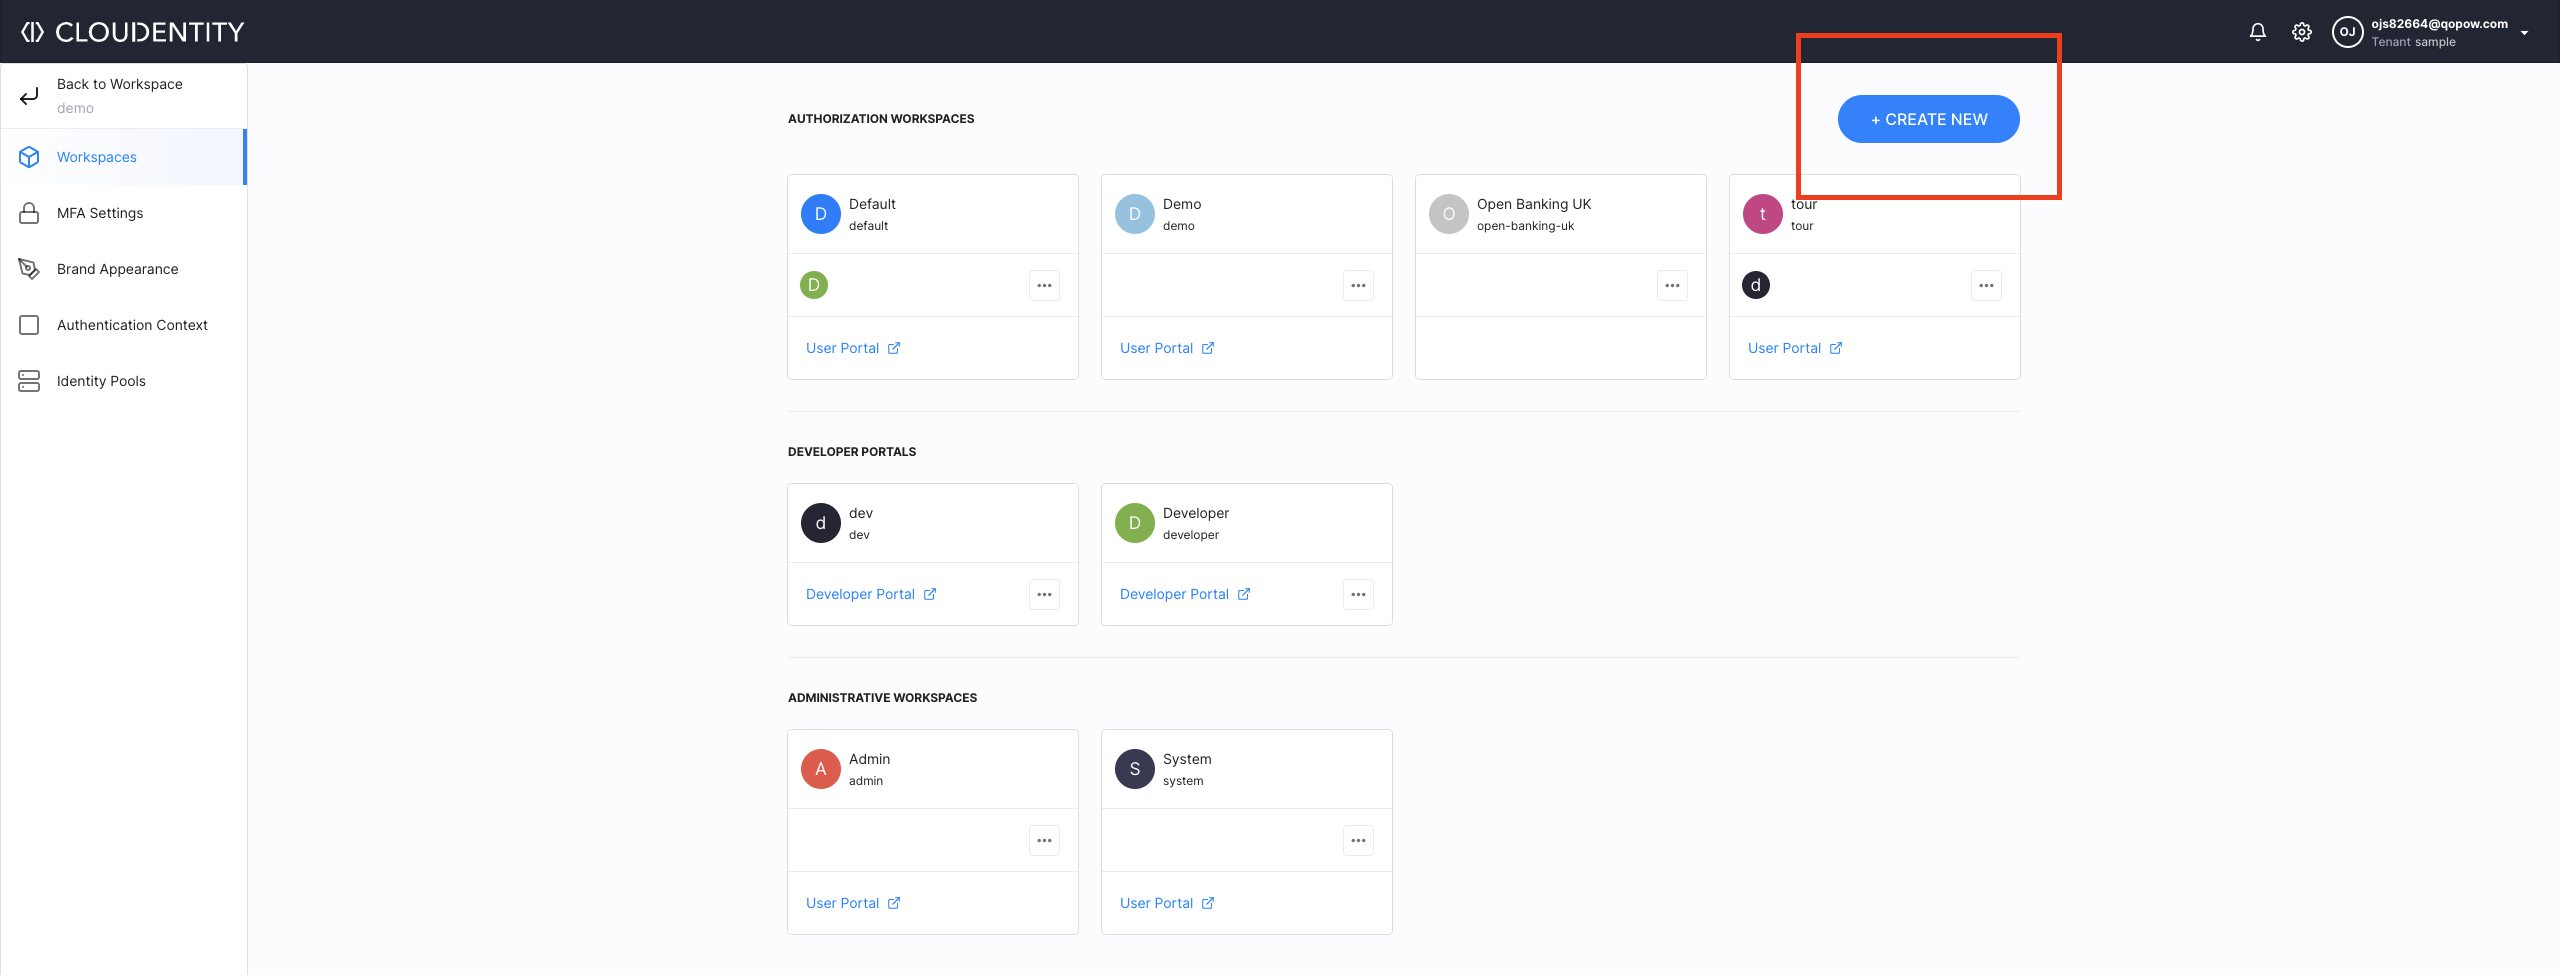
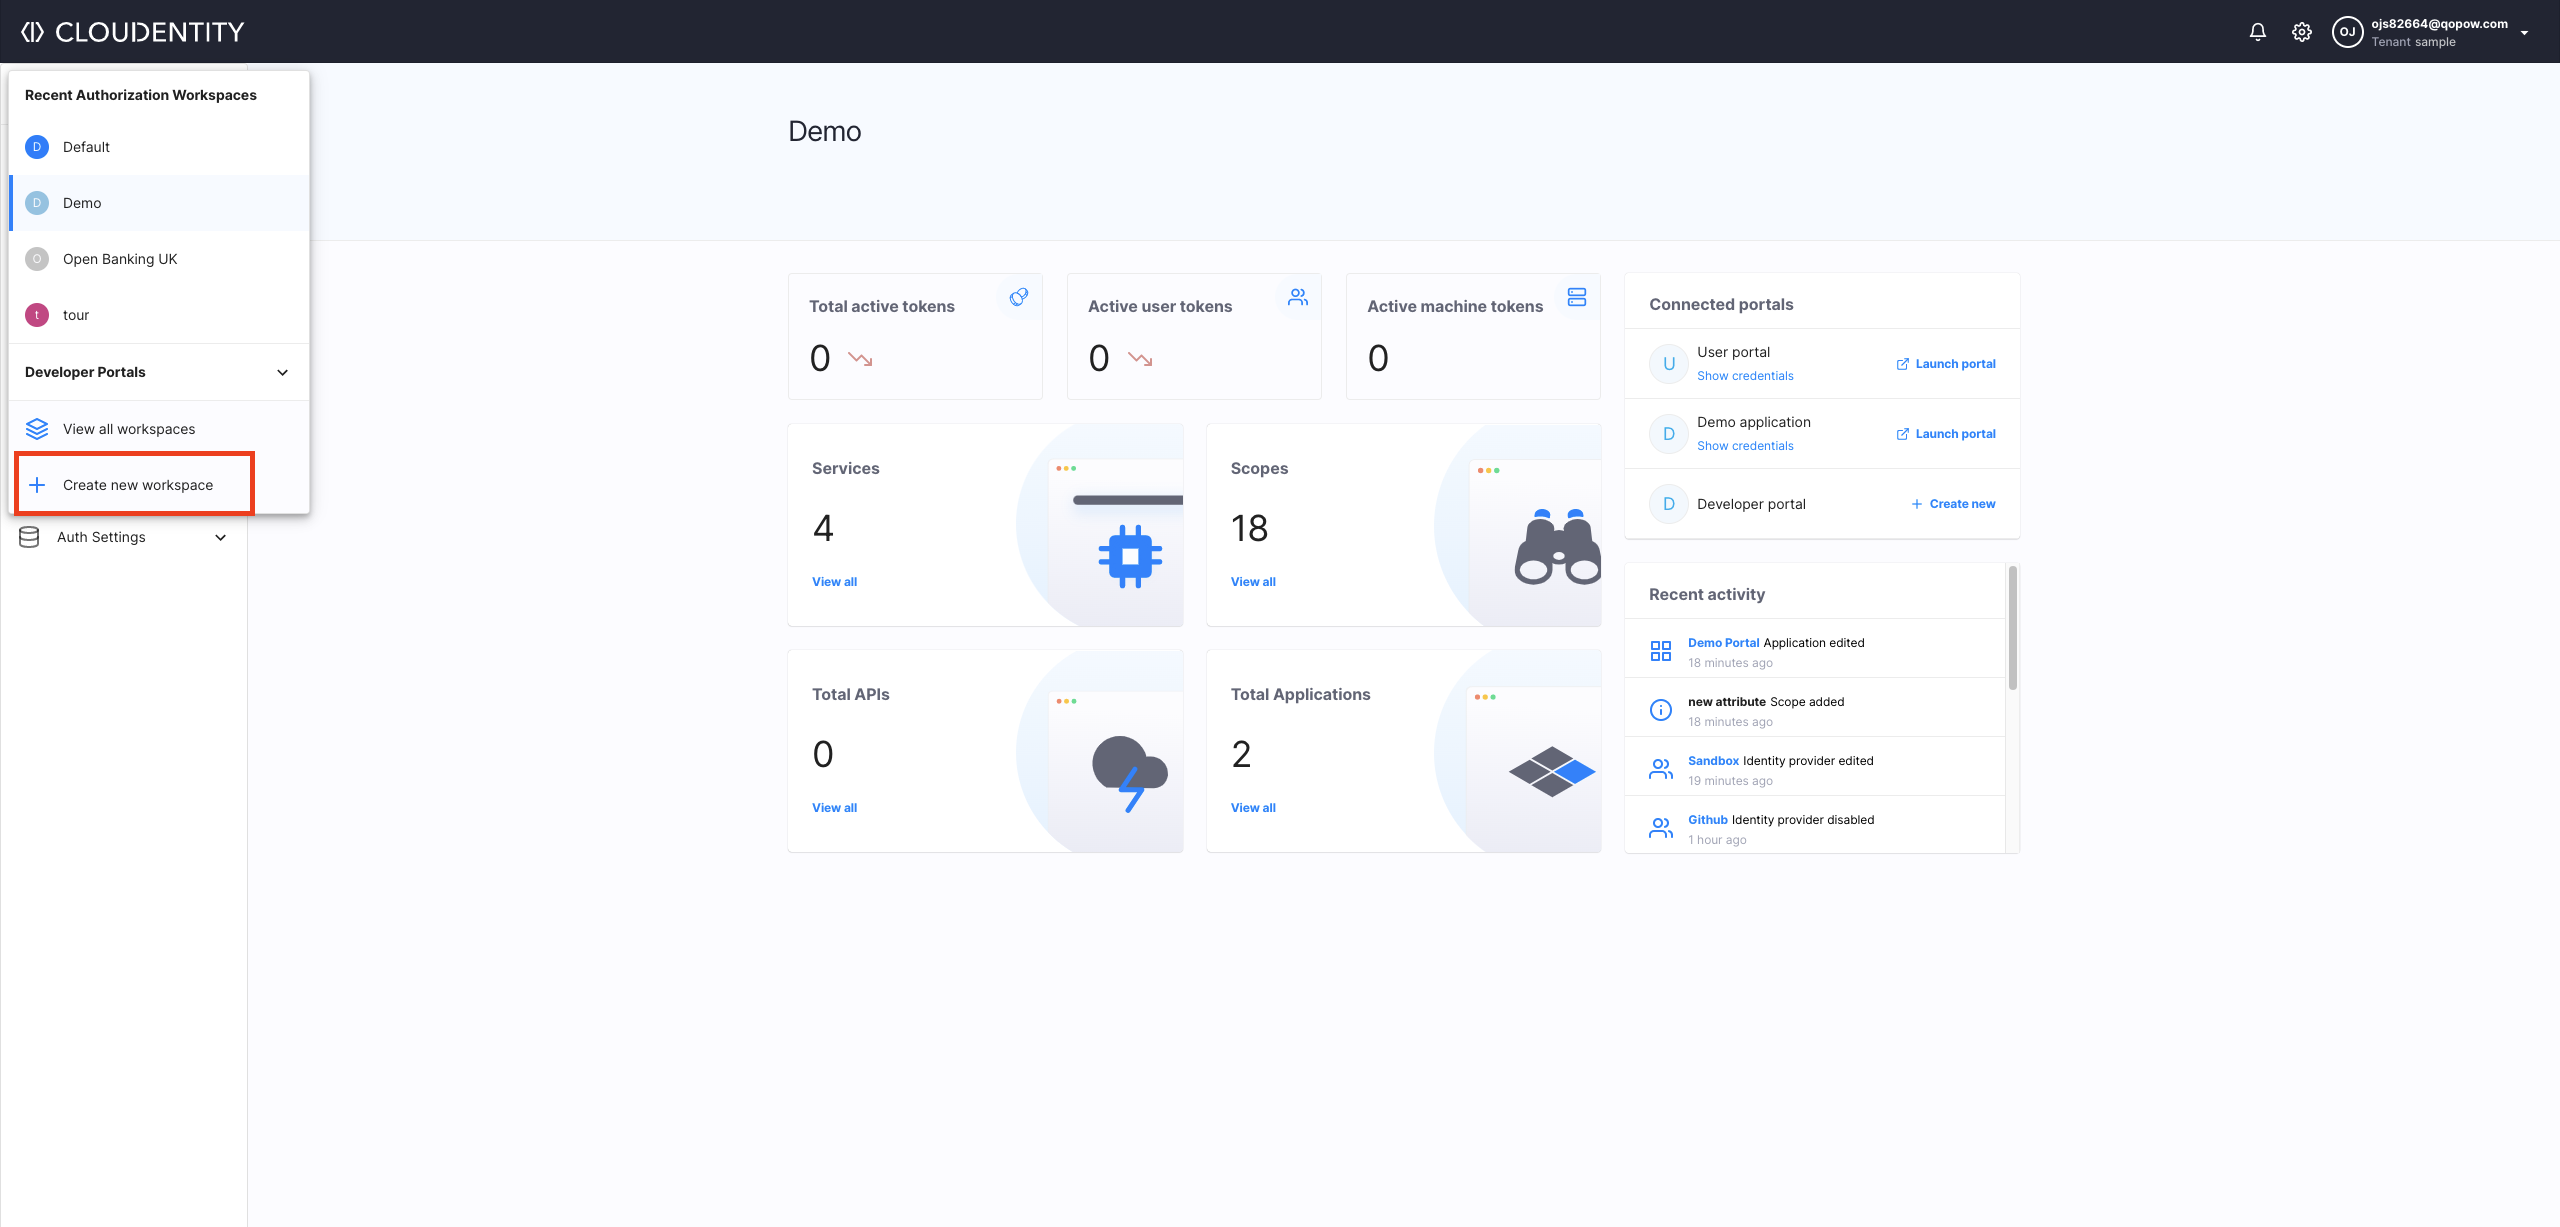
Authorized administrators can also create workspaces from the tenant-level Workspace Directory or from within another workspace using the contextual menu.
- Adding a workspace from the tenant-level Workspace Directory:
- Adding a workspace from another workspace using the contextual menu:
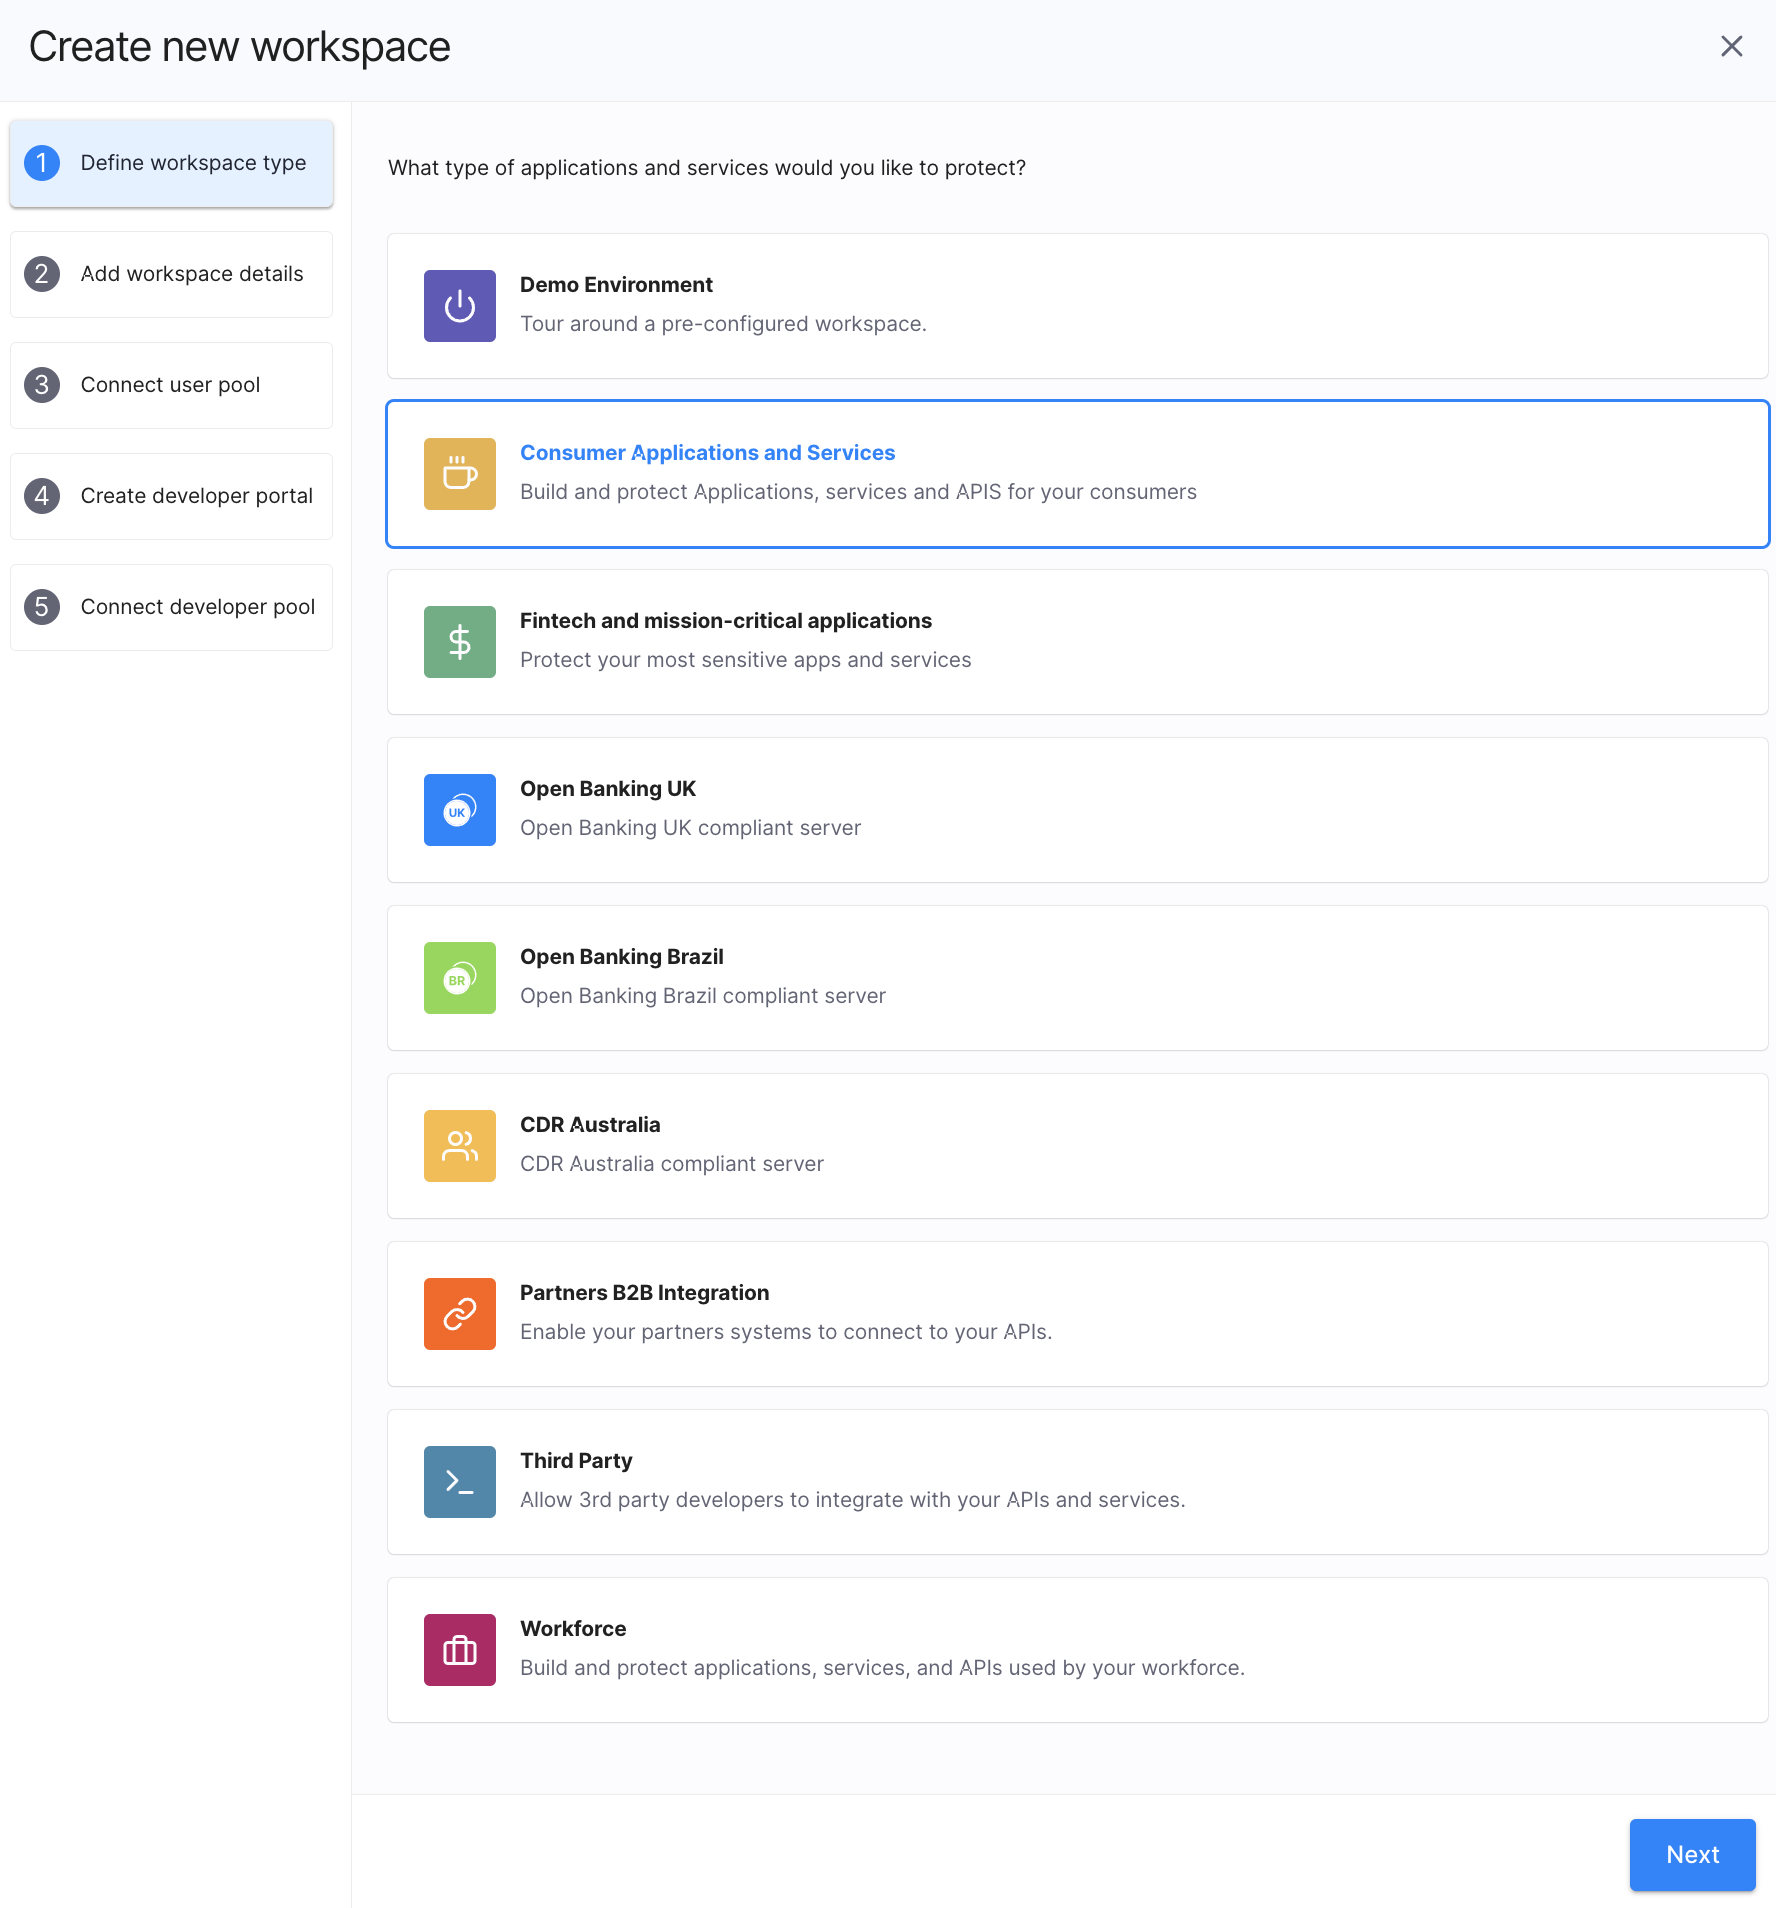
Choose Workspace Type
Cloudentity provides a rich set of templates that automatically prefills lot of industry standard OAuth authorization server compliance settings(allowed grant types, client auth methods, encryption etc) and other parameters based on the template chosen. If you looking for any specific initiative, choose the specific ones, if not you can choose the generic “Consumer applications and services” type workspace and then adjust the settings within the OAuth settings. So select a type of your workspace from the available templates and click NEXT.
Note
Workspace type determines the configuration of the authorization server for protecting different applications and services
Add Workspace Details
Enter a name for your workspace into the Display Name field (1) and click NEXT (5).
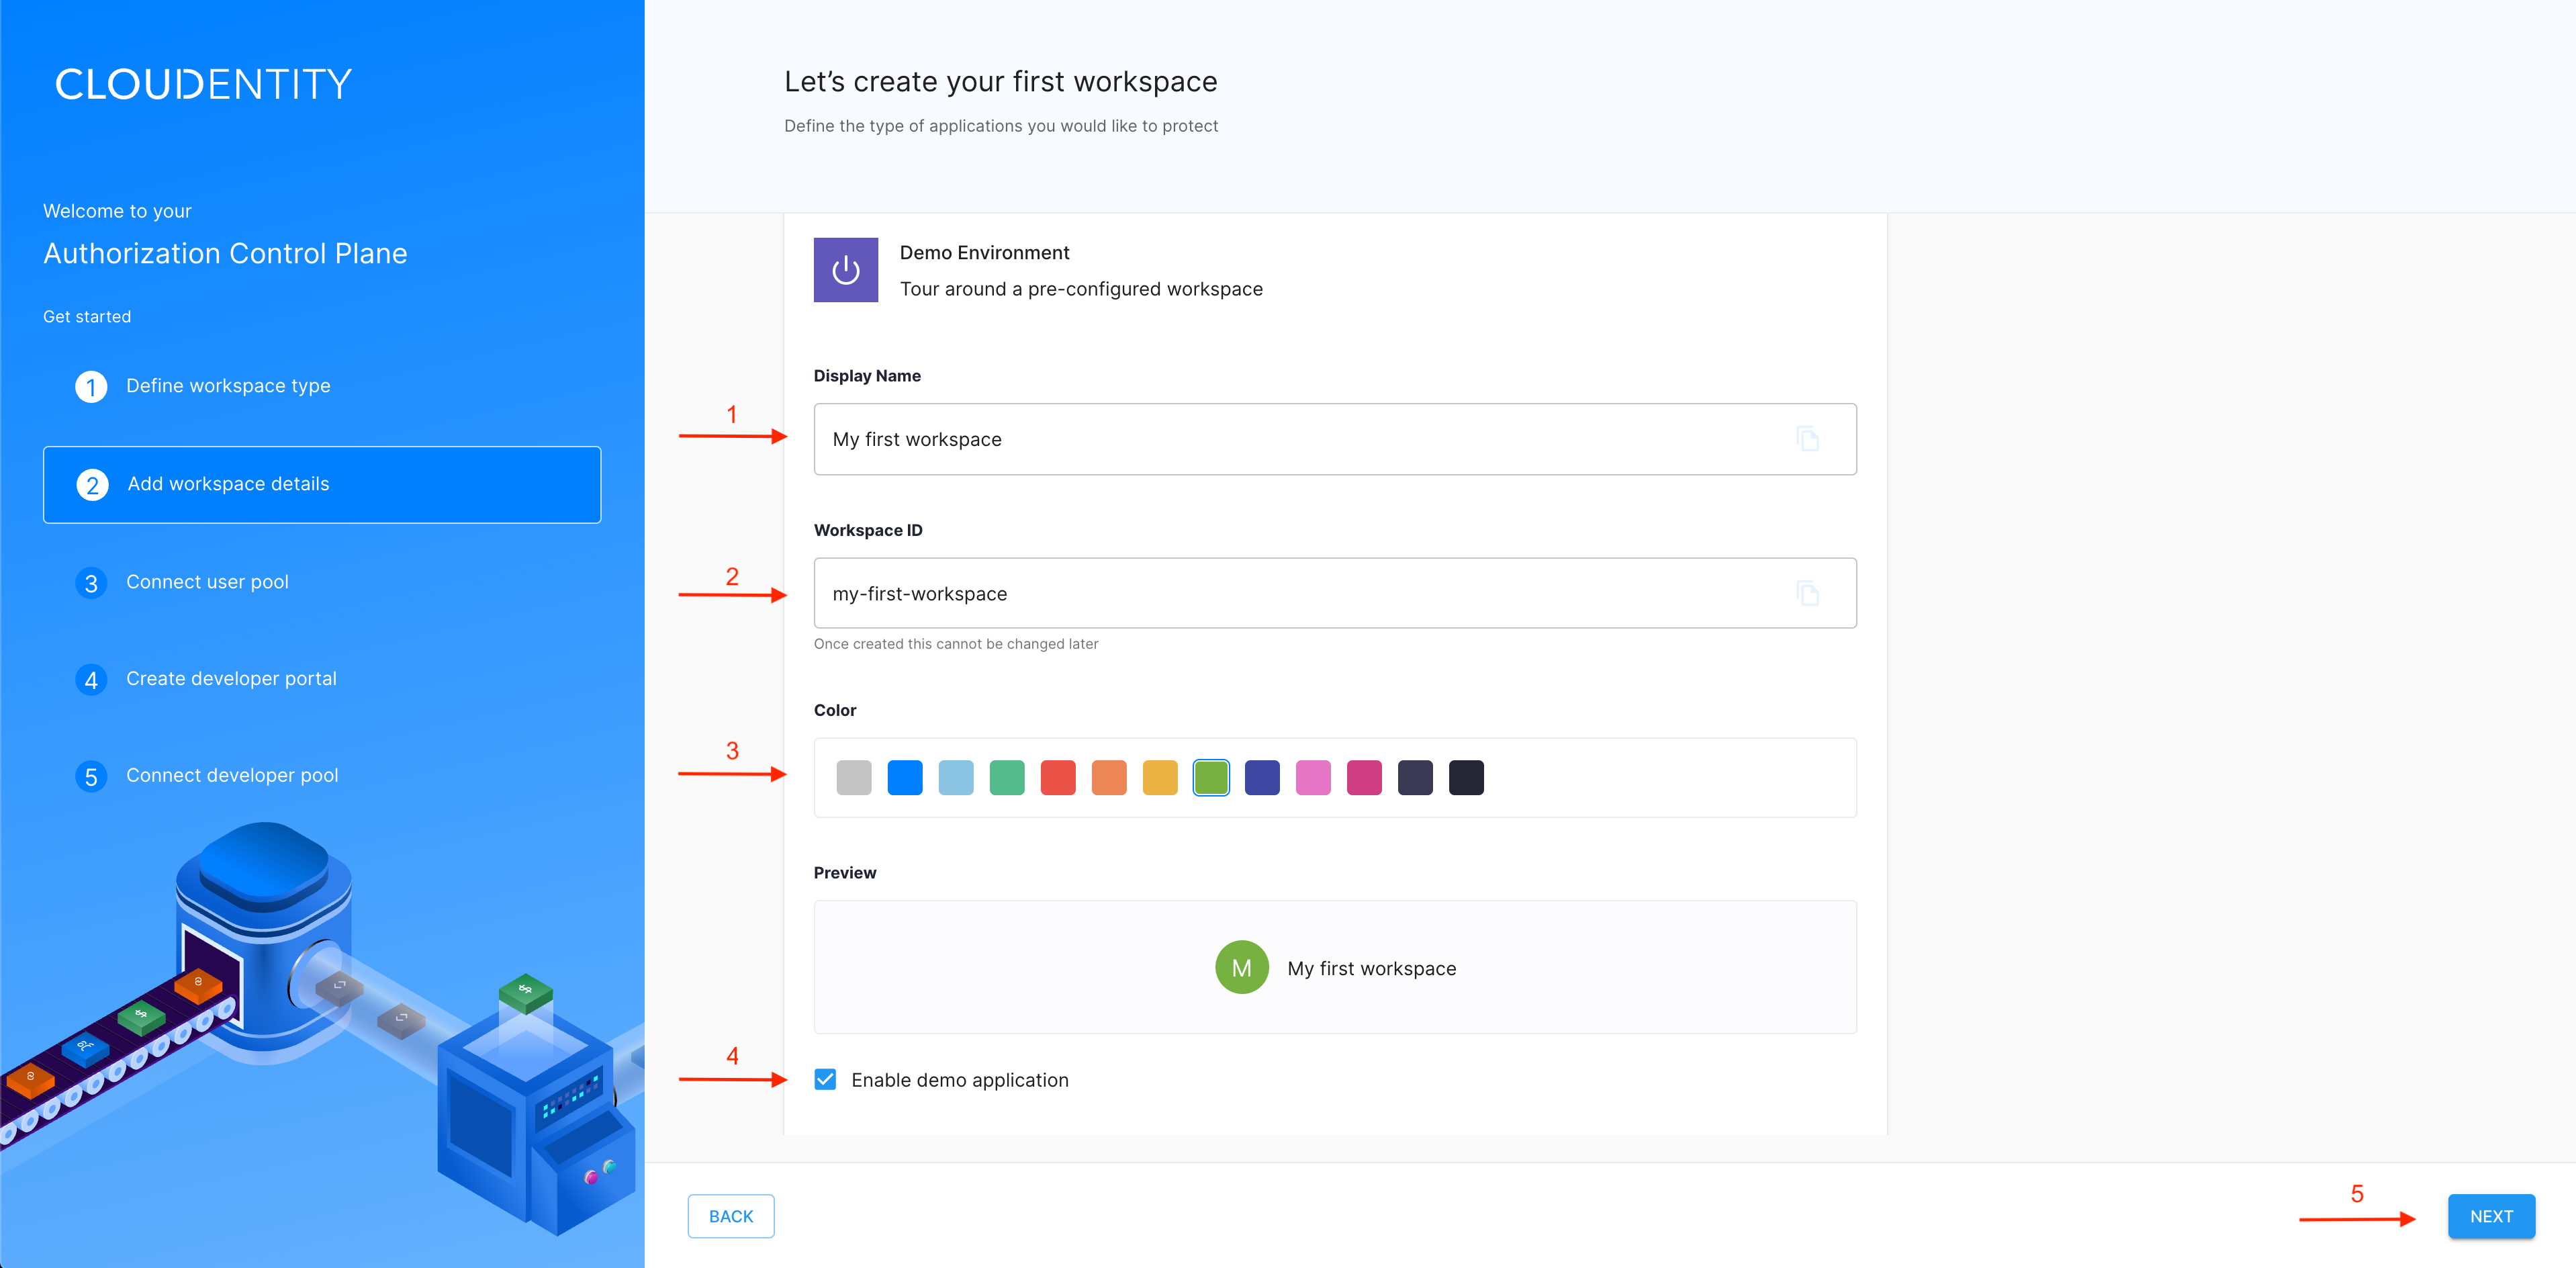
Optional Settings
Modify Workspace ID (2) if you don’t like the ID generated automatically from your workspace display name.
Change the default grey theme color (3) for your workspace by selecting any other option from the color palette.
Enable the demo application (4) by selecting the checkbox.
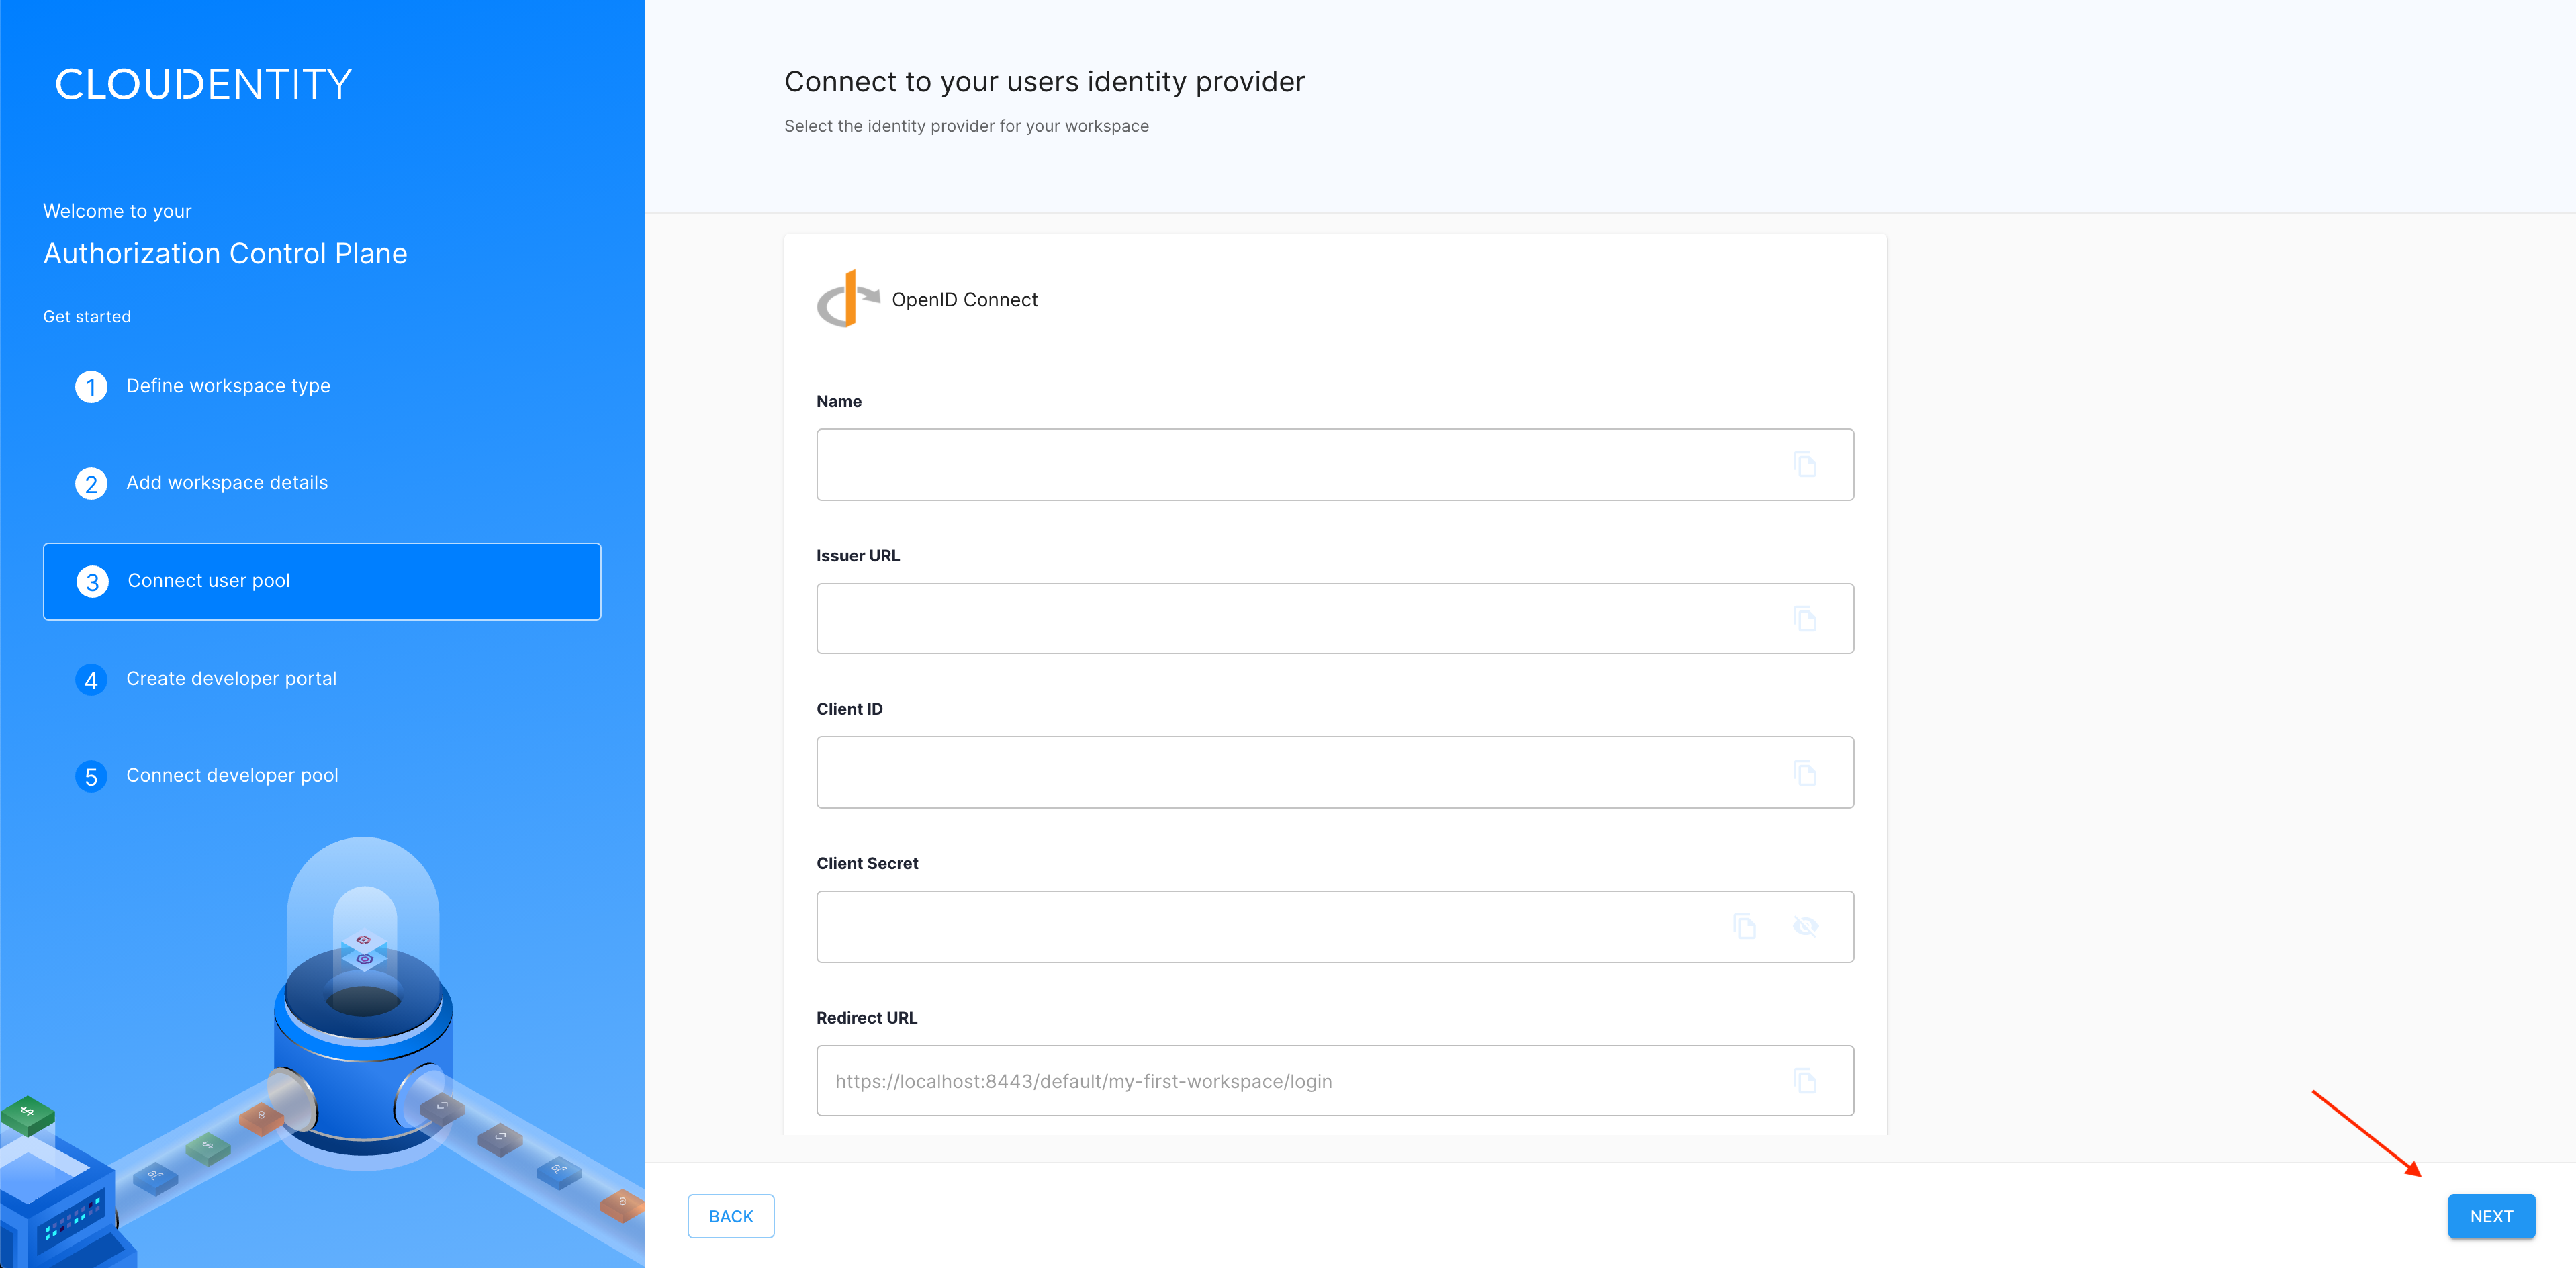
Connect User Pool
-
Connect the workspace to your users' identity provider (IDP) using one of the following ways:
- Select one of the IDPs that Cloudentity supports.
Note
See Connecting identity providers to Cloudentity for instructions on how to configure connections to IDPs supported by Cloudentity.
-
Choose Sandbox IDP to configure a test account using mock data.
-
Select Custom IDP to build non-OIDC or non-SAML IDP Connections.
Note
Custom IDP connection allows you to integrate your workspace with your existing authentication provider login page. For details about integrating with custom IDPs, see Connecting custom identity providers to Cloudentity.
-
Configure the connection to IDP by entering requested details and select NEXT to proceed.
Result
Your workspace is ready. You can explore all the settings applied by the chosen template under OAuth settings. In addition in case you want to allow external users/developers to register client applicatons, you can Create the developer portal for your workspace and connect your developer pool.