Enforcing PAR
Pushed authorization requests can be enforced on the server (workspace) and/or client application level. If PAR is enforced on the workspace level, all client applications that are registered within this workspace must use pushed authorization requests. If PAR is not enforced on the server level, but is enforced for a particular application, only this application must use PAR.
Server Level Enforcement
-
Go to OAuth » Authorization Server » General.
-
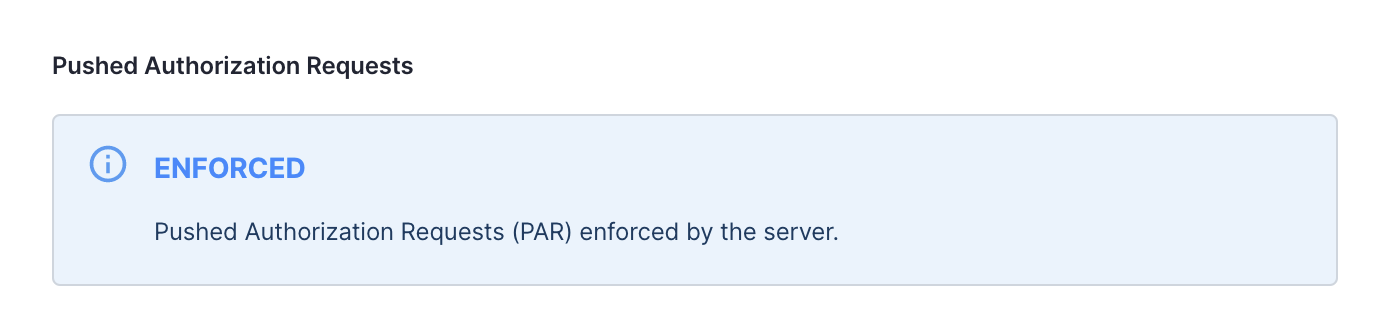
Under Pushed Authorization Requests (PAR), select Enforce PAR.
-
Optionally, you can also set a custom time-to-live for your request URIs.
-
Select Save changes.
Result
PAR is now enforced on the workspace level. All client applications registered within this workspace must make a call to the
/parendpoint before requesting authorization.Additionally, you cannot disable PAR enforcement for client applications in their settings. This means that all applications must use PAR, when it is enforced on the server level.
Demo Applications and PAR
If you had created a Demo Workspace and enabled the Demo application for this workspace, it stops working when you enforce PAR on the server level. Demo applications are not adapted for using pushed authorization requests.
Client Level Enforcement
-
Go to Applications » Clients » Your application » OAuth.
-
Under Pushed Authorization Requests (PAR), select Enforce PAR.
-
Optionally, you can also set a custom time-to-live for your request URIs.
-
Select Save changes.
Result
PAR is now enforced for your client application. From now on, your application must first make a request to the
/parendpoint before requesting authorization.
Cloudentity’s PAR Endpoint
Cloudentity’s /par endpoint is fully compliant with the OAuth 2.0 Pushed Authorization Requests
specification. It is an HTTP API that accepts POST requests and uses the https scheme and the
application/x-www-form-urlencoded format. It accepts all authorization requests parameters defined
in the RFC6749 specification for the authorization
endpoint and parameters provided by the extensions like Proof Key for Code Exchange (PKCE) or
OpenID Connect (OIDC).
Client applications that send requests to Cloudentity’s PAR endpoint,
must authenticate themselves using
one of the Cloudentity’s client authentication methods
but to the /par endpoint instead of the /token endpoint.
Requests sent to the /par endpoint reflect the requests sent to the Cloudentity’s
/authorize endpoint as they share the same parameters like, for example, client_id,
response_type, redirect_uri, and more. Requests to the /par endpoint, however, must also
include parameters necessary for client authentication which depend on the chosen method of
authentication. For example, with the client_secret_post method set for the client application,
the request to the /par endpoint includes the client_id and the client_secret parameters.
Request Examples
You can test pushed authorization request using the examples provided below. Firstly, you need to meet prerequisites. Then, you are able to make a request to Cloudentity’s PAR endpoint and with the request URI provided in the response you are able to request authorization.
Prerequisites
-
Admin access to an Cloudentity tenant.
-
PAR enforced on the server level.
Expiration time for request URIs
For testing purposes, you can set a longer custom TTL for request URIs in your workspace PAR settings.
-
Client application created in a workspace of your choice.
-
For the purpose of the request examples in this article, set your client application client authentication method to
client_secret_post. -
Redirection URI is defined for your client application.
-
Authorize with PAR
-
Make the following
POSTrequest to the/parendpoint for your workspace:curl --location --request POST 'https://{tid}.us.authz.cloudentity.io/{tid}/{aid}/par' \ --header 'Content-Type: application/x-www-form-urlencoded' \ --data-urlencode 'client_id={client_id}' \ --data-urlencode 'client_secret={client_secret}' \ --data-urlencode 'redirect_uri={redirect_uri}' \ --data-urlencode 'response_type=code'The request contains the following parameter values that you should change:
-
{tid}which stands for the identifier for your tenant. -
{aid}which stands for the authorization server (workspace) identifier. -
{client_id}which value should be set to the client identifier of the client application making a pushed authorization request. -
{client_secret}which value should be set to the client secret of the client application making a pushed authorization request. -
{redirect_uri}which should be set to the redirection URI configured for the client application making the pushed authorization request.
The
client_idis a parameter required for the request to the OAuth 2.0 authorize endpoint. As you can see in the example, the request contains also theclient_secretparameter. This parameter is included as the client application uses theclient_secret_postclient authentication method. Because you had provided the client identifier to fill the requirements for the authorization endpoint, you do not need to provide it once again to fill the requirements of theclient_secret_postclient authentication method. If you chose a different client authentication method, you must provide all parameters required by the method you chose.Expected response
If the request is successful, you receive the response similar to the following:
{"request_uri":"urn:ietf:params:oauth:request_uri:218swRPh4QX8ZfXKb413i936OxB","expires_in":120} -
-
Edit the URL for the authorize endpoint so that it contains the
request_uriand theclient_idas request parameters. Find an example below:https://{tid}.us.authz.cloudentity.io/{tid}/{aid}/oauth2/authorize?client_id={client_id}&request_uri={request_uri}The URL contains the following parameter values that you should change:
-
{tid}which stands for the identifier for your tenant. -
{aid}which stands for the authorization server (workspace) identifier. -
{client_id}which value should be set to the client identifier of the client application that is to make the authorization request. -
{request_uri}which value should be set to the request URI that you received as a response to a call to the/parendpoint, for exampleurn:ietf:params:oauth:request_uri:218swRPh4QX8ZfXKb413i936OxB.
-
-
Go to your browser and enter the URL that you have constructed in the second step.
Result
You are now presented with a login view for your tenant.
-
Log in to your tenant.
Result
After you log in to your tenant, you are taken to the redirection URI that you have configured for your client application. Your client application is now authorized. Notice how the URL now contains the authorization code that you can use to make a call to the Cloudentity’s OAuth 2.0 token endpoint.
Below, you can find an example of a URL that you are redirected to:
https://example.com/?code=G2etrHqokAerjQPOZw0RdPJzzHwkXhu-q91UCcrSNhY.SKvtouzqu6JZ1FEoU7yZIYDIQ7qD5thG9f_VMN9C9AM&scope=&state=In the example, you can see that the redirection URI for the client application is set to
https://example.com. You can also find your authorization code, which, in this case, is set to:G2etrHqokAerjQPOZw0RdPJzzHwkXhu-q91UCcrSNhY.SKvtouzqu6JZ1FEoU7yZIYDIQ7qD5thG9f_VMN9C9AMAs no specific scope was requested, the value for the
scopeparameter is empty.